
Store to Store Transfers
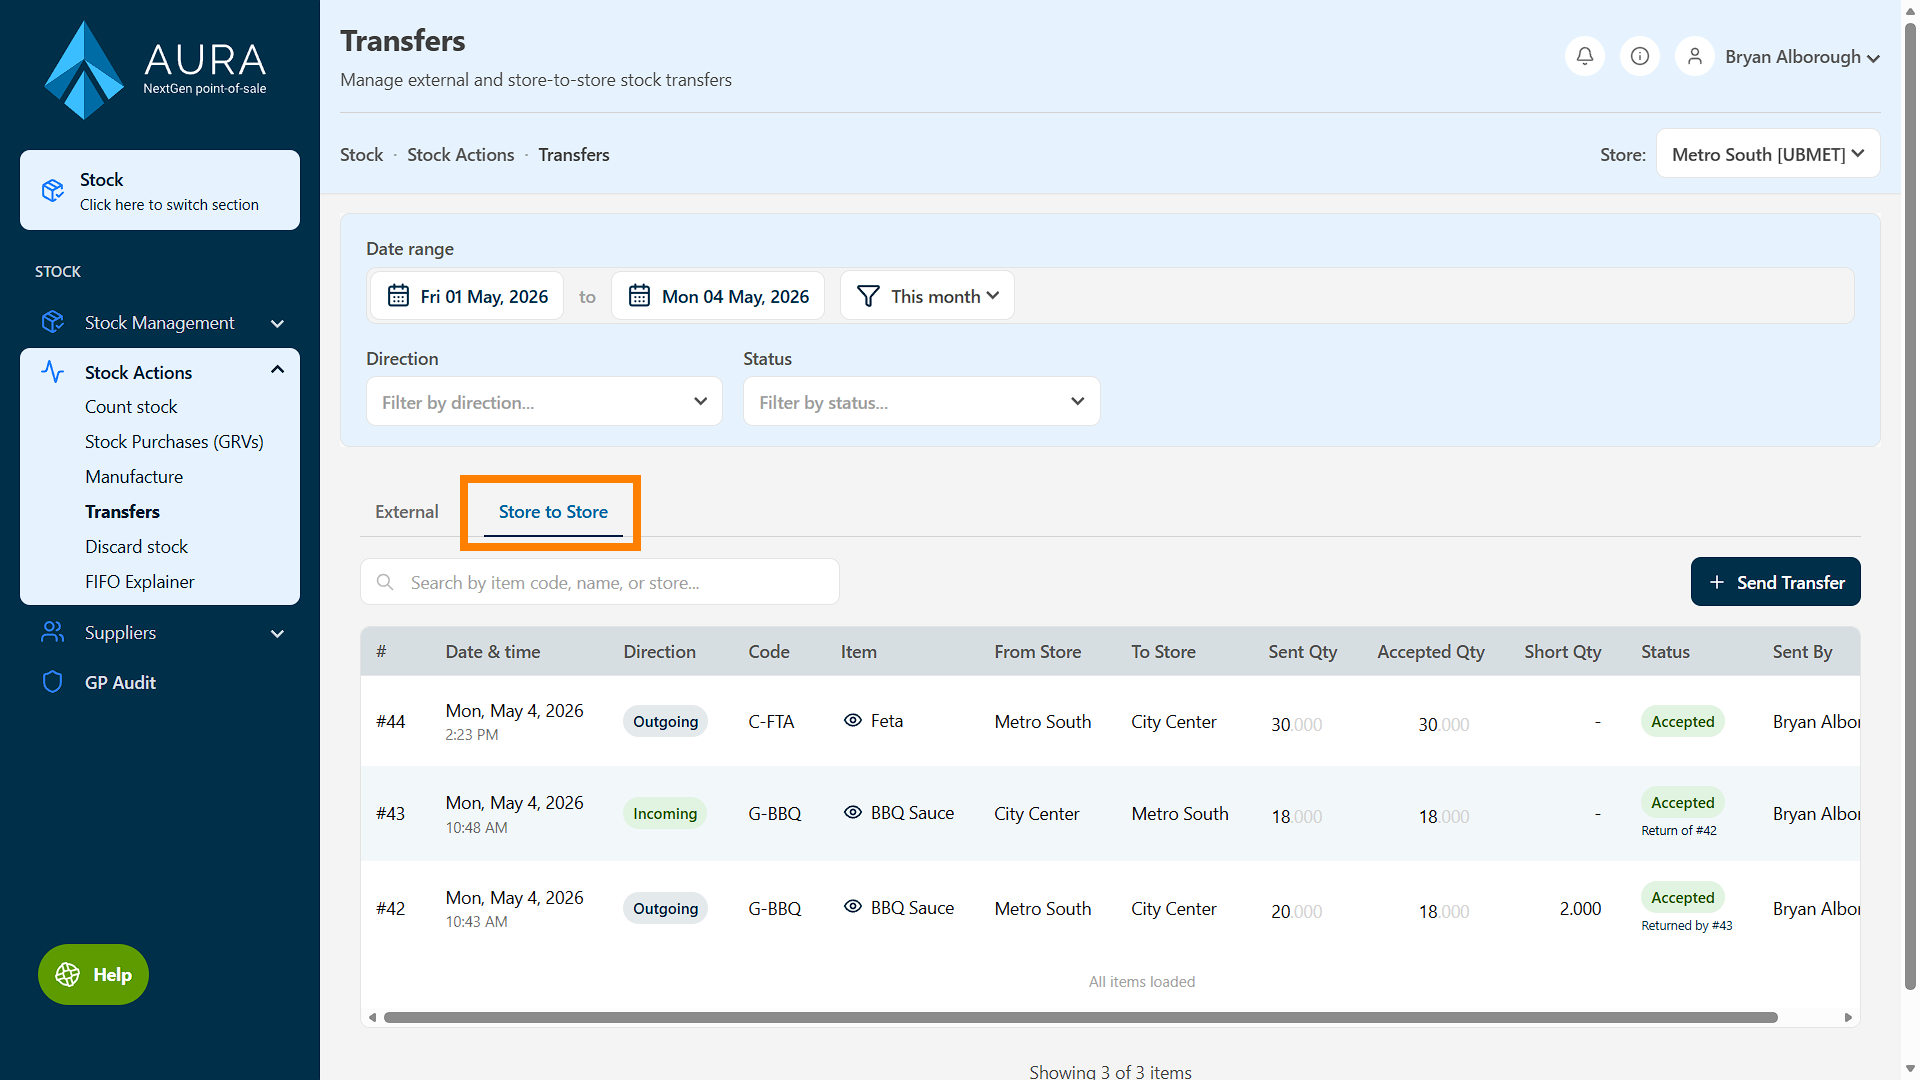
From the Transfers screen, click on the Store to Store tab:
Setting up Transfer Sources
Before any stores can transfer stock to each other, they'll each need to set up which locations in their network that they are allowed to receive stock from.
To set which stores are allowed to send you stock transfers, click Choose which stores can send to this store.
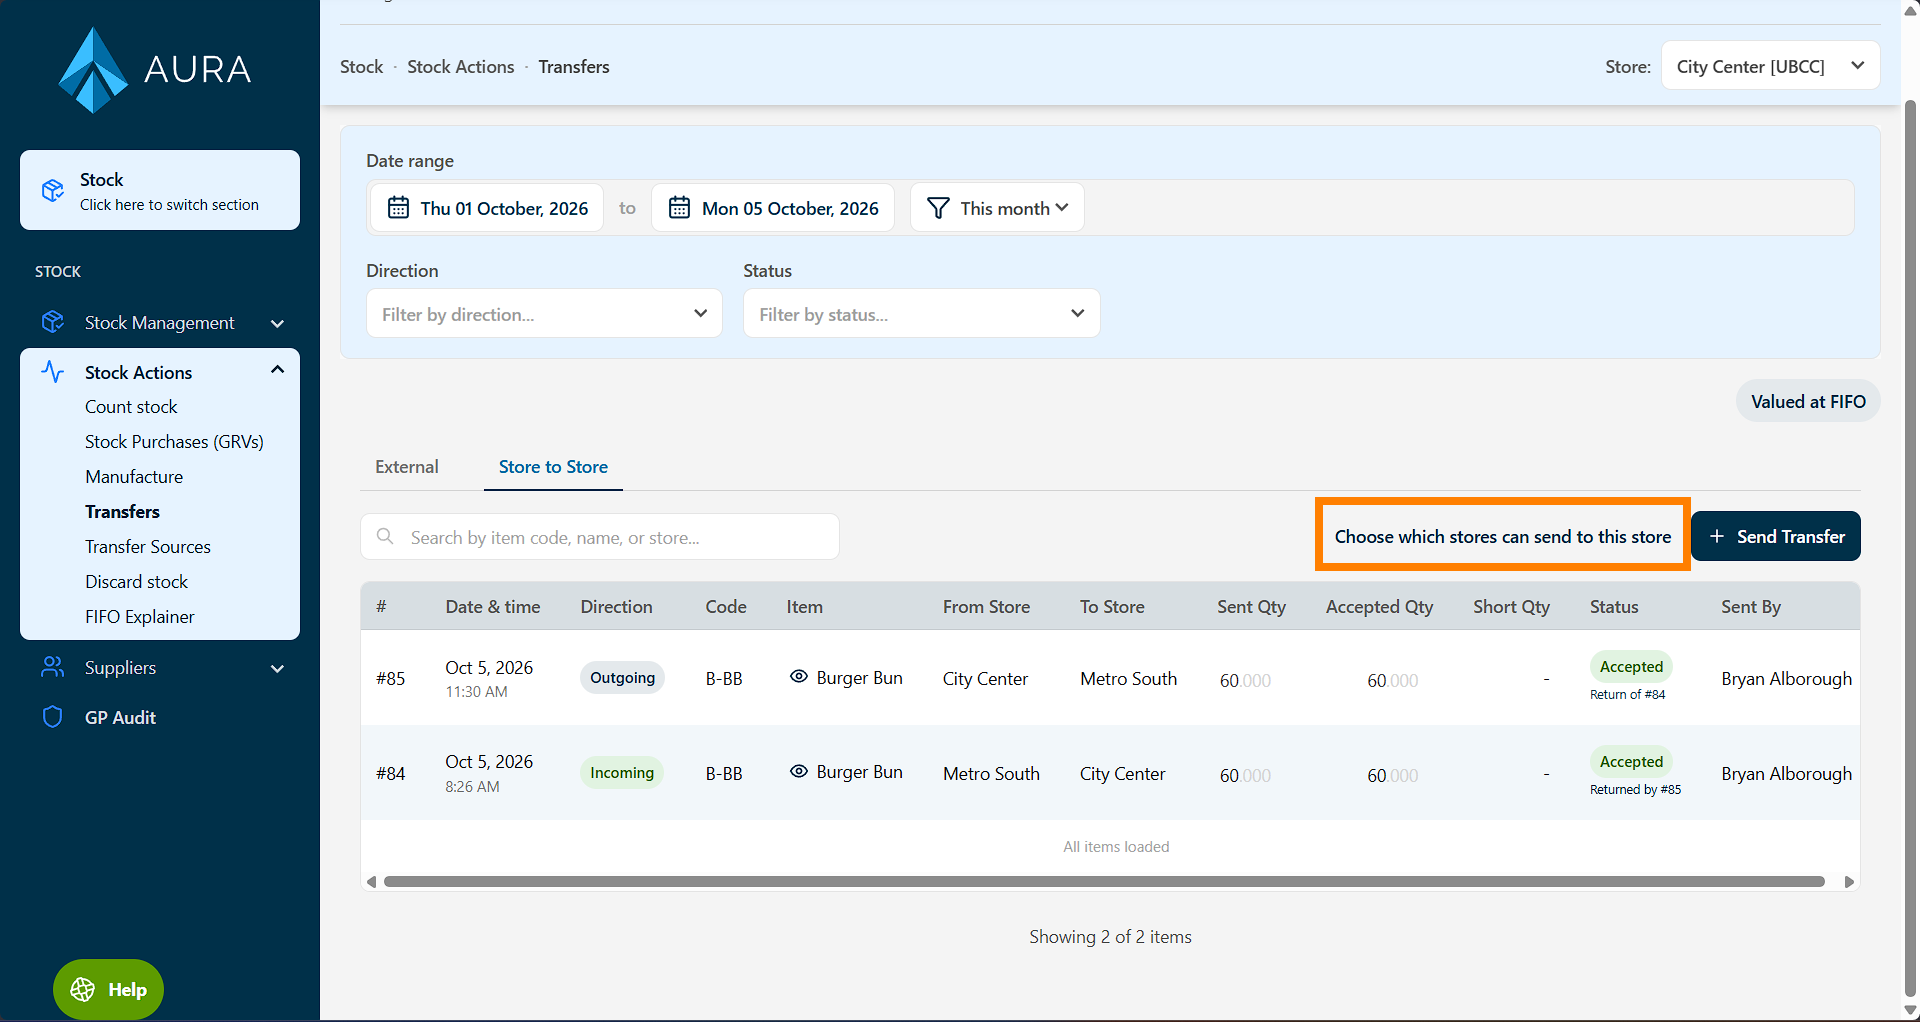
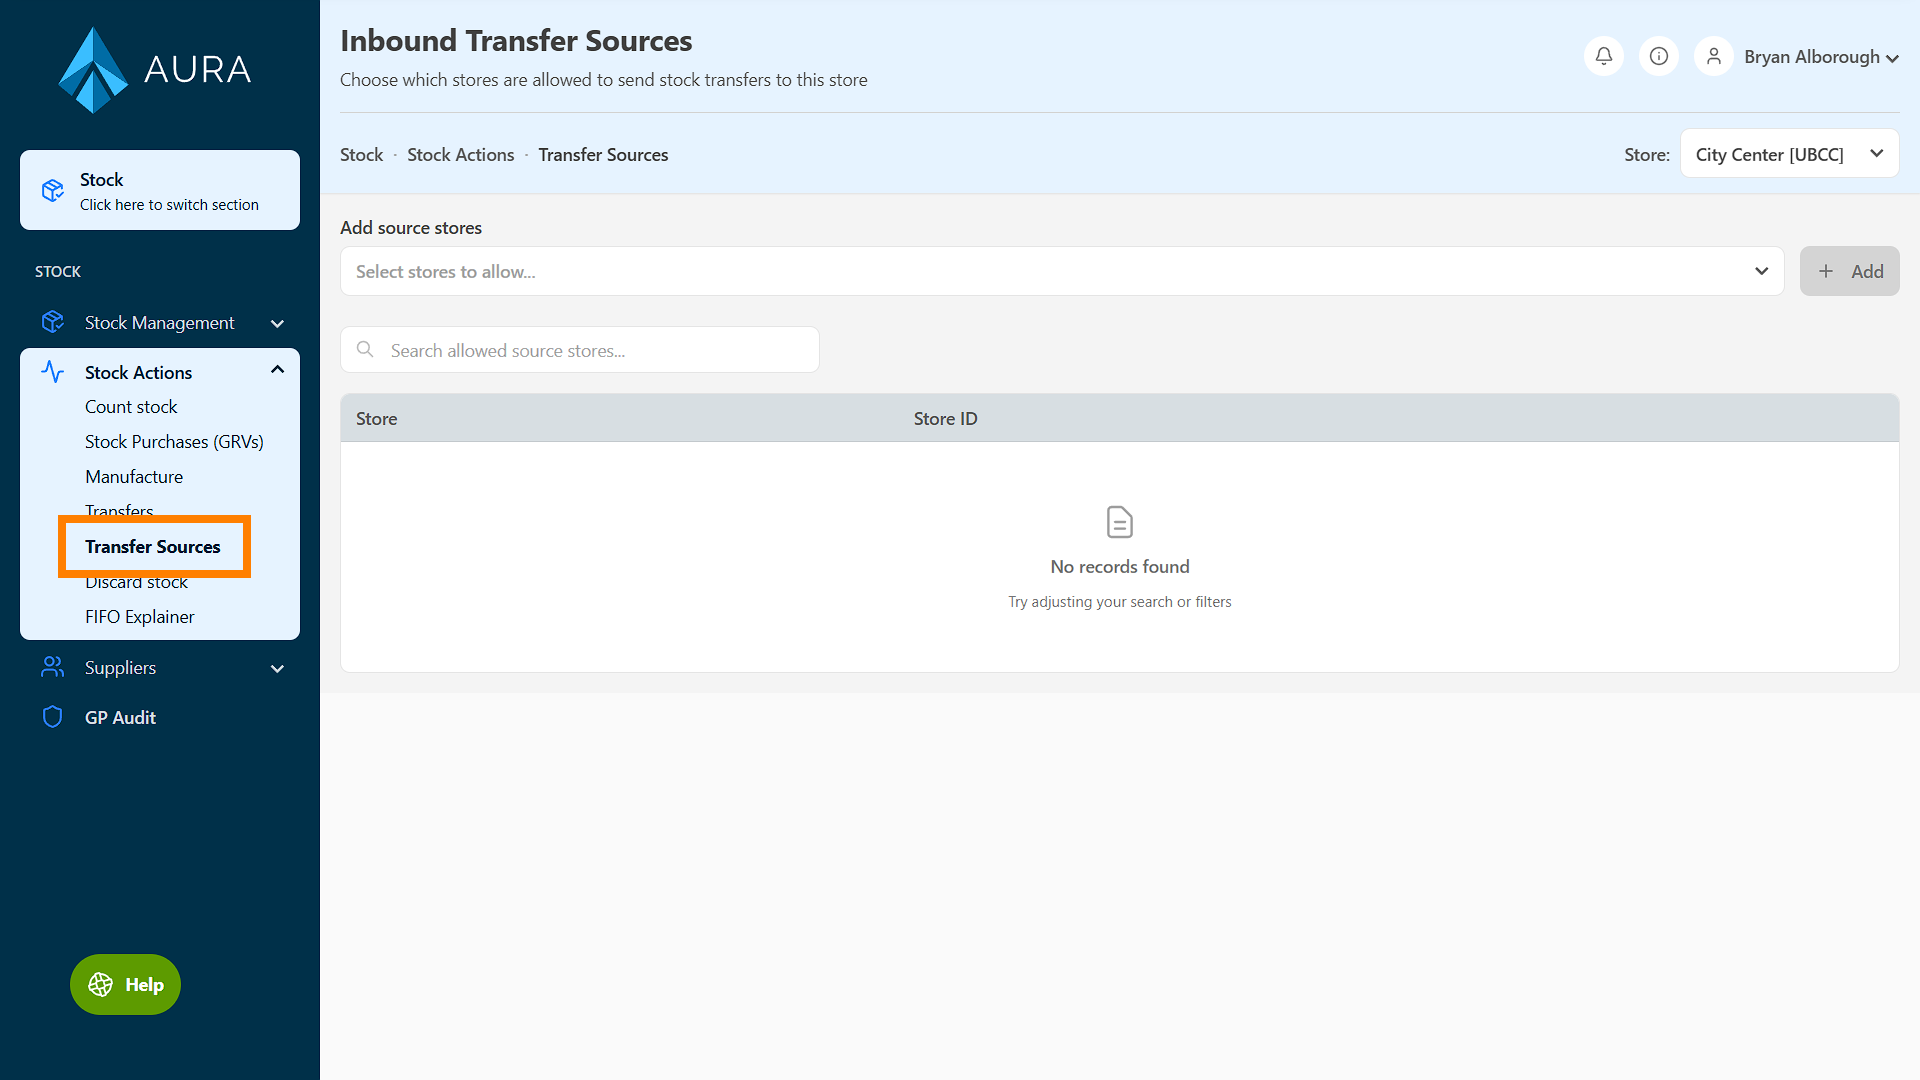
This will bring you to the Transfer Sources page (also accessible from the the Stock Actions menu).
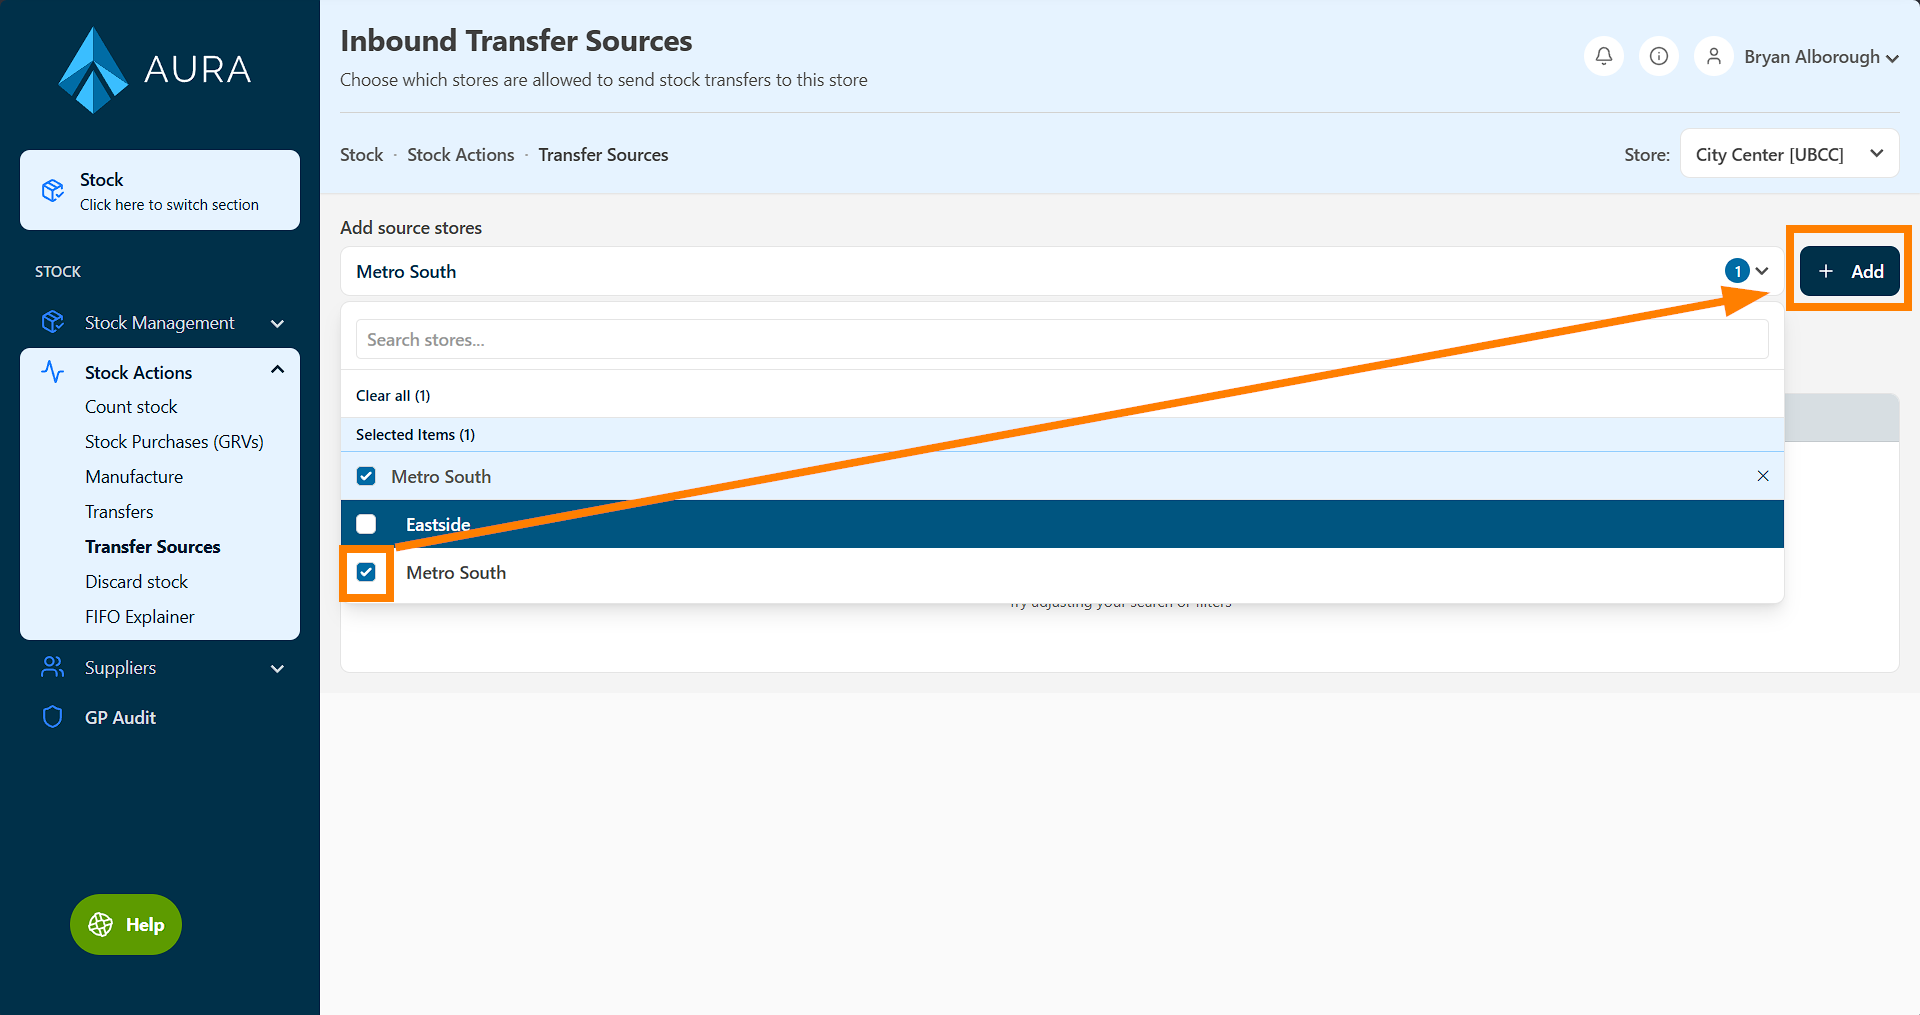
From the dropdown, select which stores from your network that you wish to allow to send you stock, then tap Add.
Sources can be removed by tapping the Remove button.
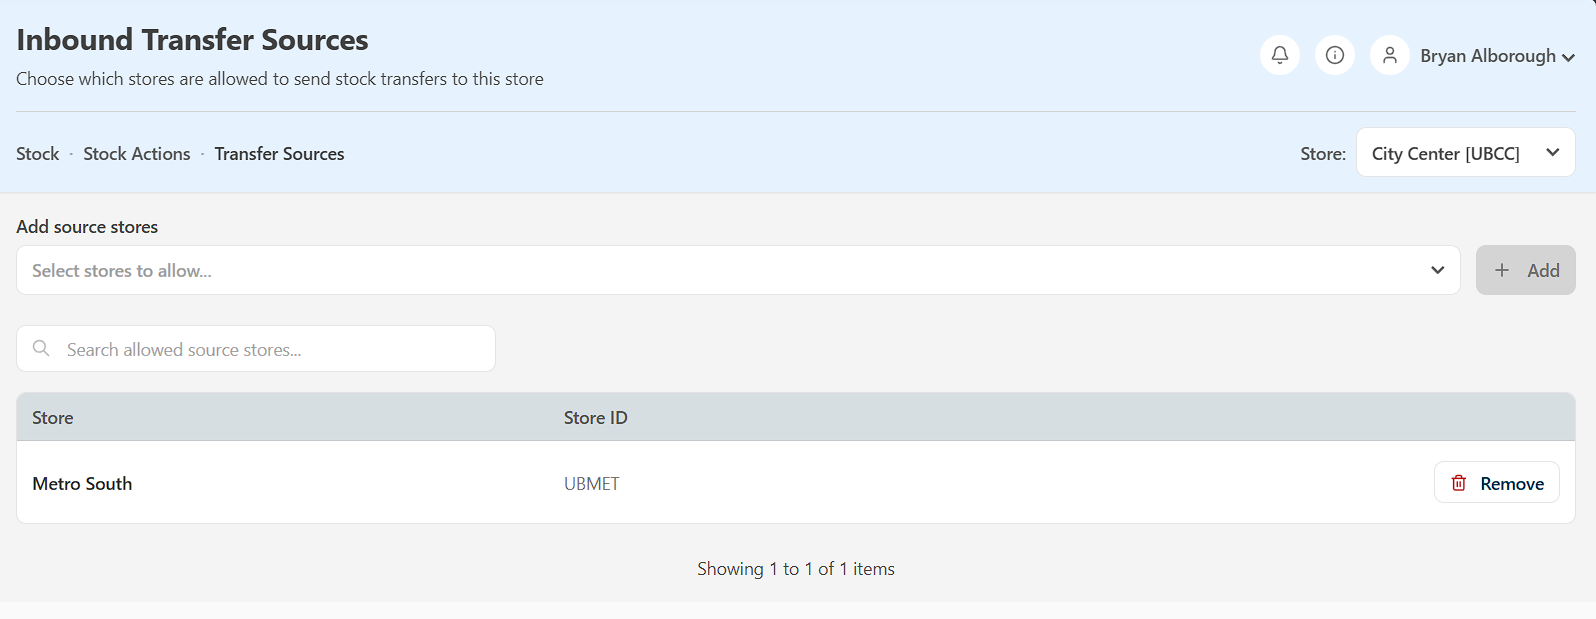
| NOTE: Before you can transfer TO a store, that store will need to add YOUR store to their list of allowed Transfer Sources. |
Recording a Store-to-Store Stock Transfer
To log a new transfer, click Send Transfer.
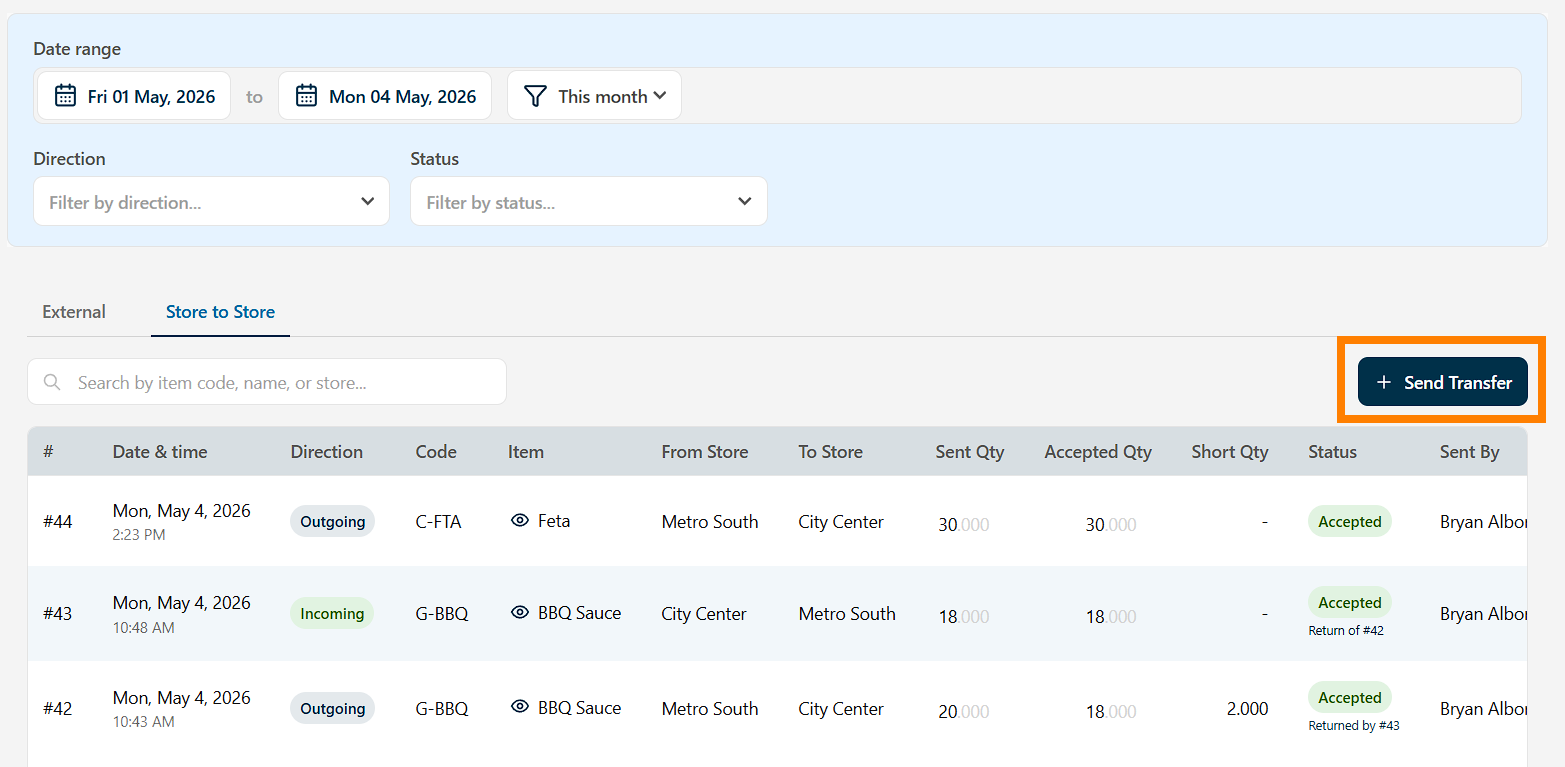
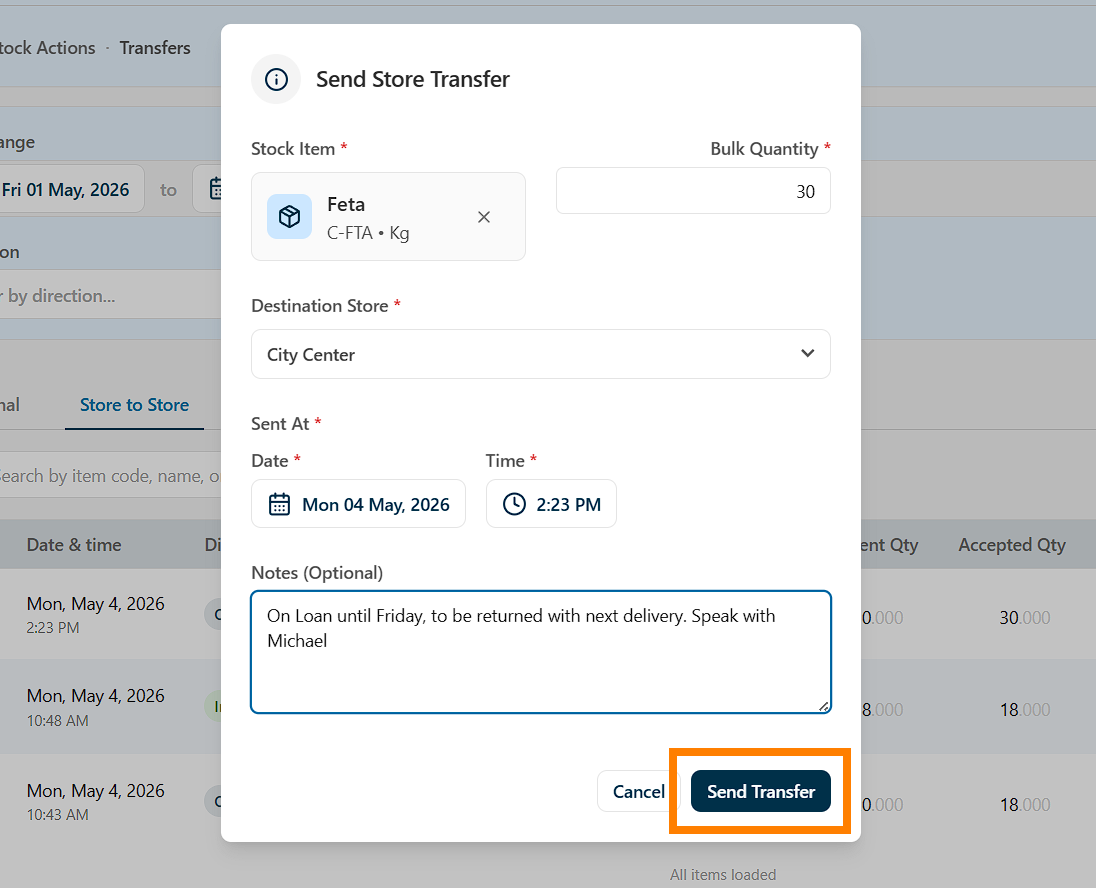
This will open the Send Store Transfer dialog.
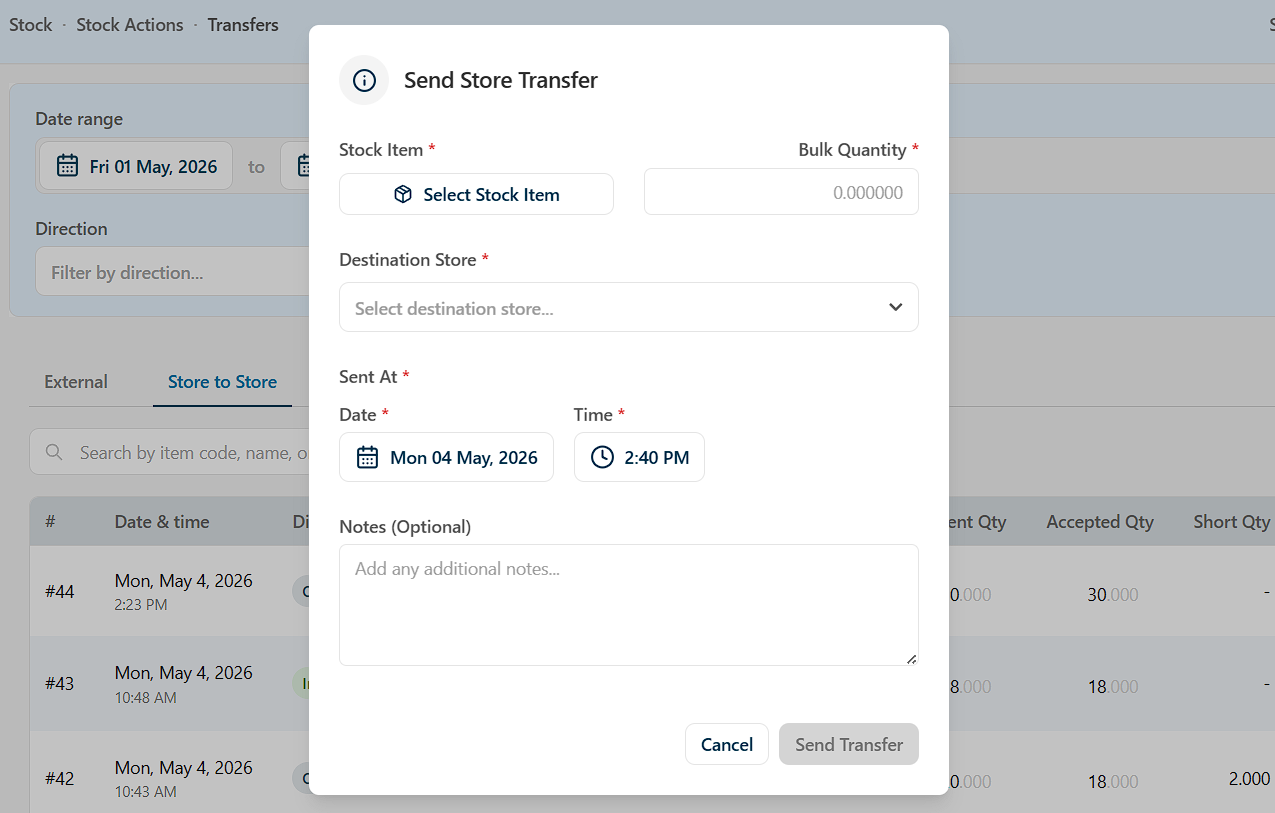
Stock Item
Search for and select the item being transferred. For example, Feta Cheese.
Quantity
Enter the quantity of stock being loaned.
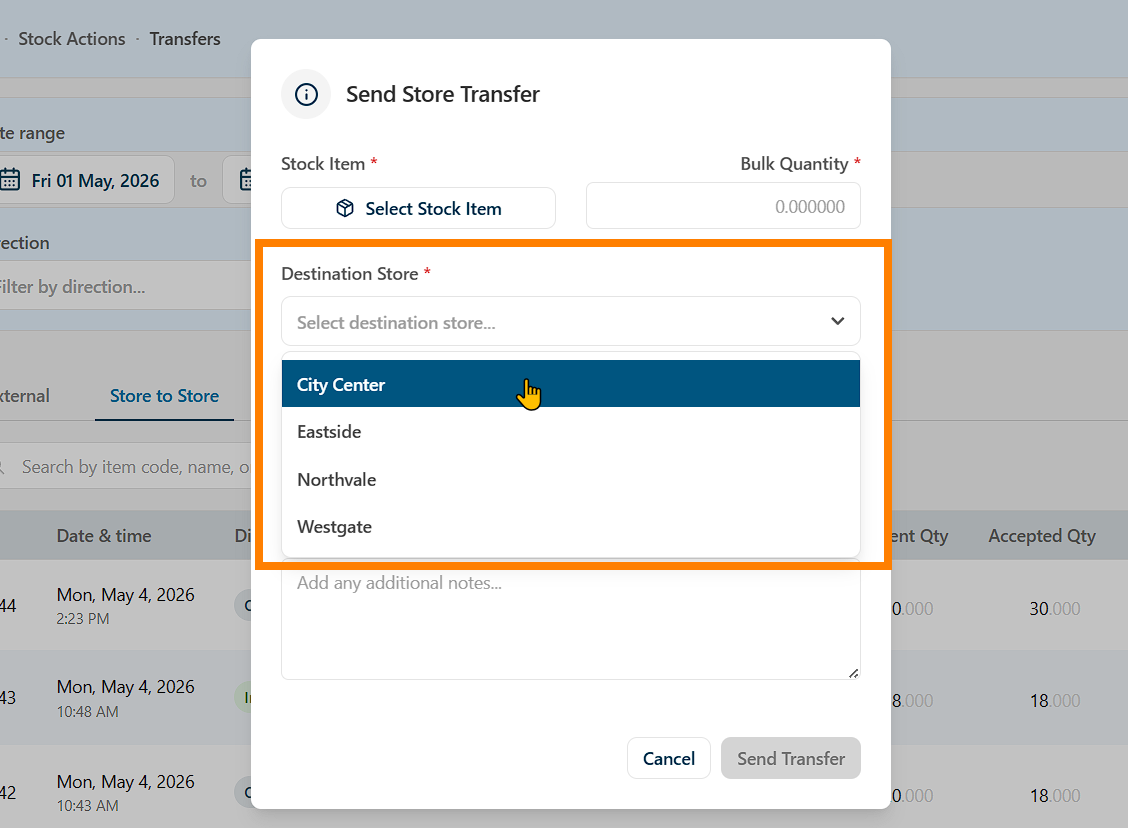
Destination Store
Select the store that the transfer is being sent to - This will list all stores in your network that have allowed your store as a transfer source.
"Sent At" Date and Time
Specify the exact date and time when the stock leaves your store.
Notes
You can add an optional note explaining the reason for the transfer, such as short delivery from a supplier.
Once all details are captured, click Send Transfer to post the transfer.
Accepting Stock transfers
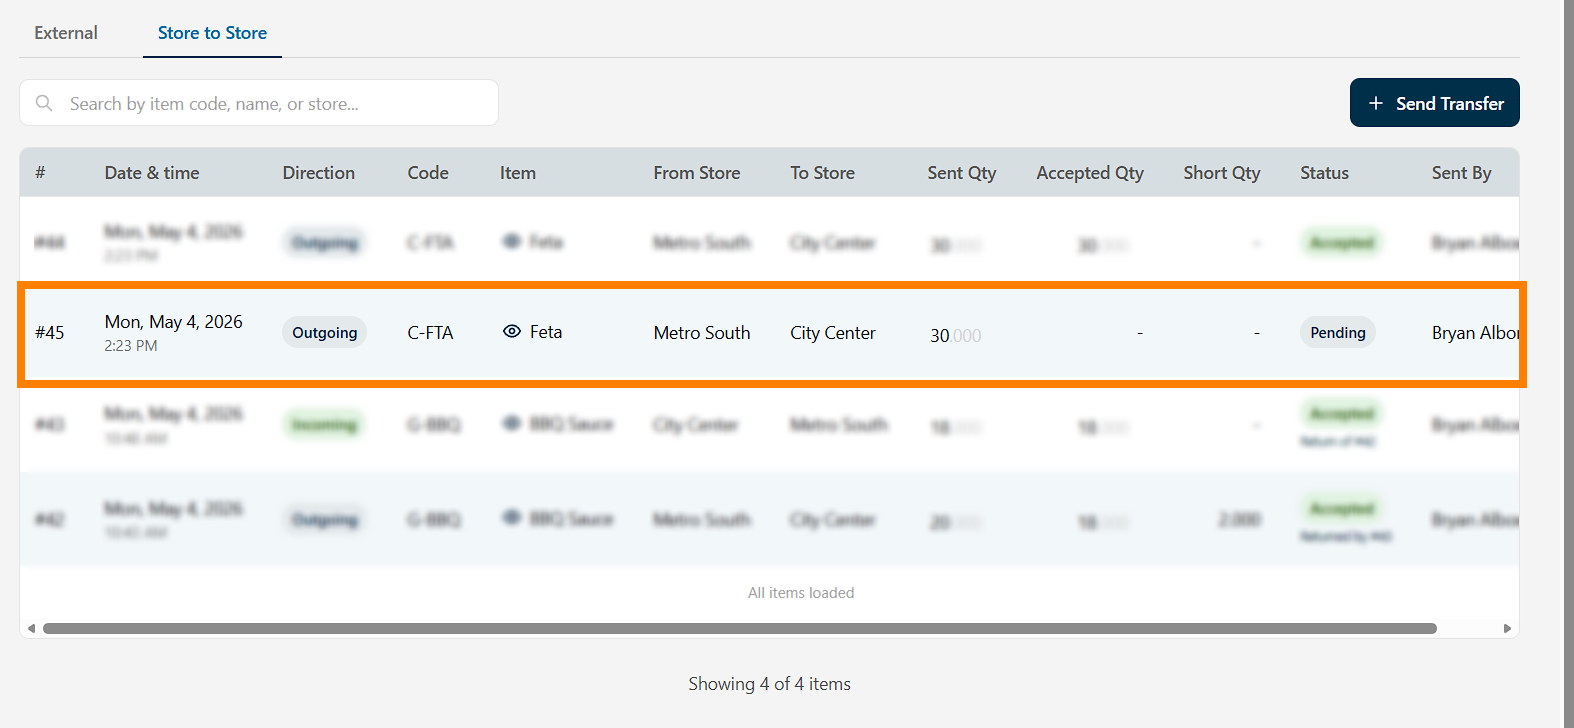
Once created, the entry will appear as an Outgoing transfer with a status of Pending.
The receiving store will need to navigate to the Store-To-Store stock screen and find the corresponding Incoming entry, whereupon they open it to Accept the entry or Cancel the request.
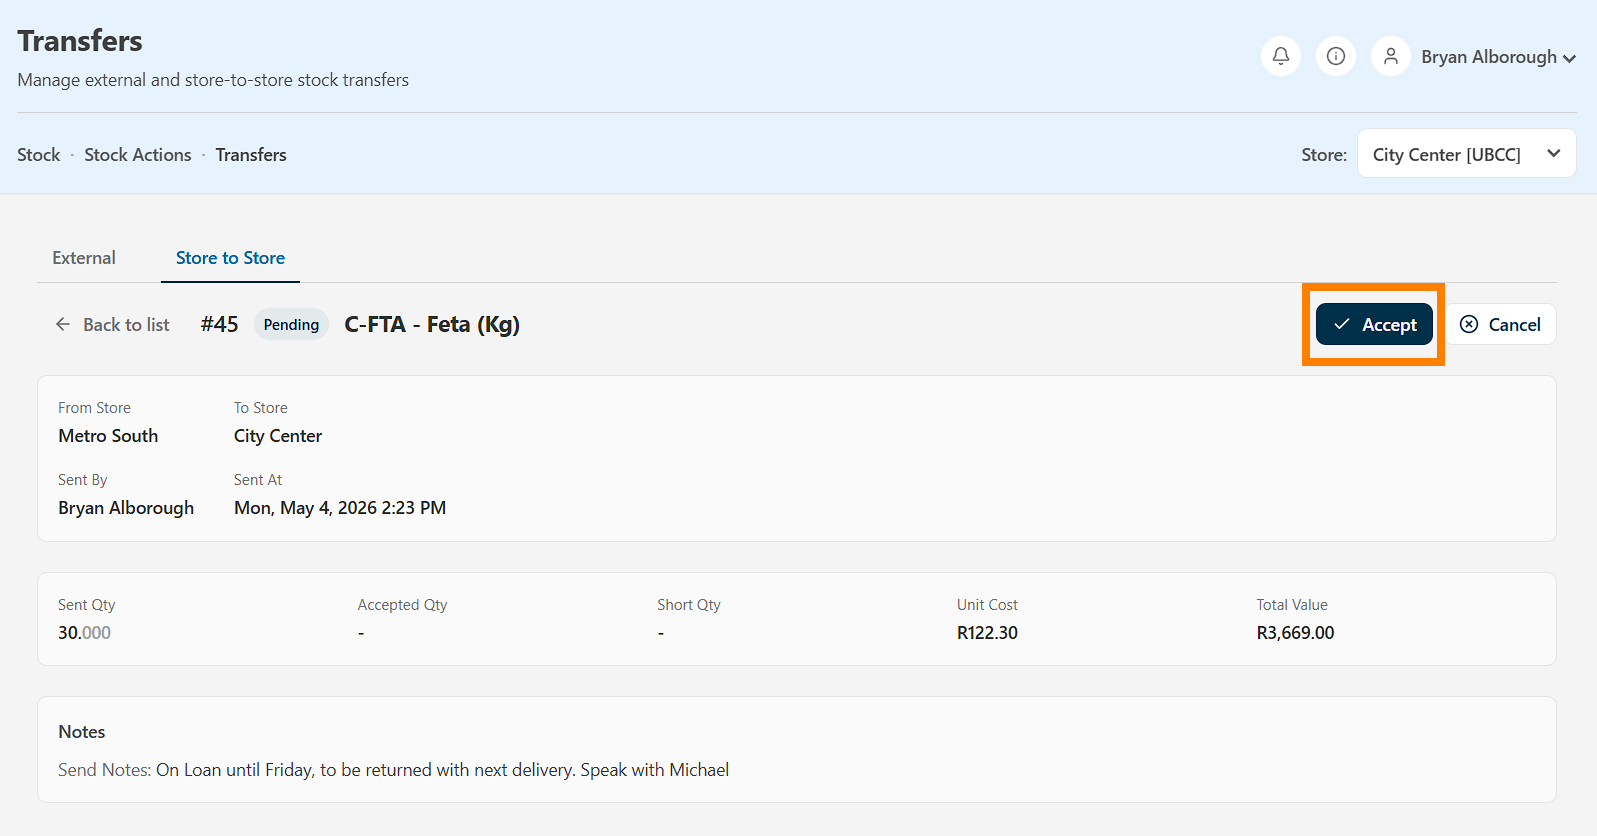
Upon Accepting, the receiving stores can add additional notes and confirm the amount they're receiving. Any stock short will be automatically returned to the sending store.
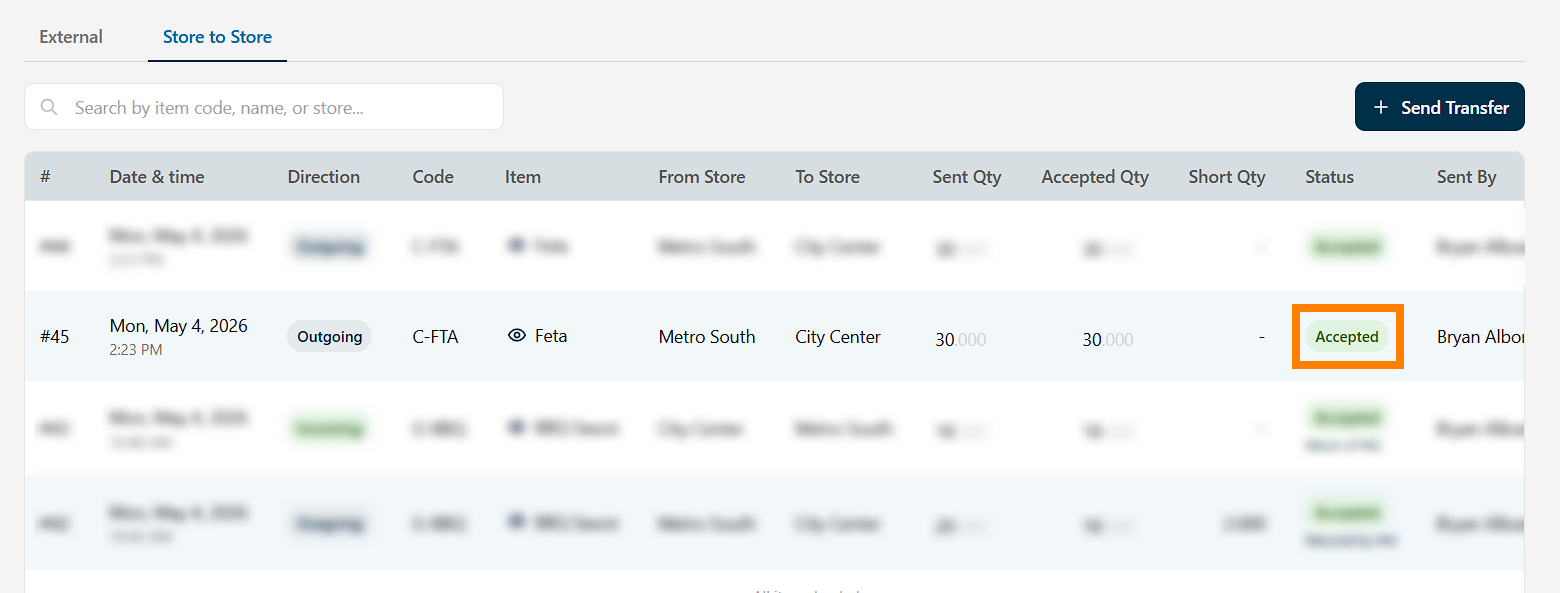
The entry will update to the status Accepted at both stores.
Reversing or Returning stock transfers
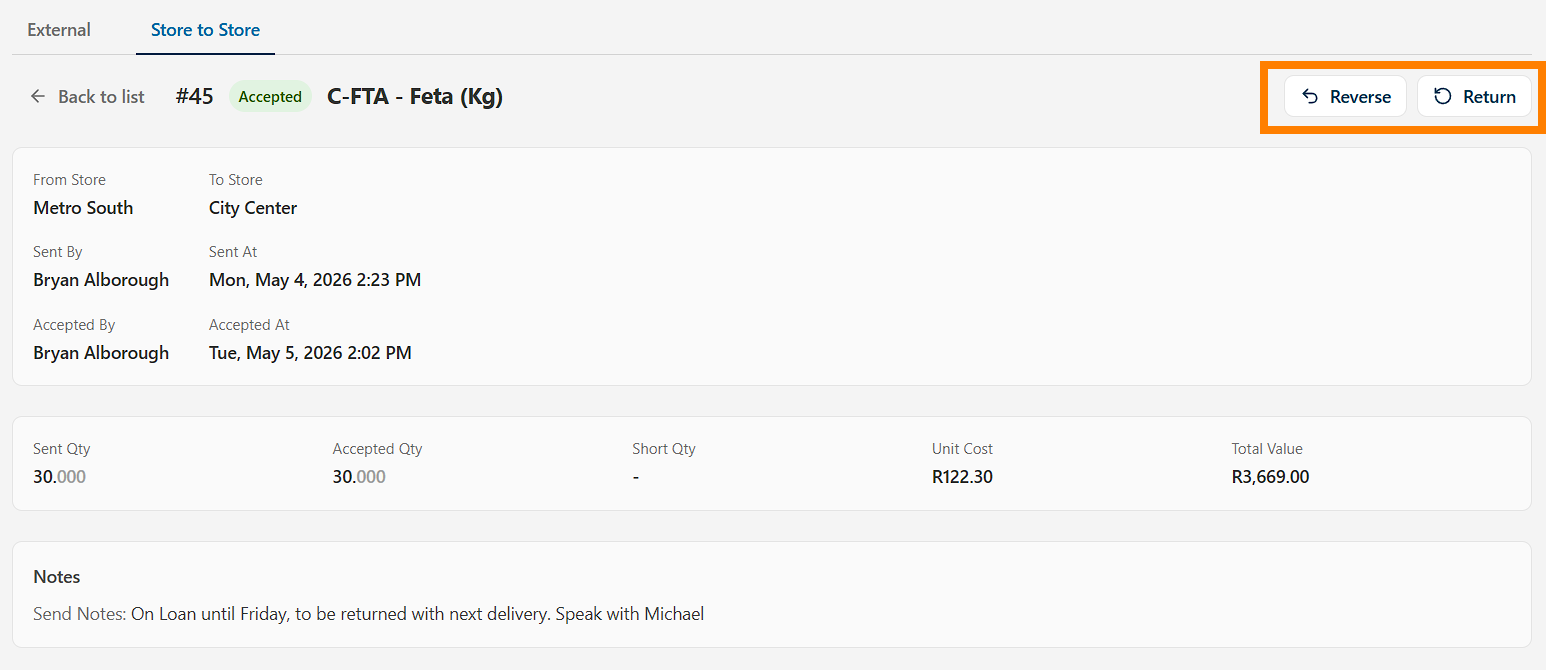
An accepted stock entry may be Reversed by opening the stock transfer entry (at either store), then clicking Reverse, which will return the stock at the original timestamp to indicate it wasn't accepted into the other store's stock. A note may be added explaining the reversal.
The stock may also be Returned by clicking the stock transfer entry and clicking Return. This will create a new return transfer entry at a date and time specified by the returnee, along with any notes about the return if necessary.
Archiving Stock Transfers
Either store may Archive any transfer entry without impacting the entry for the other store.