
Importing Sales
Prerequisites
Before you begin an import, ensure the following are set up in Aura:
- Active Store and Brand: You must have an existing active store and brand configured in Aura Next-Gen.
- Menu Configuration: All menu items sold via your external POS must be created in Aura, complete with their respective stock items and recipes.
- Data Preparation: Your sales data must be exported into two specific CSV (Comma Separated Values) files: a Header file and a Detail file.
How to Access the Import Sales Page
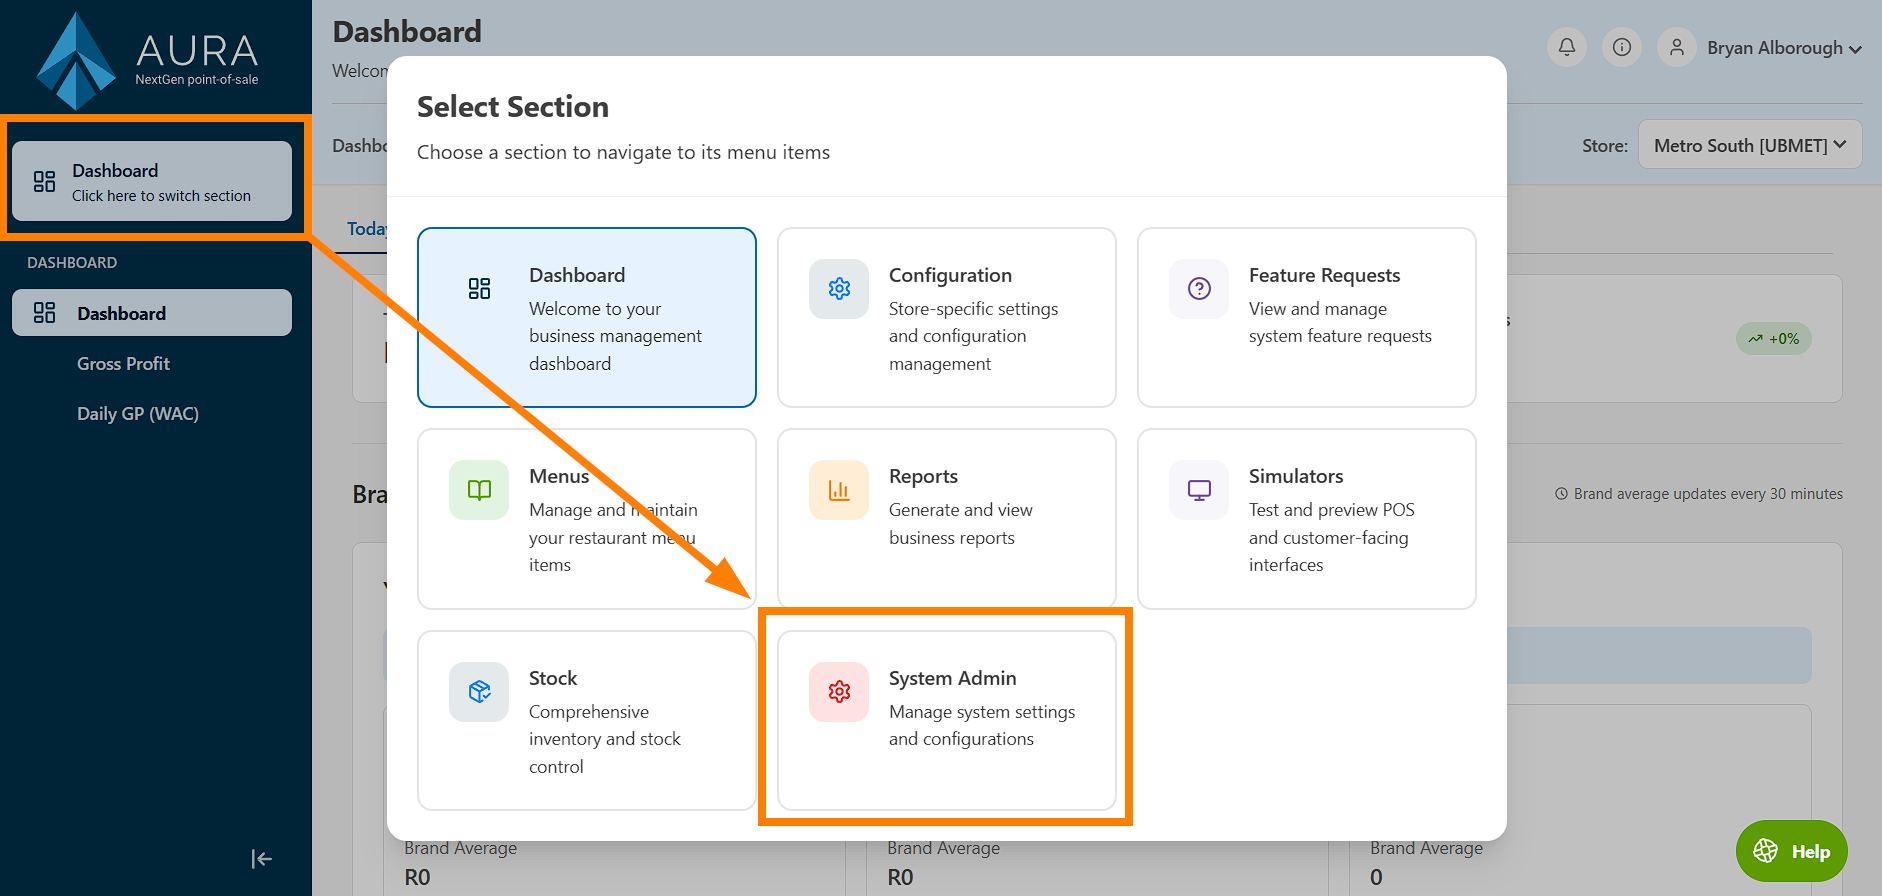
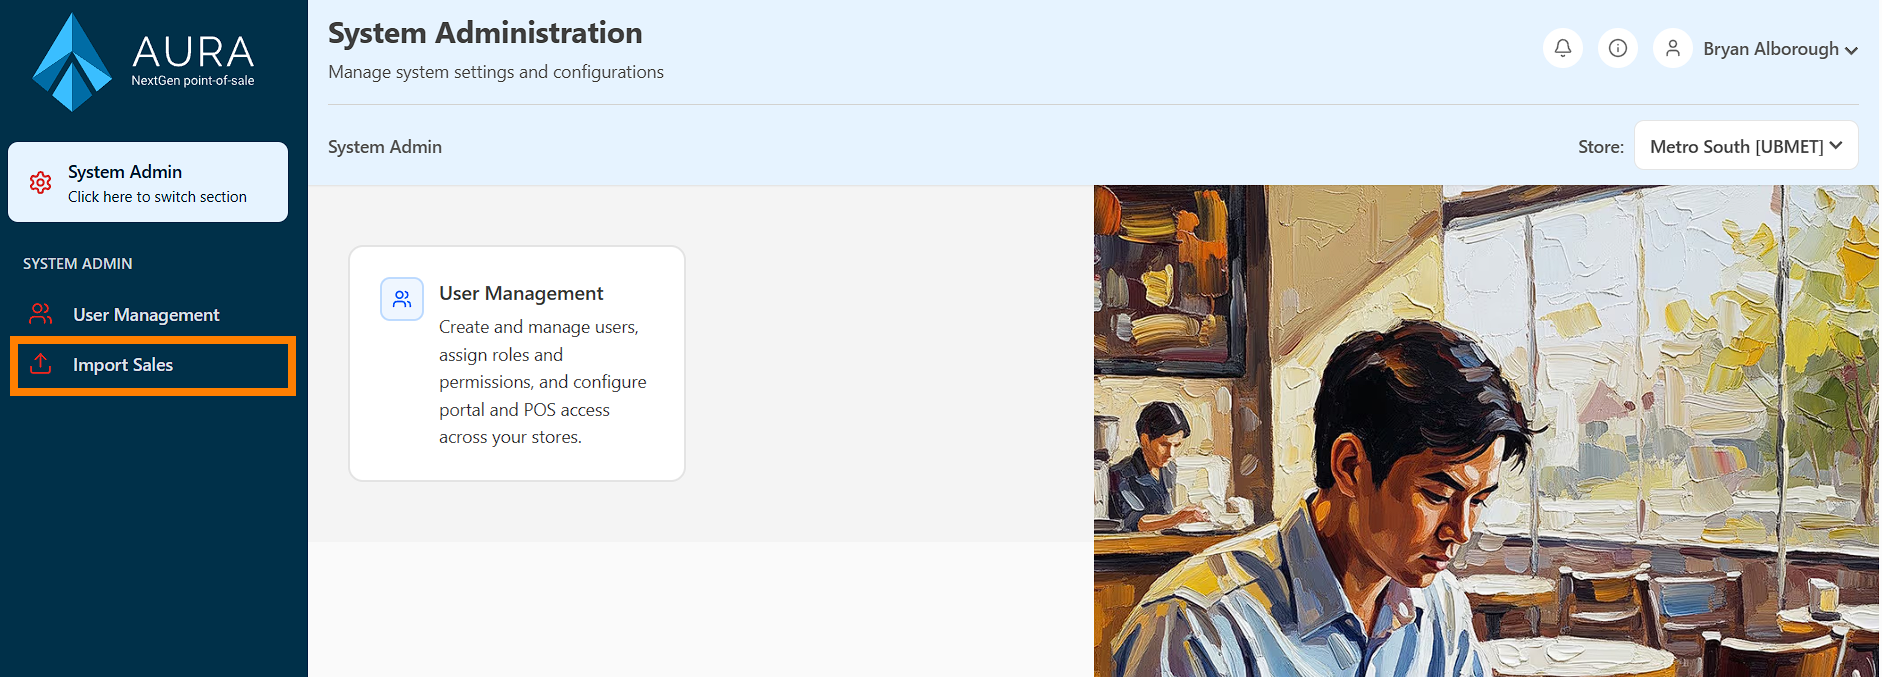
From the Sections Menu, click System Admin, then Import Sales
The Import Process
On the Import Sales page, you'll see the import button, and the correct steps to follow to import properly:
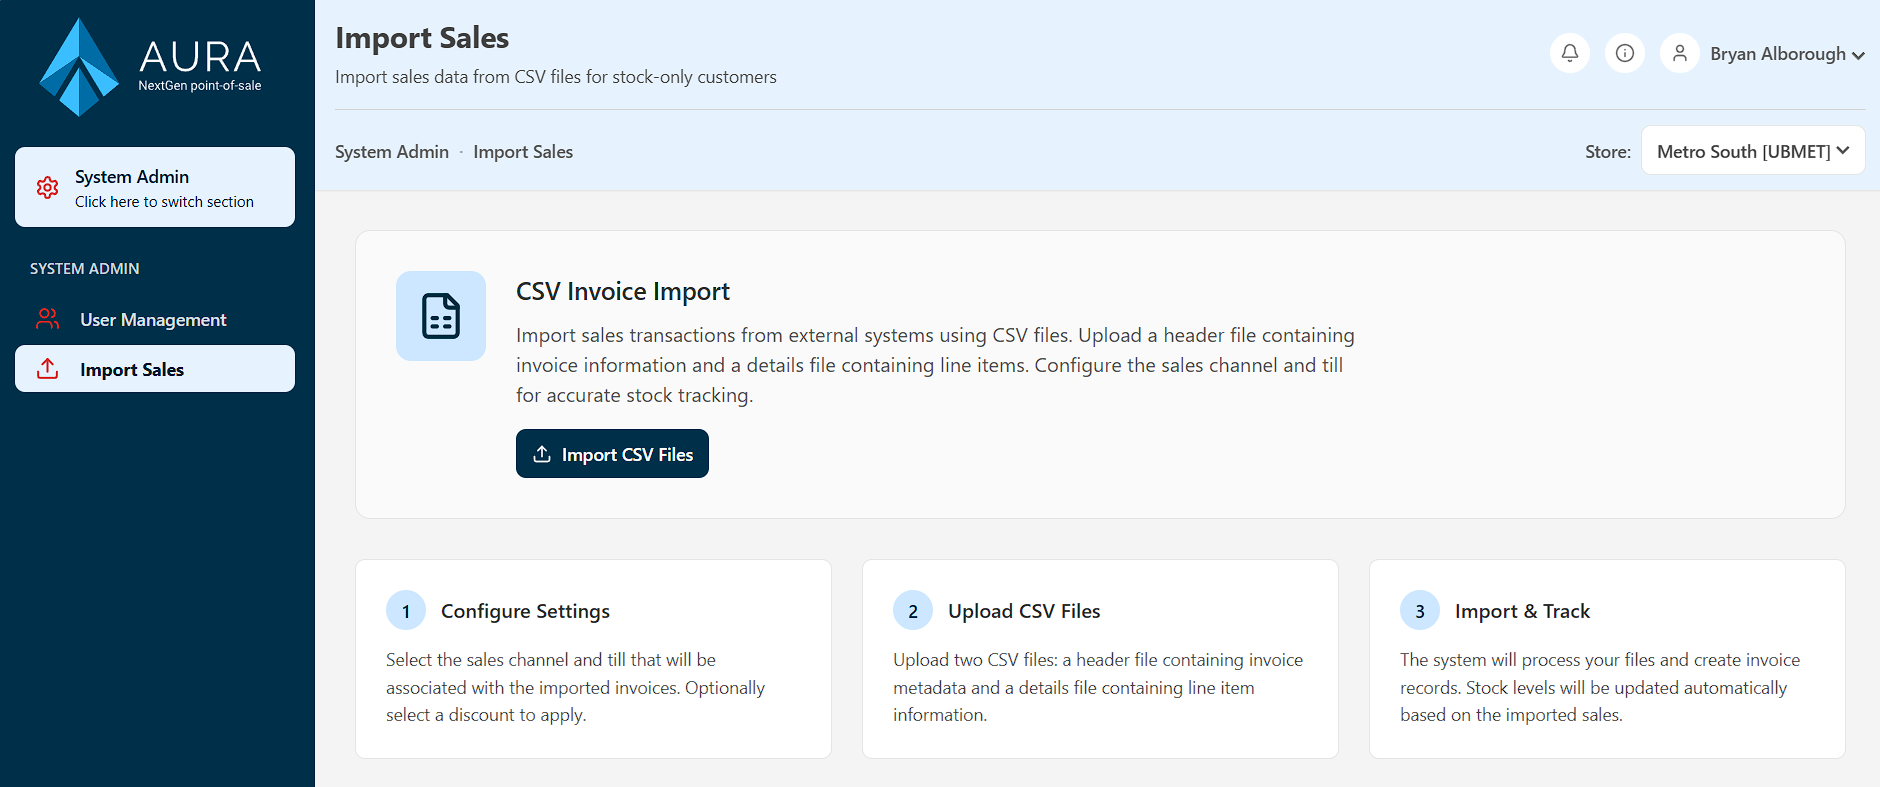
- Configure Settings: Select the specific sales channel and till (POS device) that will be associated with these invoices. You can also select a default discount code to apply.
- Upload CSV Files: Upload your prepared Header CSV (containing summary metadata) and your Details CSV (containing individual line items).
- Import & Track: The system processes the files, creates invoice records, and automatically updates your stock levels based on the imported sales.
Getting Template Files
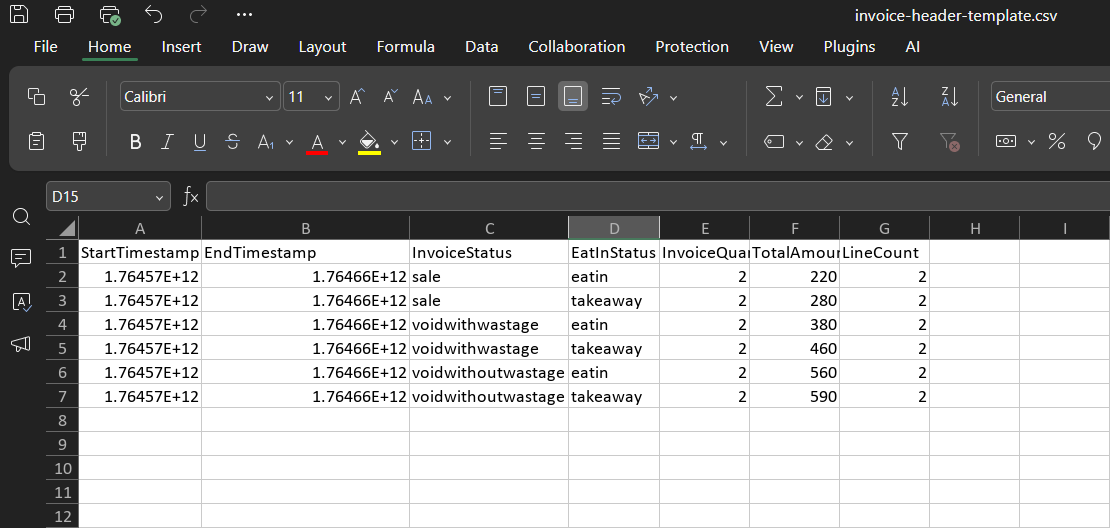
Scroll down to the CSV File Format heading. There you will see the list of fields required for each of the two CSV files, as well as download links to Template files.
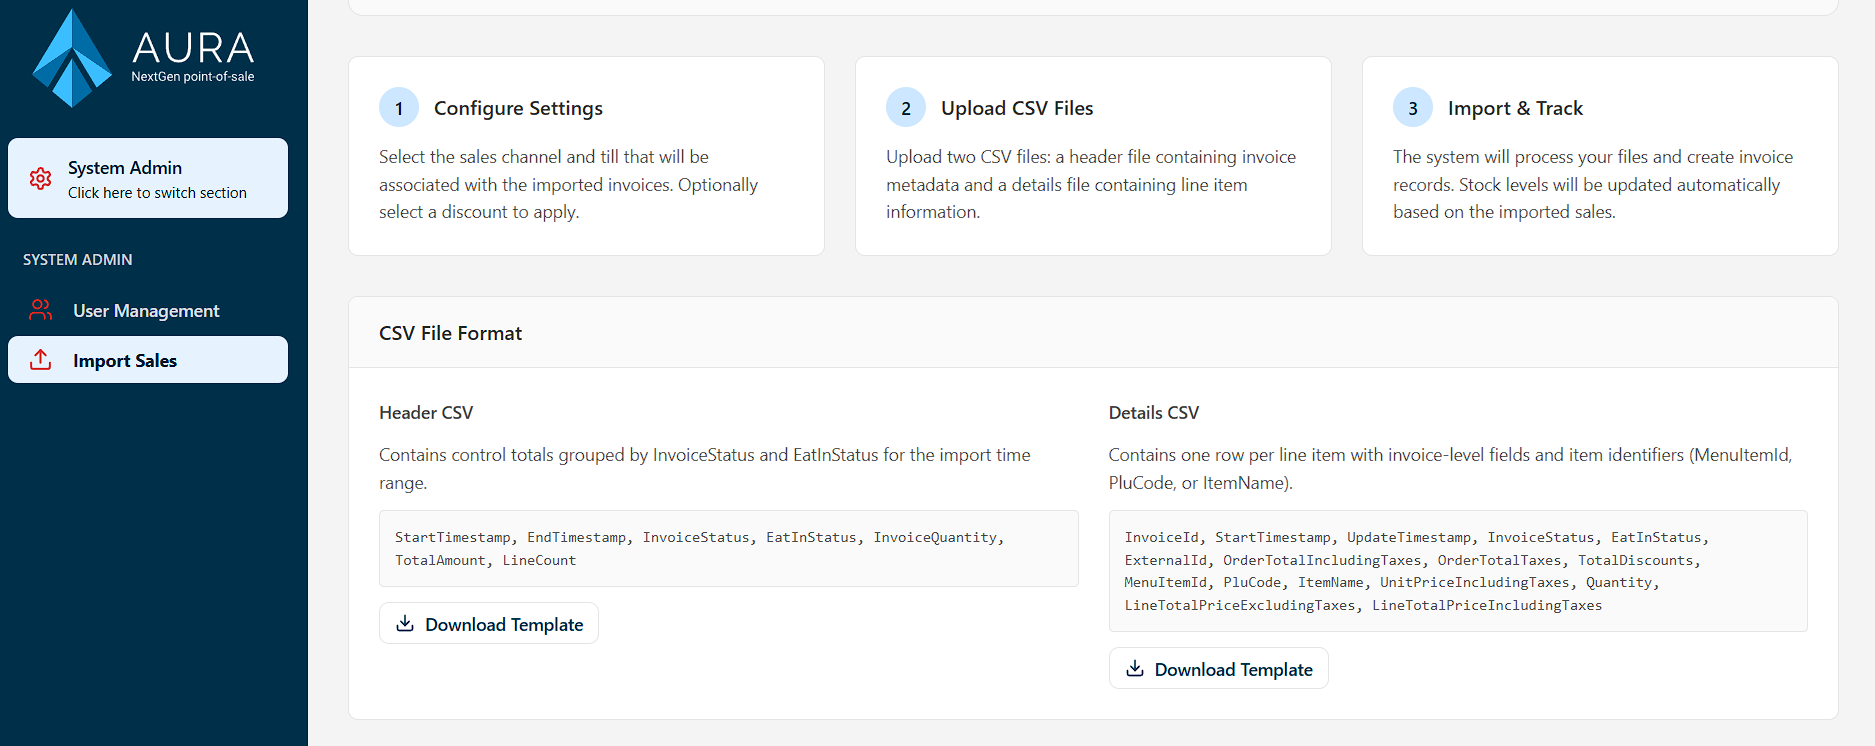
Download the CSV files and open them in any spreadsheet editor application (Excel, Google Sheets etc.) to see example entries. Note that these entries will need to be cleared first.
IMPORTANT: Make sure to carefully read the formatting requirements under the "Detailed Specifications" section of the Import page! 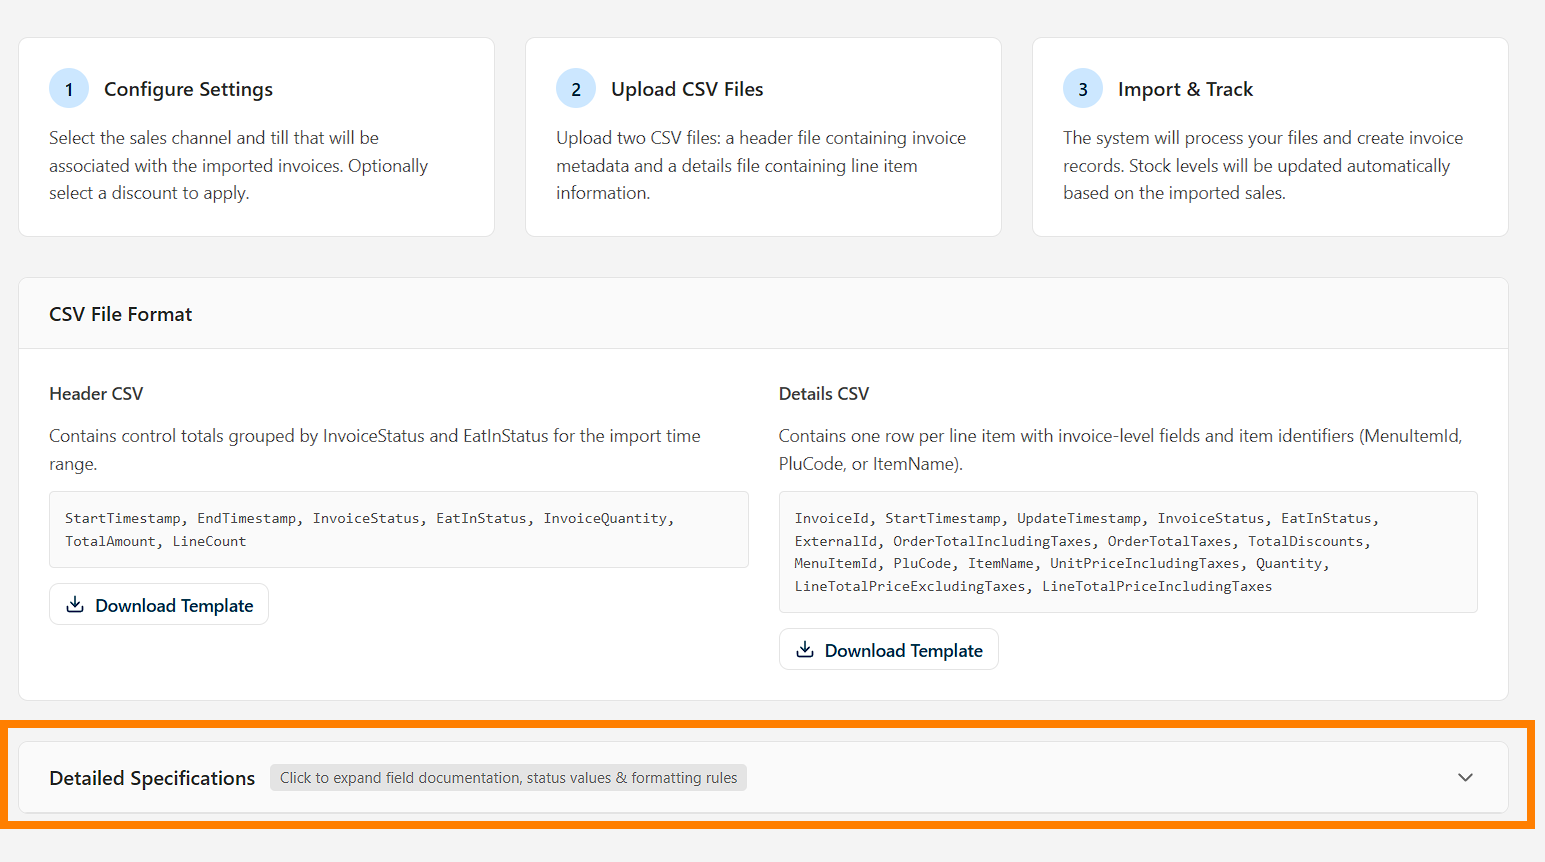 |
Import Configuration
When the data is ready, click Import Sales. You will be presented with options to set for this upload:
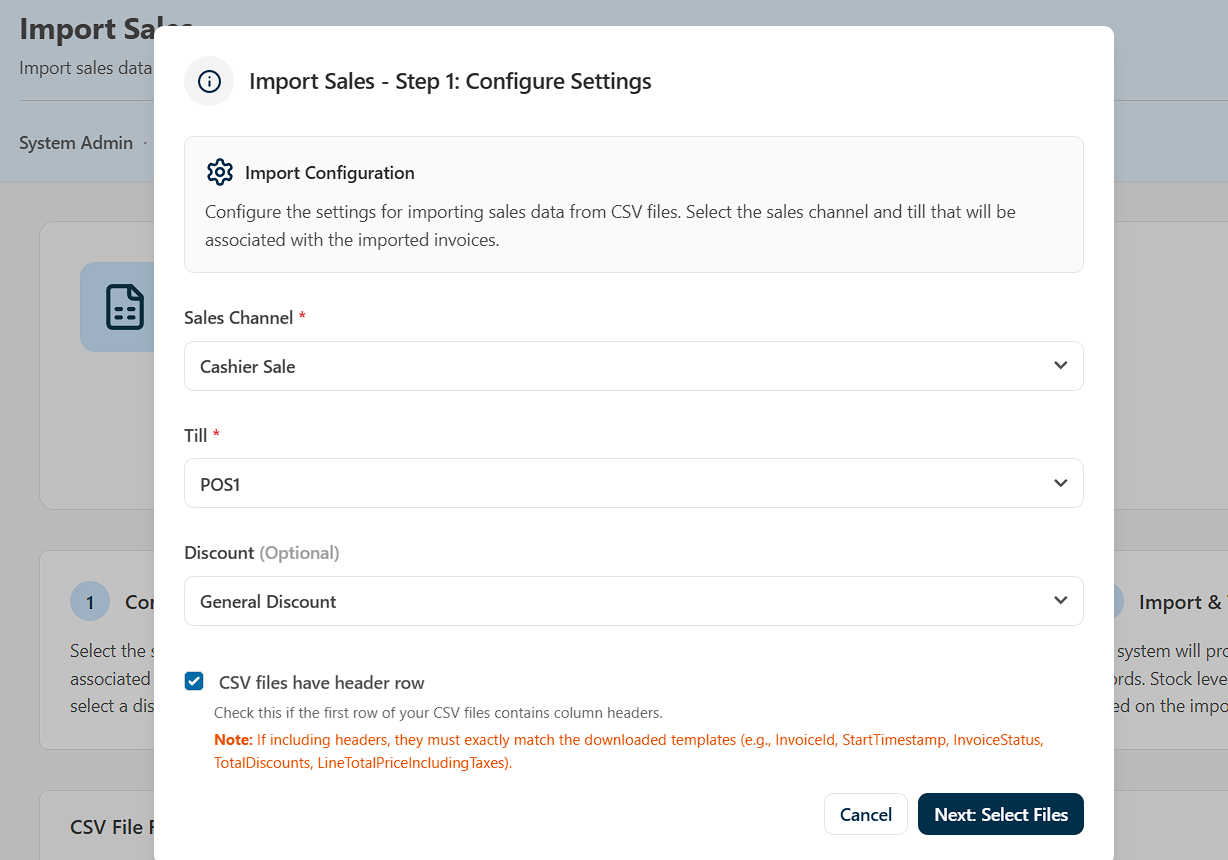
- Sales channel: Set the sales channel these sales should belong to. The 'default' channel is Cashier Sale.
- Till: Set the POS device (till) to associate with these sales.
- Discount: Set a discount to use for any indicated discounts in the data.
Thereafter, check to indicate if the CSV files you're uploading have a header row. If you are using the Templates files, this should be ticked.
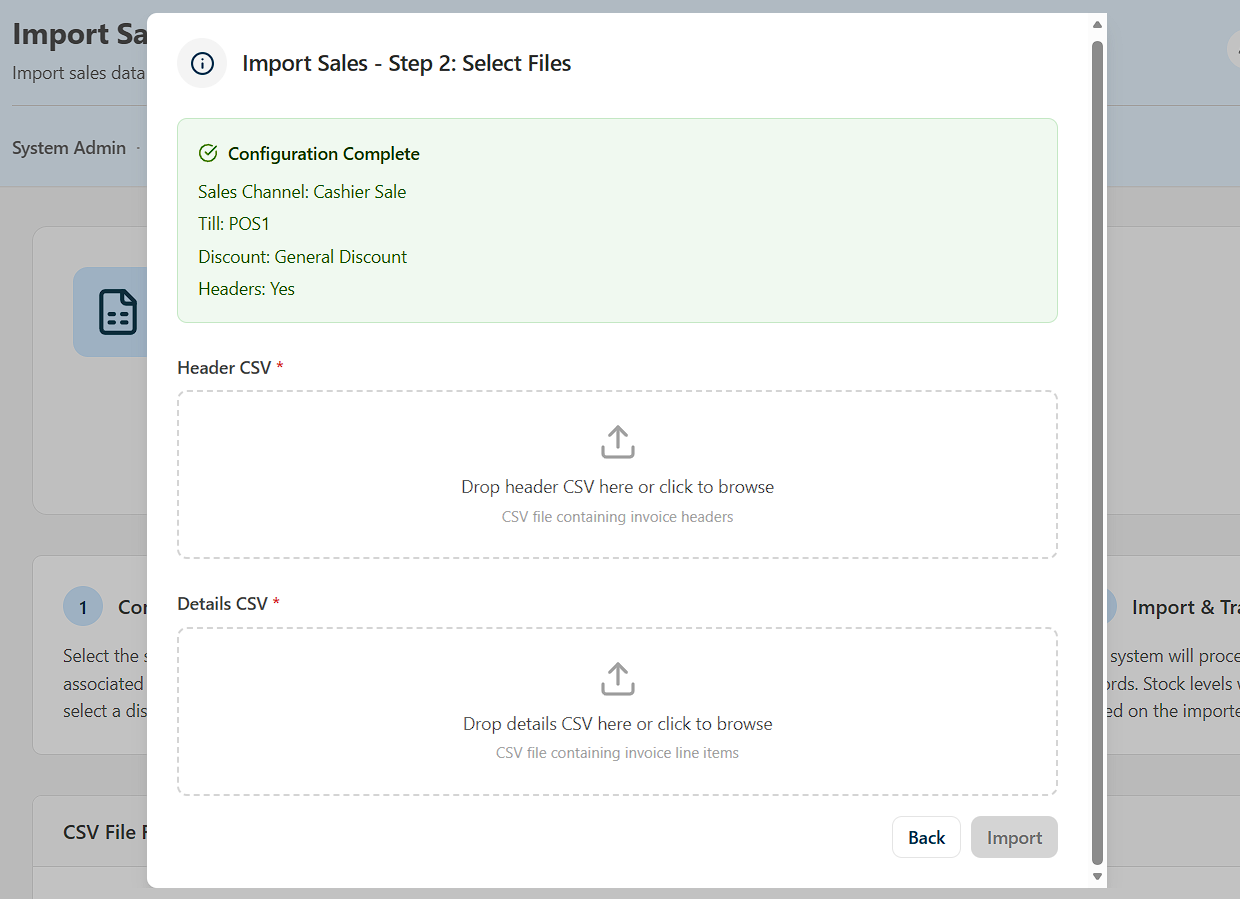
Once you've selected your files, click Import.
If all data is correctly formatted, the import will complete. If it fails, take note of any errors that will indicate problems with the formatting or missing items.