CounterPOS Settings
Tap Settings at the bottom of CounterPOS to open it's settings screen.
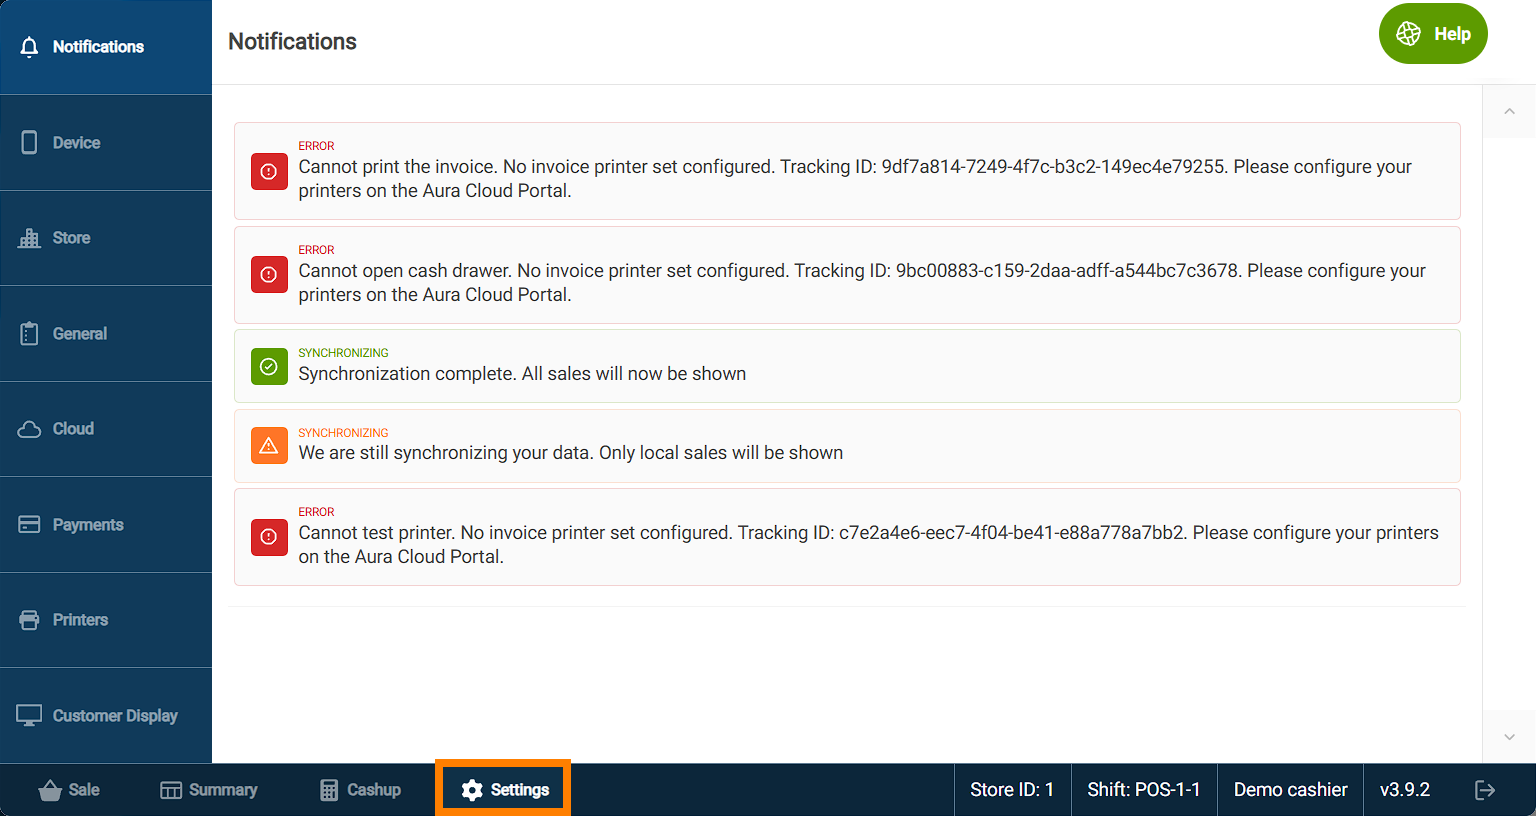
Along the left side of the screen are tabs that take you different setting pages.
Notifications
The Settings screen opens on the Notifications page by default.
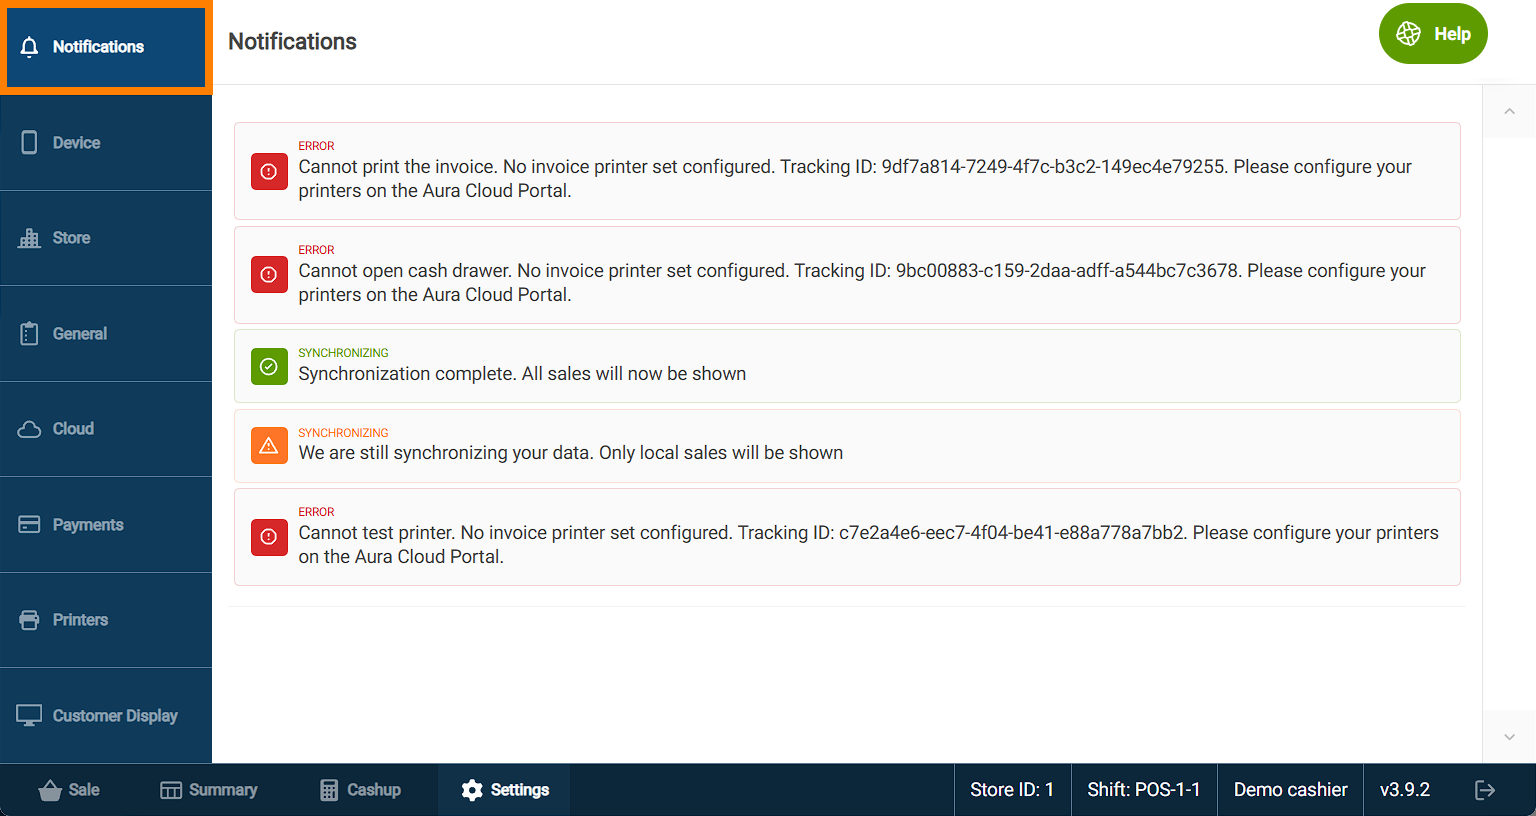
This page shows you all notification history for this session of CounterPOS (since it was opened).
This is useful in case you missed a notificaiton, or if you want to review an error message or alert that might be important.
Device
The Device page gives you technical information about this POS device. This information is mainly used by Cosoft staff for troubleshooting and debugging.
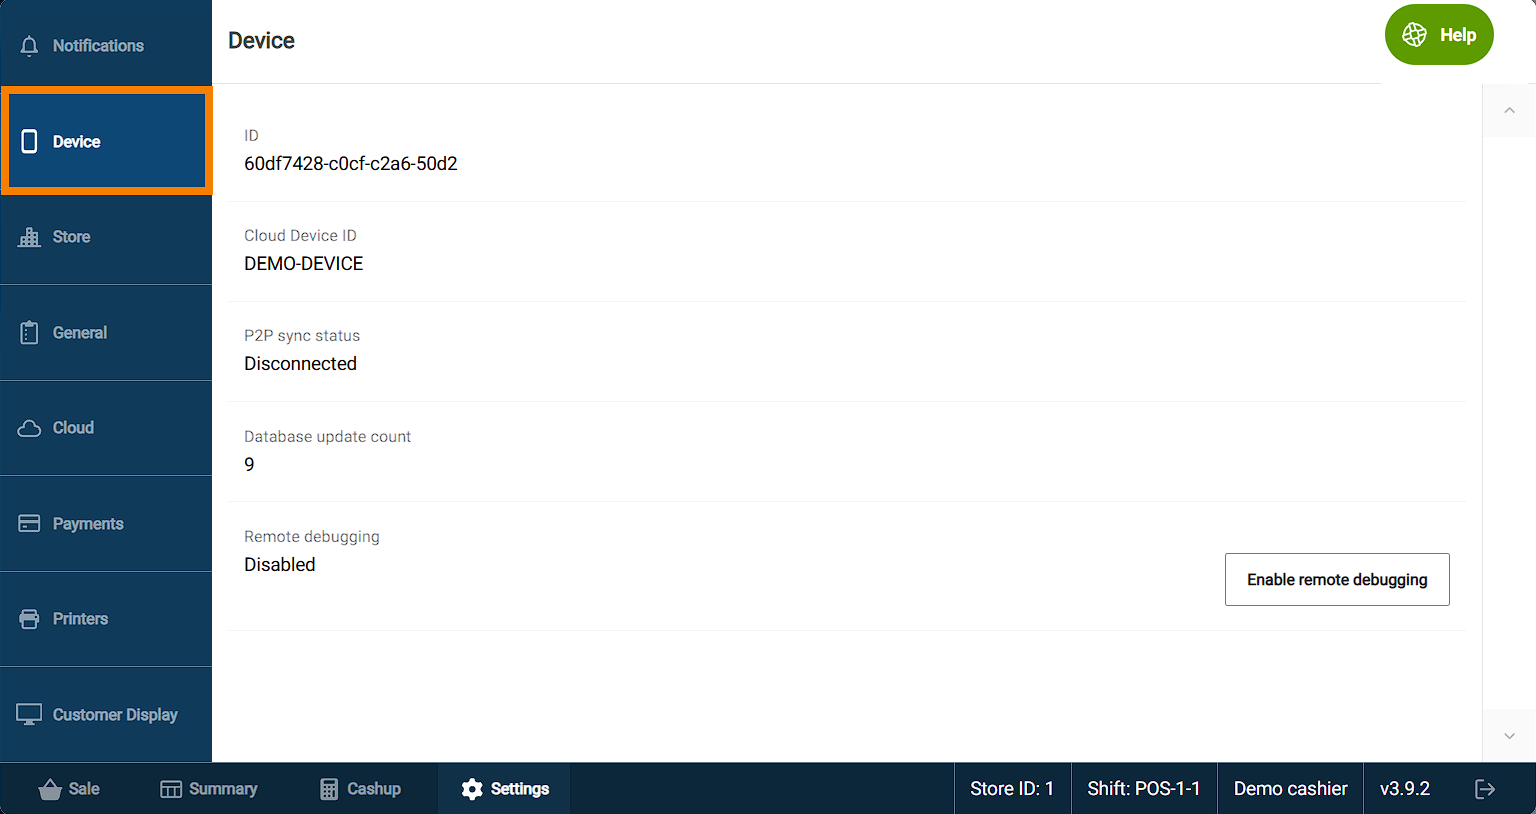
The button Enable remote debugging allows for advanced technical support operations, and should only be enabled at the request of Cosoft Staff.
Store
The Store page shows you the current Store information that will print on your receipts.
It includes the store name, address, telephone number, VAT number and VAT rate.
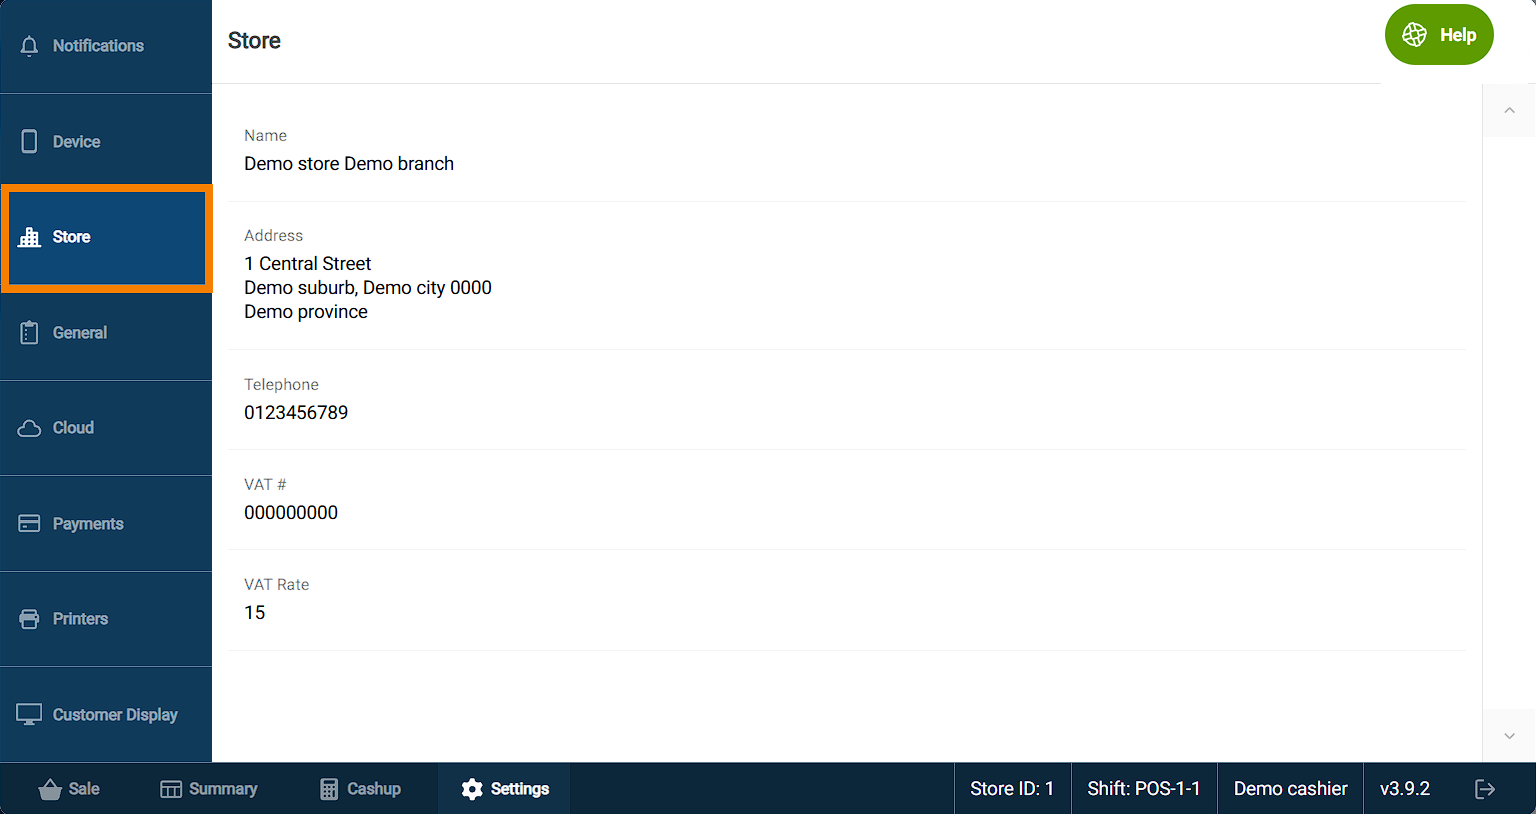
This information cannot be changed here, and is for reference only. This information is set on the Portal and can only be updated by a user with access to the store's Configuration page.
General
The General page is where you'll find most of the settings that affect how CounterPOS behaves.
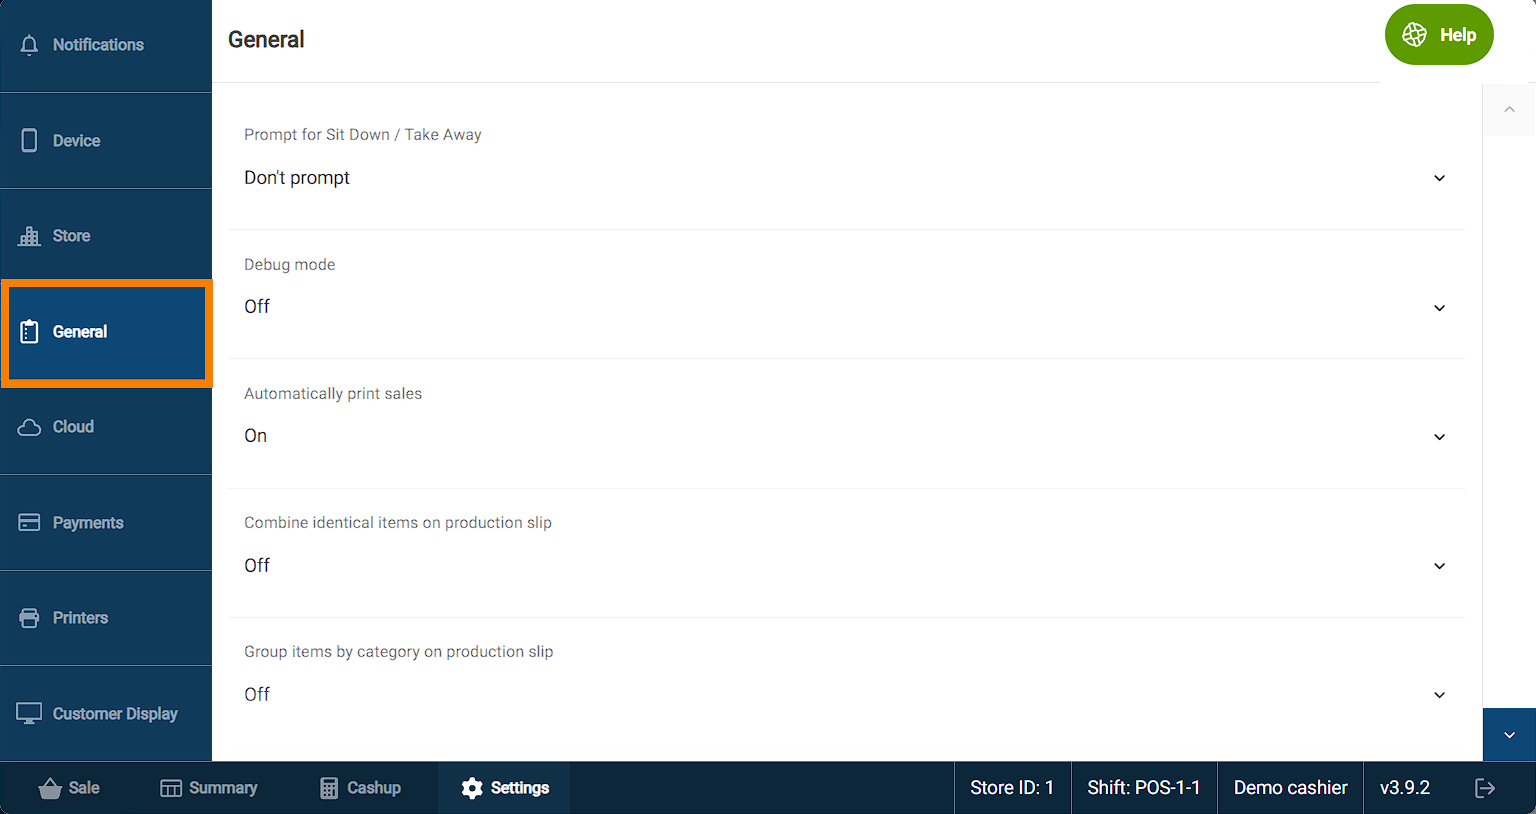
- Prompt for Sit Down/Take Away - This setting lets you choose if and when CounterPOS asks the cashier if the sale is for sit down or take away.
- Debug mode - Sets CounterPOS to give detailed error and alert messages that are used by Cosoft support to get detailed technical information. This should only be set at the request of Cosoft support agents.
- Automatically print sales - when on, CounterPOS will print the sale reciept automatically when completing a sale. If turned off, you can print the last sale using the Print Last button on the sale screen.
- Combine idential items on the production slip - when on, CounterPOS will group identical menu items on the production slip to one line and increase the quantity indicator for the item - e.g. if you were to ring up "1x Cheeseburger, 1x Milkshake, 1x Cheeseburger", it will print as "2x Cheeseburger, 1x Milkshake".
- Group items by category on production slip - when on, CounterPOS groups all items from the same category together regardless of the order they were rung up in - e.g. if you ring up "Burger 1, Drink 1, Burger 2, Drink 2, Burger 3, Drink 3", it would print as "Burger 1, Burger 2, Burger 3, Drink 1, Drink 2 , Drink 3".
- Font size multiplier - Use this to increase or decrease the size of the text across CounterPOS
Cloud
The Cloud page of the settings screen displays this POS device' registration information. It shows you the Brand, Store and POS IDs that this device is currently registered to.
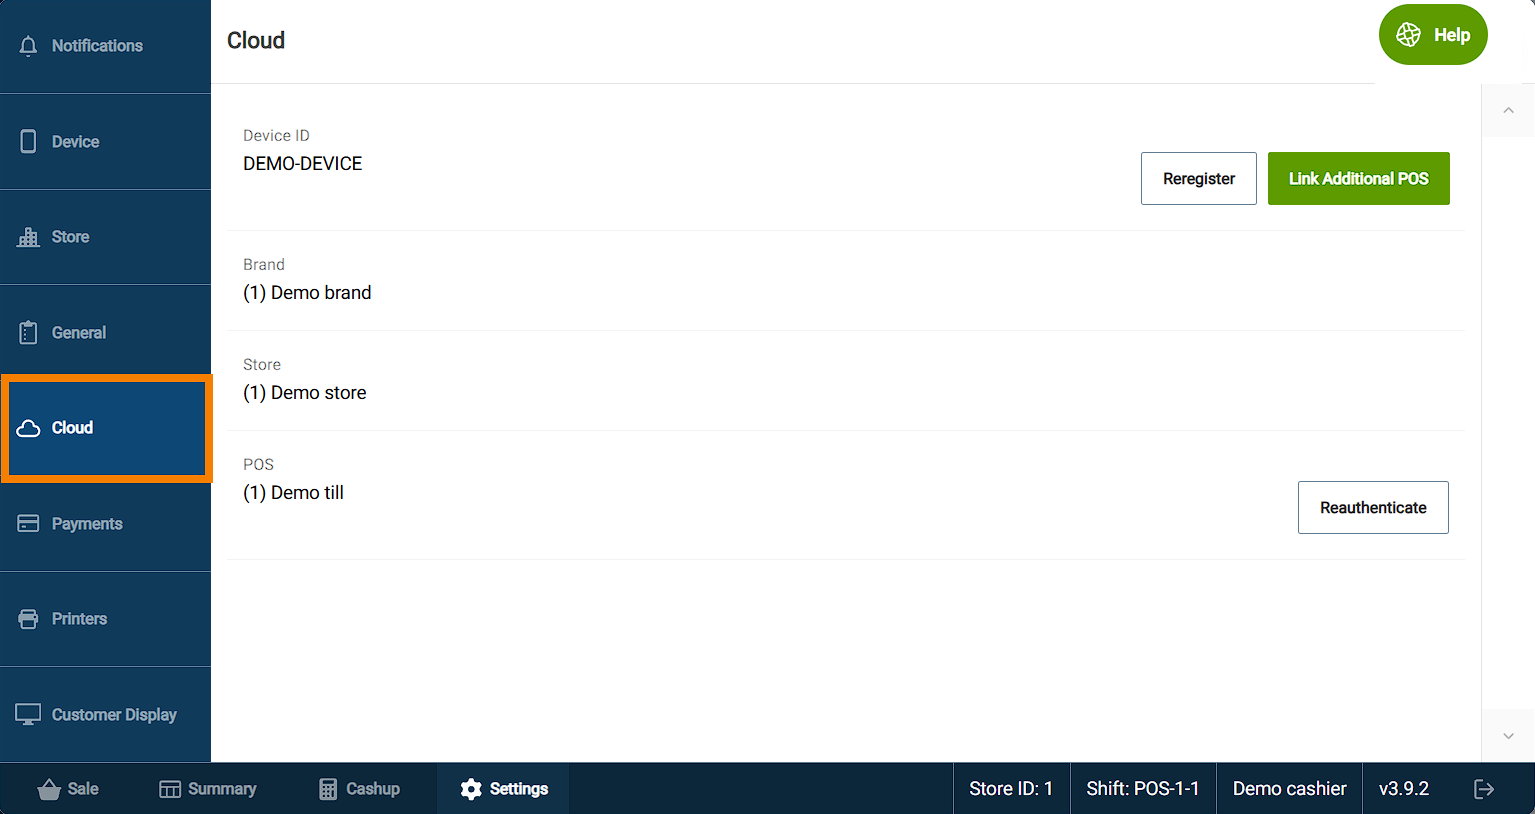
Note: Incorrectly registering or re-registering a device can result in lost sales information! DO NOT attempt to change registration without first cosulting Cosoft support. |
- Register/Reregister - If this device is not authenticated or yet linked to the cloud, this button will open the registration screen to allow you to register. However, if this is device is already registered, you will be prevented from re-registering without authentication from a Cosoft support agent.
- Link Additional POS allows you to register this device to multiple POS IDs- this only used in special store setups and should not be done without oversight from
- The Reauthenticate button causes CounterPOS to re-sync it's local information with the cloud. Note that CounterPOS syncs automatically so this option is mainly used by Cosoft support staff to test syncing service.
Payments
The Payments screen lets you configure options related to your payment methods.
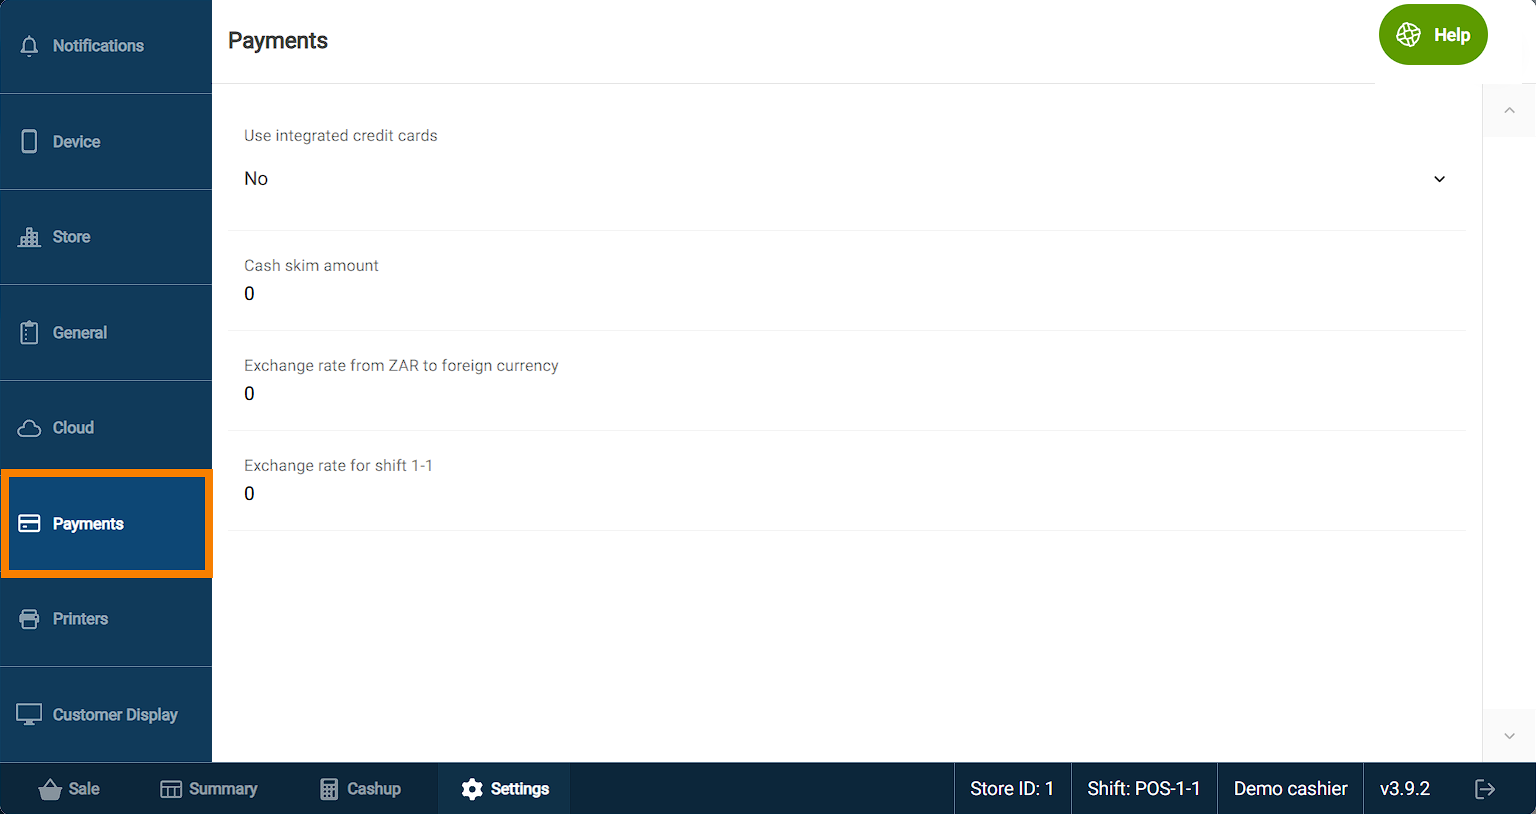
- Use integrated credit cards should be enabled when this device is using an integrated card payment service. Setting this to Yes will set the default Card option on the sales screen to use the integrated card payment method.
Note: if this setting is enable and you do not have an integrated card payment configured, you will get an error when trying to process card sales. |
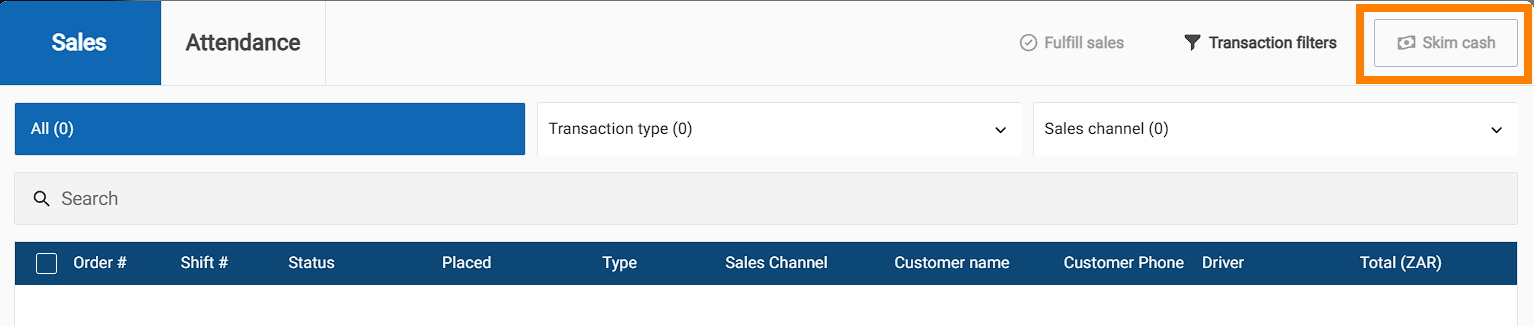
- Cash skim amount - set the value at which CounterPOS alerts you to skim cash from the till to be deposited into the safe.
When enabled, a Skim cash button becomes available on the Summary screen:
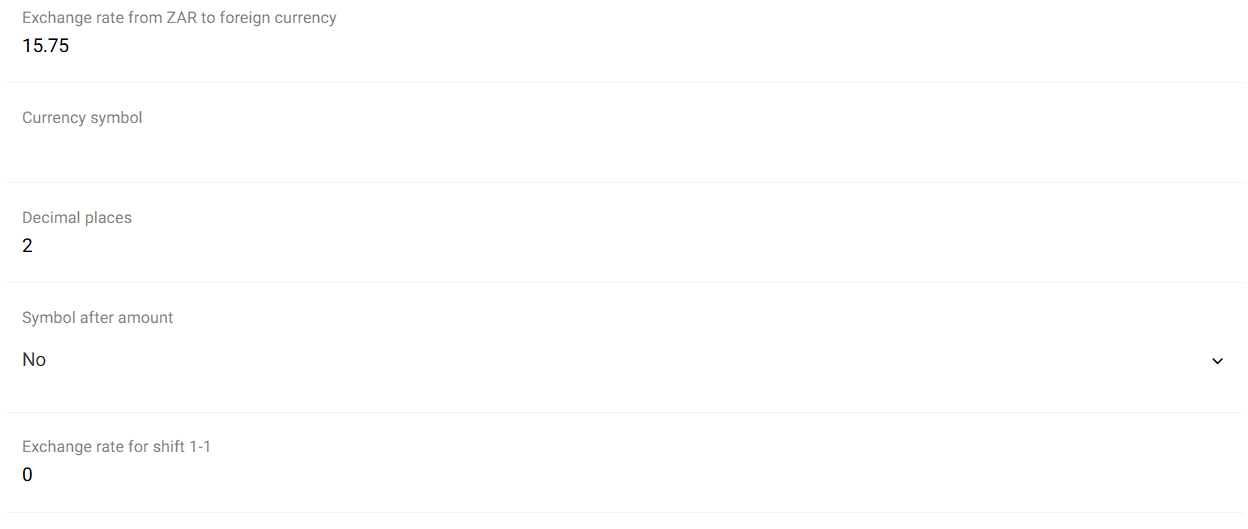
- Exchange rate from ZAR to foreign currency - set the exchange rate to your alternative currency here, if using another currency alongside ZAR. Entering an exchange rate presents additional options for the foriegn currency:
- Set the Currency symbol
- Set the decimal places the currency requires
- Indicate if the symbol comes after the amount or before
- Exchange rate for shift (X-X) - Lets you set a current exchange rate as of the start of the current shift.
Printers
Configure and review your local printer settings:
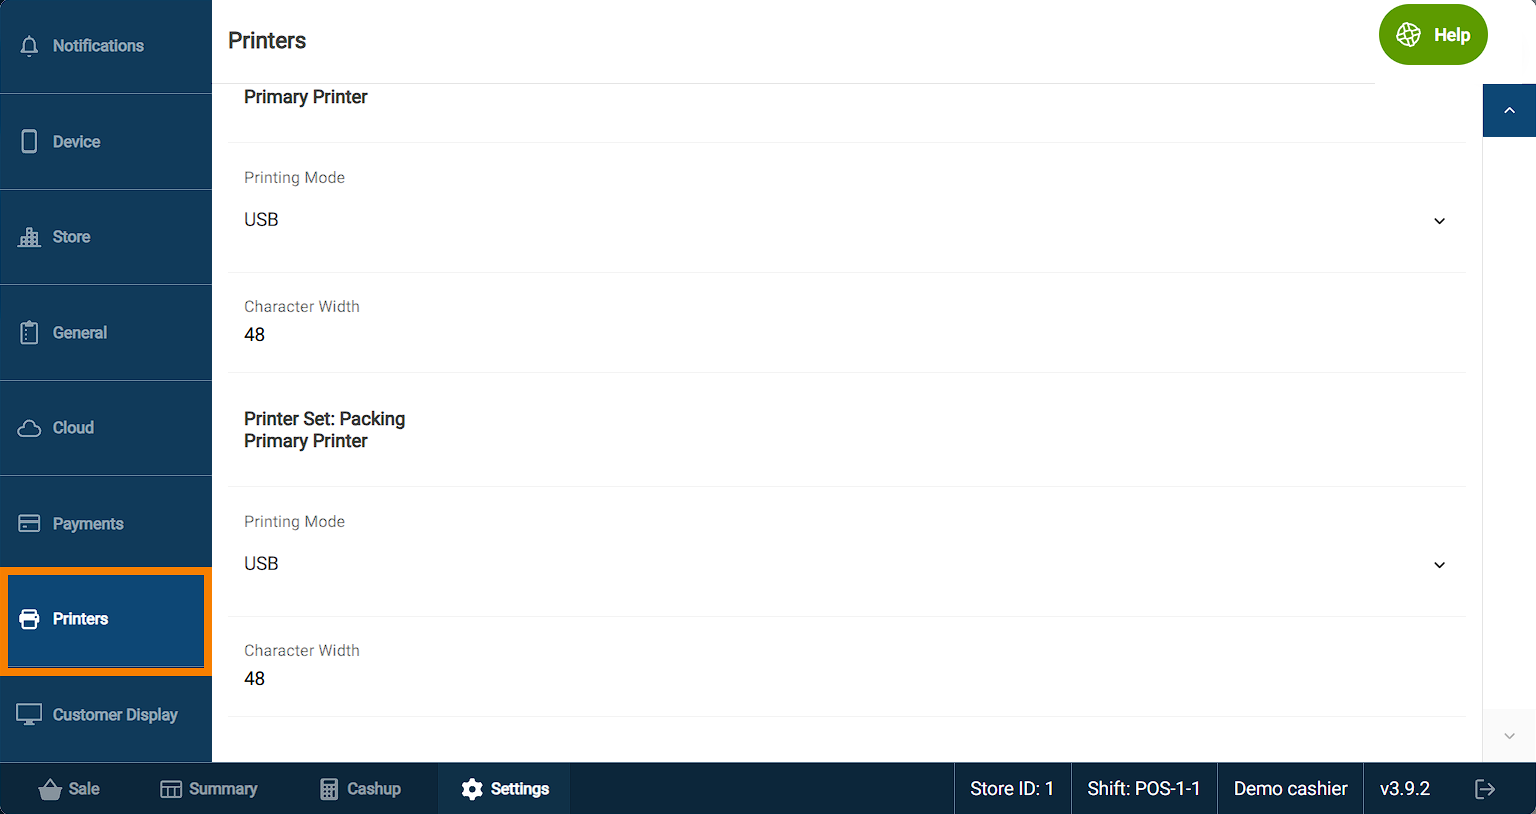
Depending on how your printers are configured on the Portal, you may see different options on this screen.
For each available printer, you will have two options:
- Printing Mode - select the interface you're using.
- USB links the USB printer device connected to this POS
- Bluetooth will open a selector to choose the available bluetooth printer device. Make sure the printer has already been paired to the POS device.
- Character Width is the number of characters available in a single line. This might need to be adjusted depending on the format of your printer, but the default for most printers if 48.
Customer Display
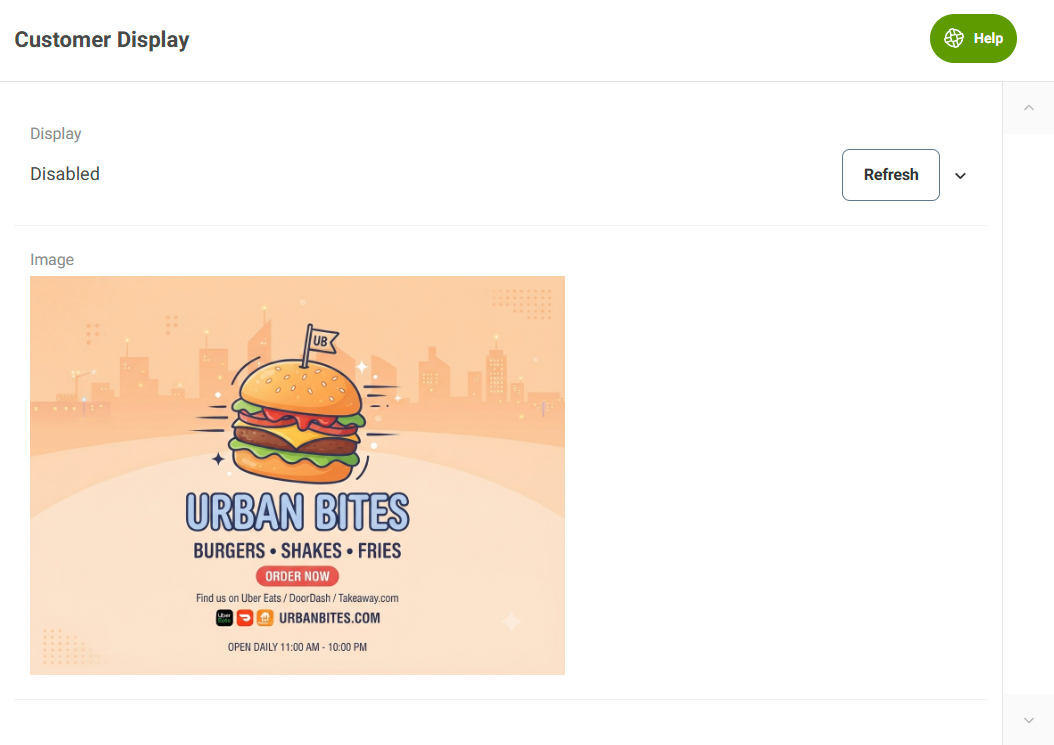
This page lets you set an image for your POS devices' customer-facing display.
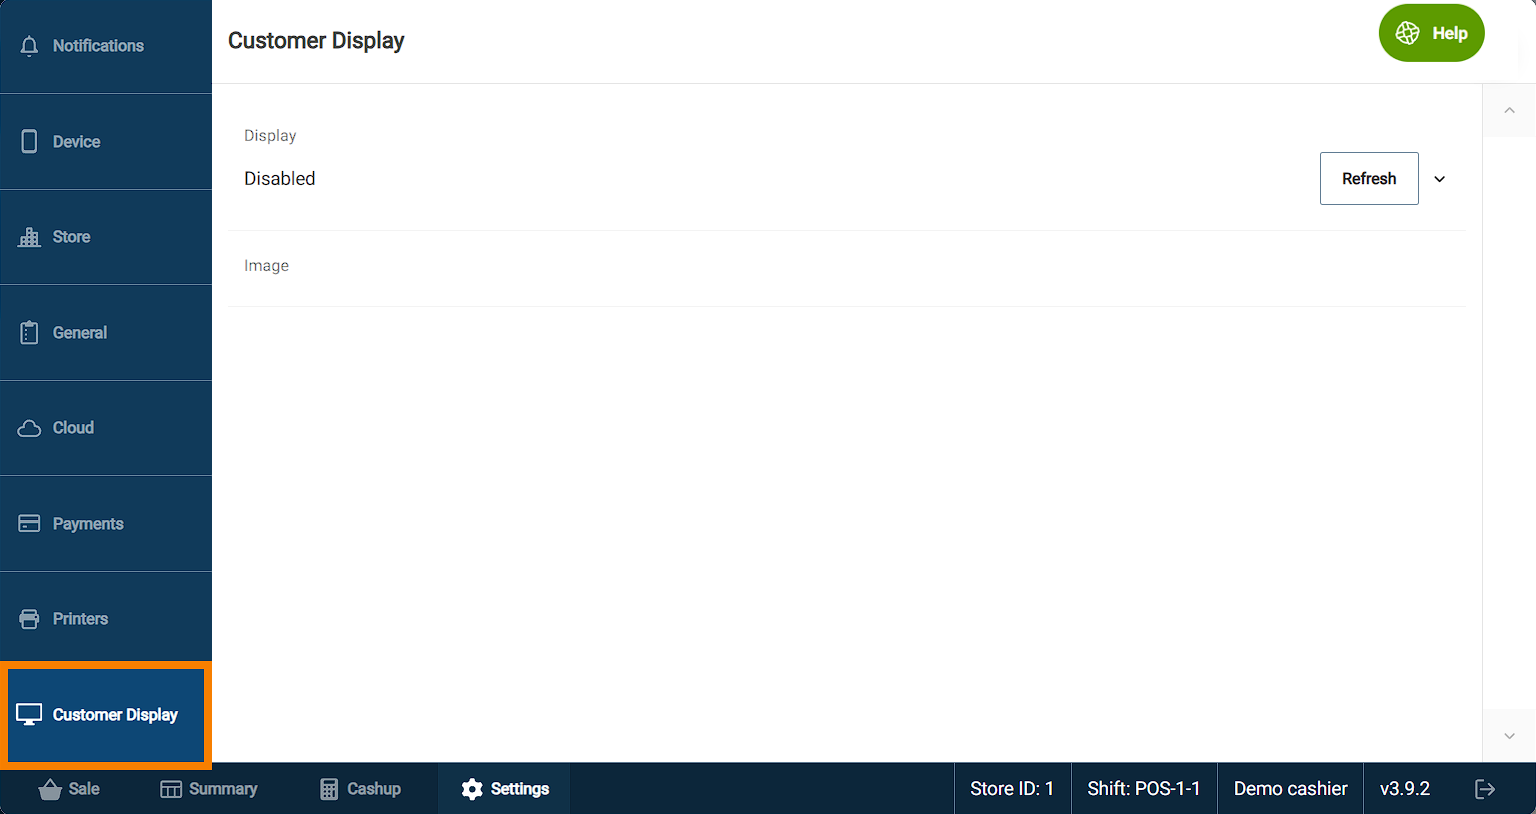
- Display - By default, the display is Disabled. Tap the drop-down to select which monitor (display) you want the image to appear on.
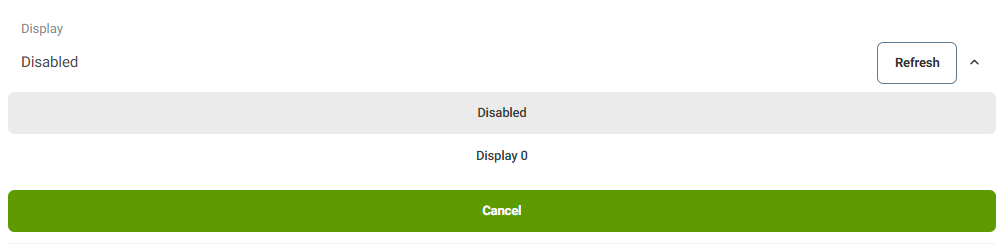
Note: If you select your primary display without an image set, the screen may appear to go white. To get back to CounterPOS, use a keyboard and press [Alt]+[Tab] to switch back to CounterPOS and change the display. |
- Image - Tap here to open a file explorer to select an image to appear on the customer display. Once added, a preview of the image shows on the page.