
Managing Stock Lists
The Stock Lists page helps organize stock items into different lists to improve your stock-taking flexibility.
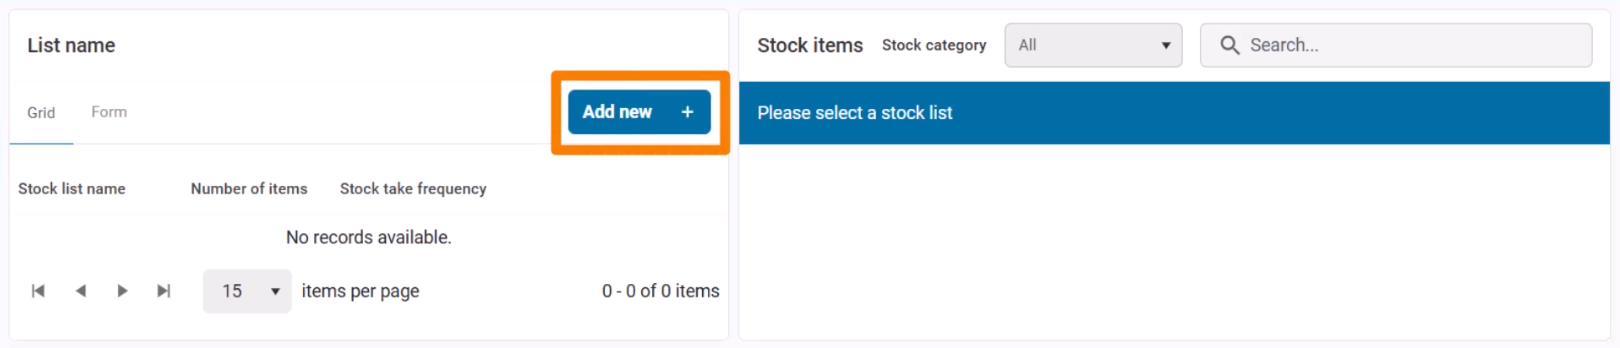
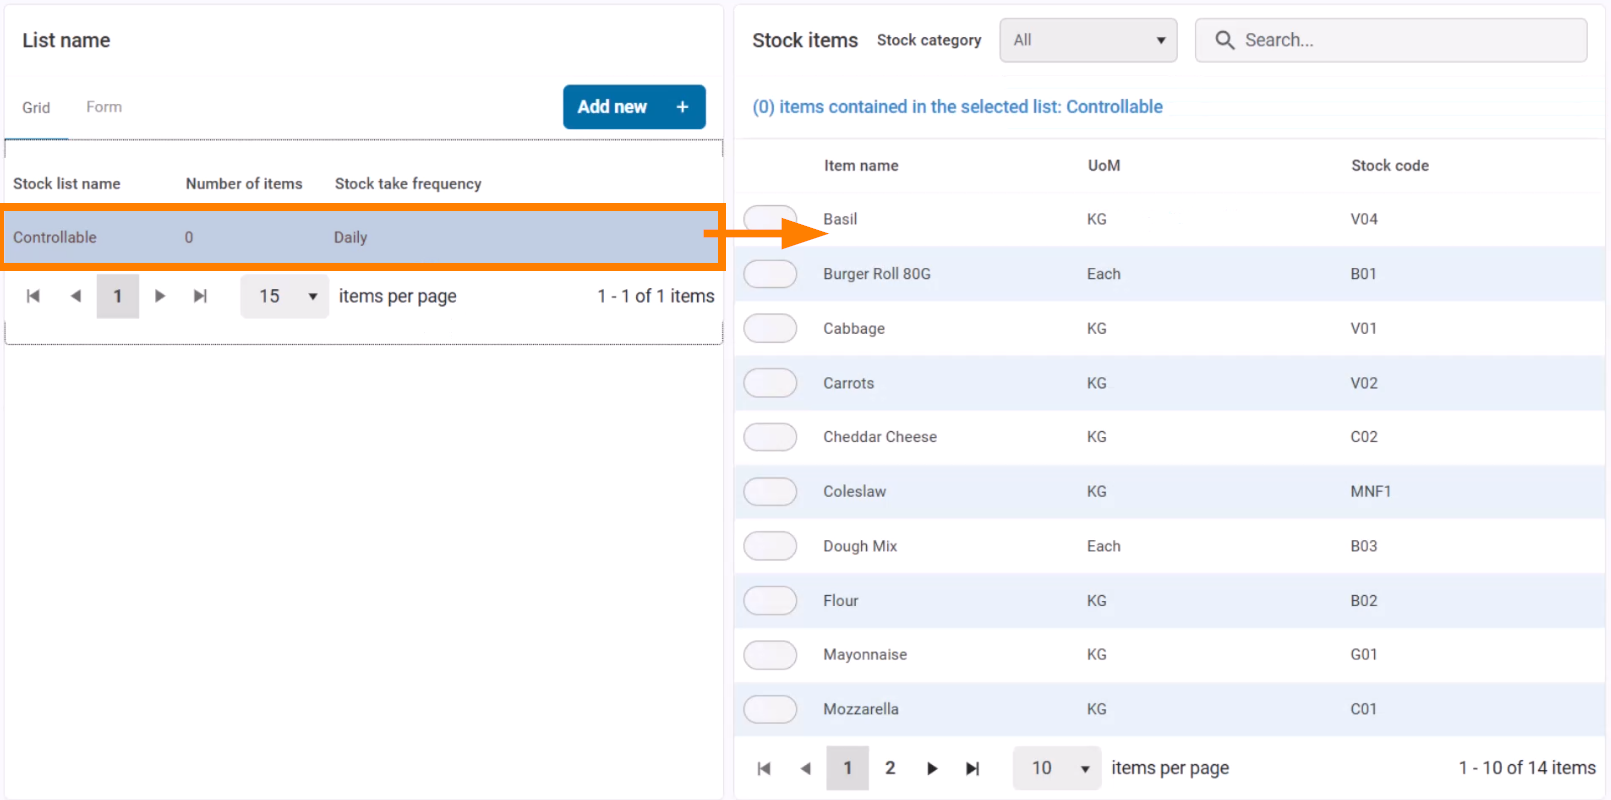
Step 1: Create a Stock List
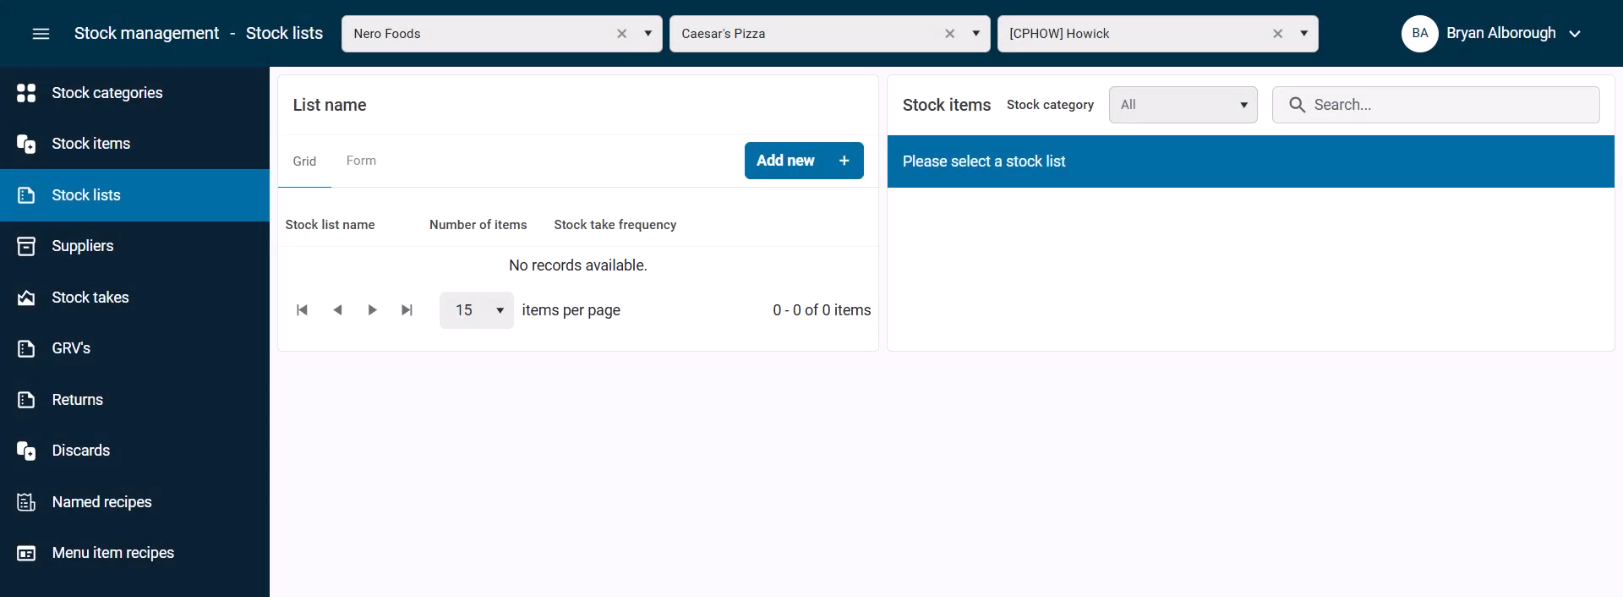
The page displays a table of existing stock lists. If none exist, you will need to add one.
- Click Add New.
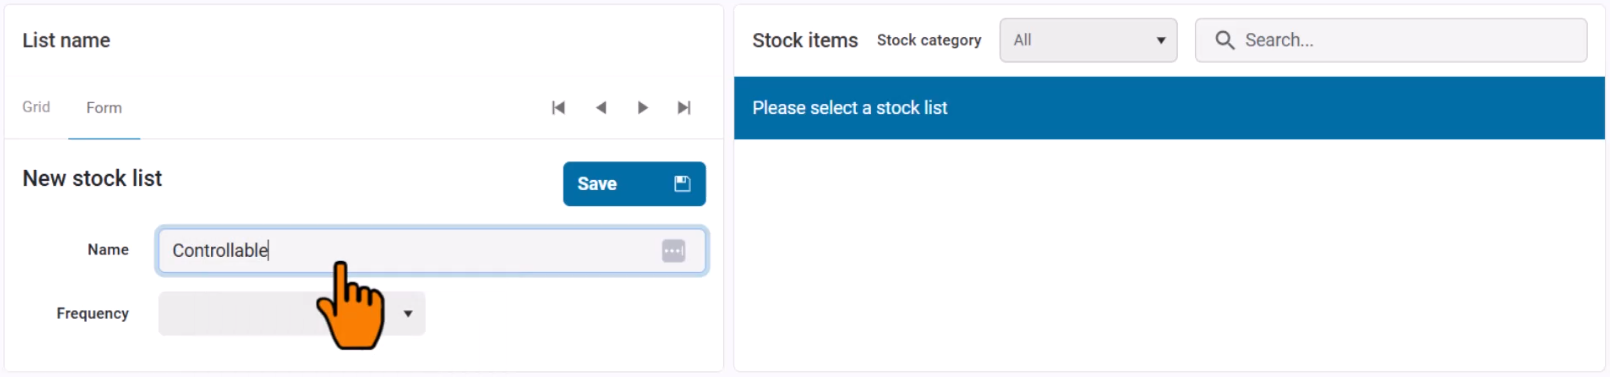
- Enter a name for the list (e.g., “Controllable”).
- Set the stock check frequency (e.g., Daily for high-risk items like meat and cheese).
- Click Save.

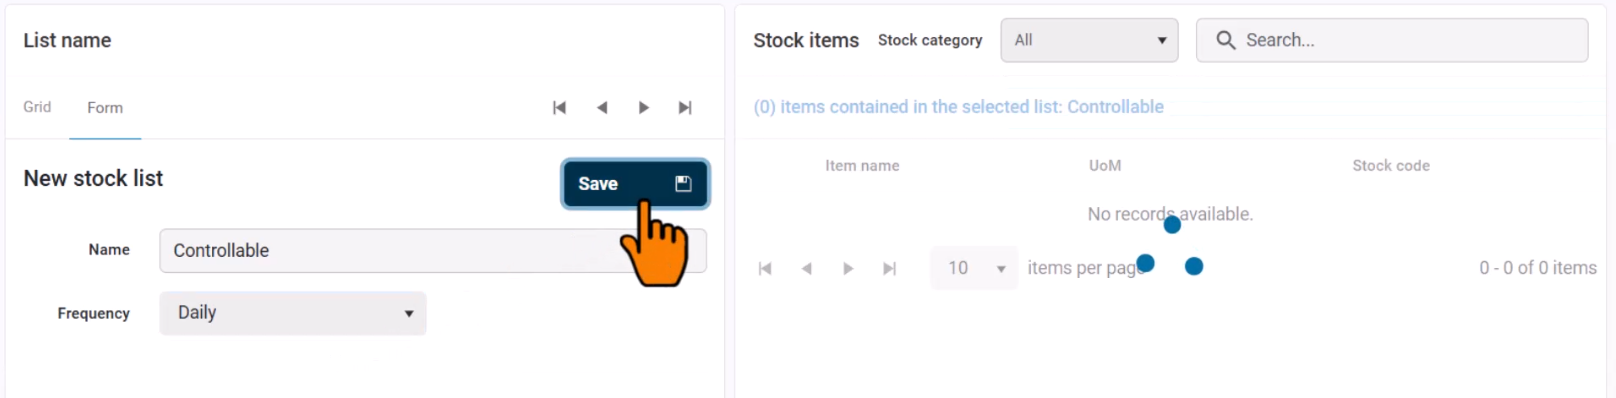
The new stock list will appear on the left side of the page.
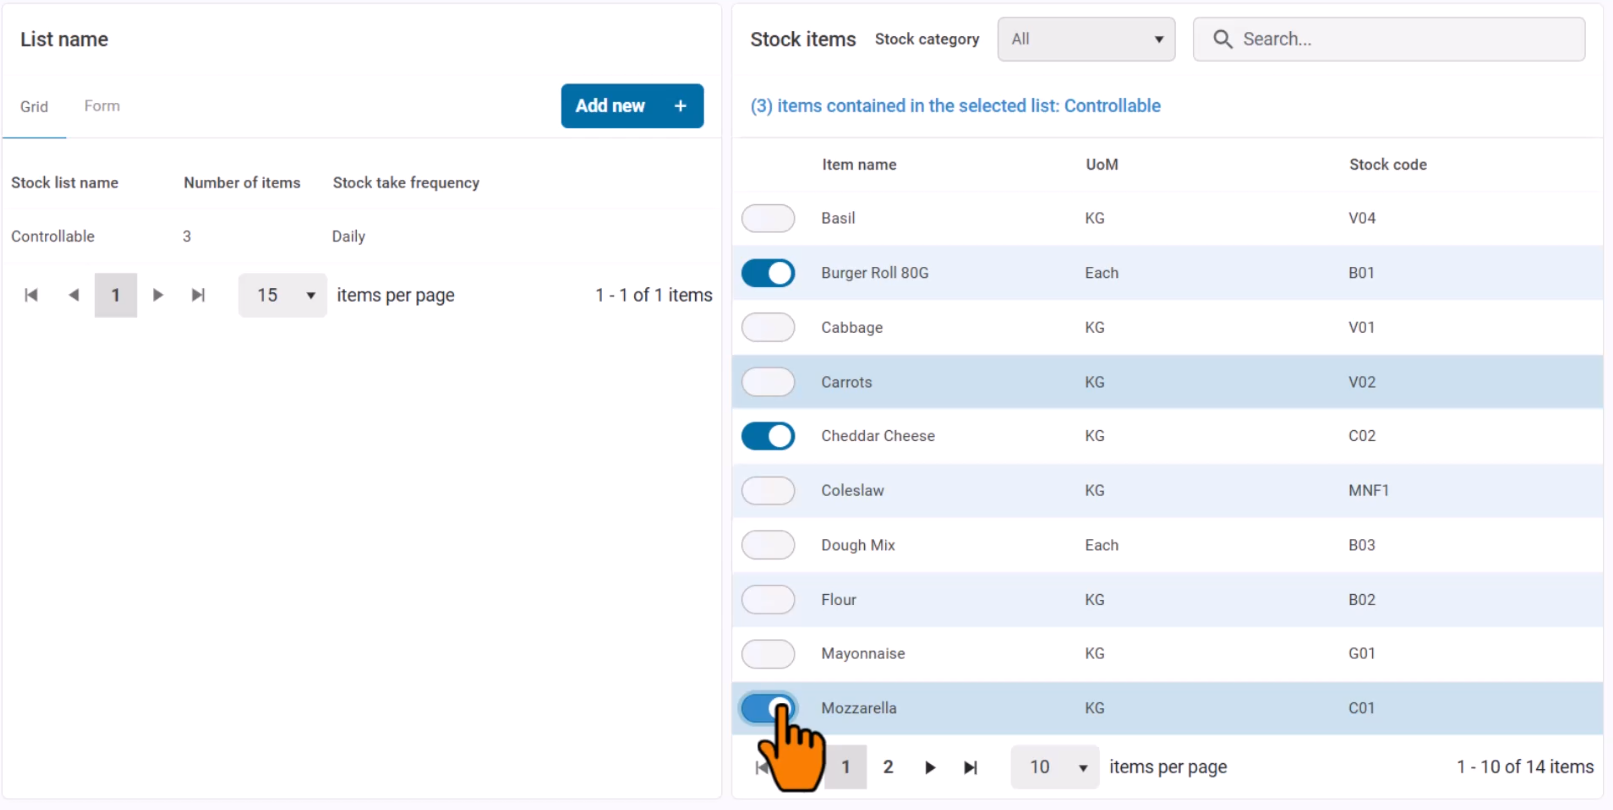
Step 2: Assign Stock Items to the List
After selecting a stock list, a table of all stock items appears on the right.
- Use the toggle switches to include or exclude items.
- Toggle On for items that should be part of the list (e.g., meats, drinks, cheese).
- Toggle Off for items that do not need to be tracked in this list (e.g., packaging).
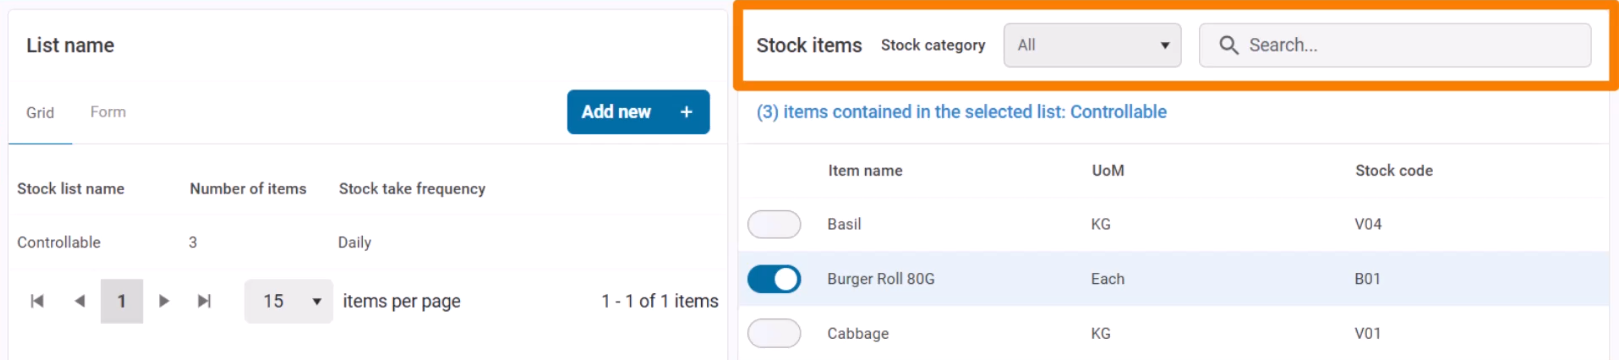
Using Filters and Search
To quickly find stock items:
- Filter by category to narrow down results.
- Use the search bar to locate a specific stock item by name.
Once configured, the stock list is ready to be used for stock takes.