
How to use the Menu maintenance page
| Note: If you have not yet set up a menu you will see an empty screen here. This is normal since no items, categories, variants, or option lists have been added yet. Follow the steps below to build your menu from scratch. |

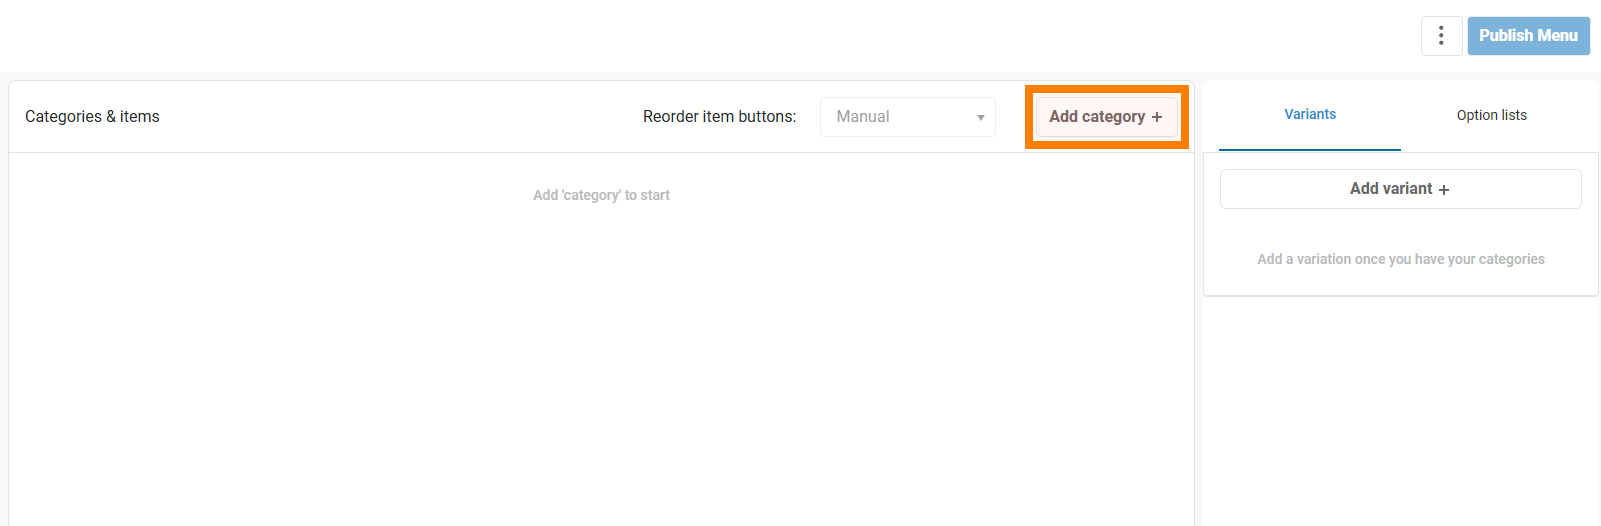
Step 1: Creating Categories
Categories let you group similar items. For example, you might create categories like Burgers, Pizzas, or Drinks to organize your menu.
To add a category, click Add Category.
A panel will appear where you can capture the category details.

- Add a category image - Click here to upload an image to associate with the category (optional).
- Category Name – The name of the category.
- Category description – Optional details about the category. Note that this description will be visible to customers using Self-Service Terminals and ordering online, so this description should be simple, informative, and appealing.
- Category group – This is optional and is mainly used for reporting purposes in order to analyse a specific group of menu items. e.g (Breakfasts, Dinners, Lunches, Starters, Main Course, etc.)
- Button Colour – The colour used for the category as displayed on CounterPOS.
- Food Preparation Time –This is the average estimated time taken to prepare items in this category, which is used for reporting and customer display systems. This will override the store's global prep time setting for items in this category.
- Hidden - You can hide a category from CounterPOS if needed. This might be necessary if you want to make a category unavailable for a time, or for a category where you keep items such as upsells which should not be rung up individually.
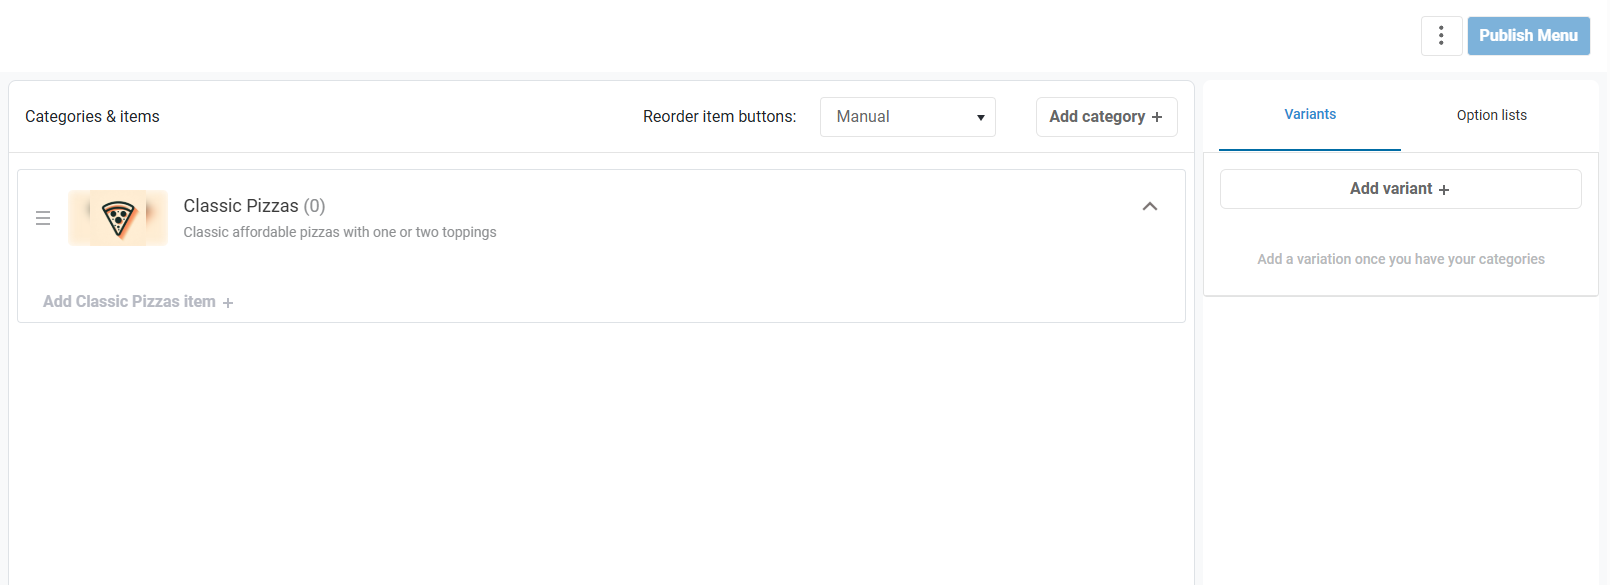
Click Save category to create the category. It will now appear in the category list.
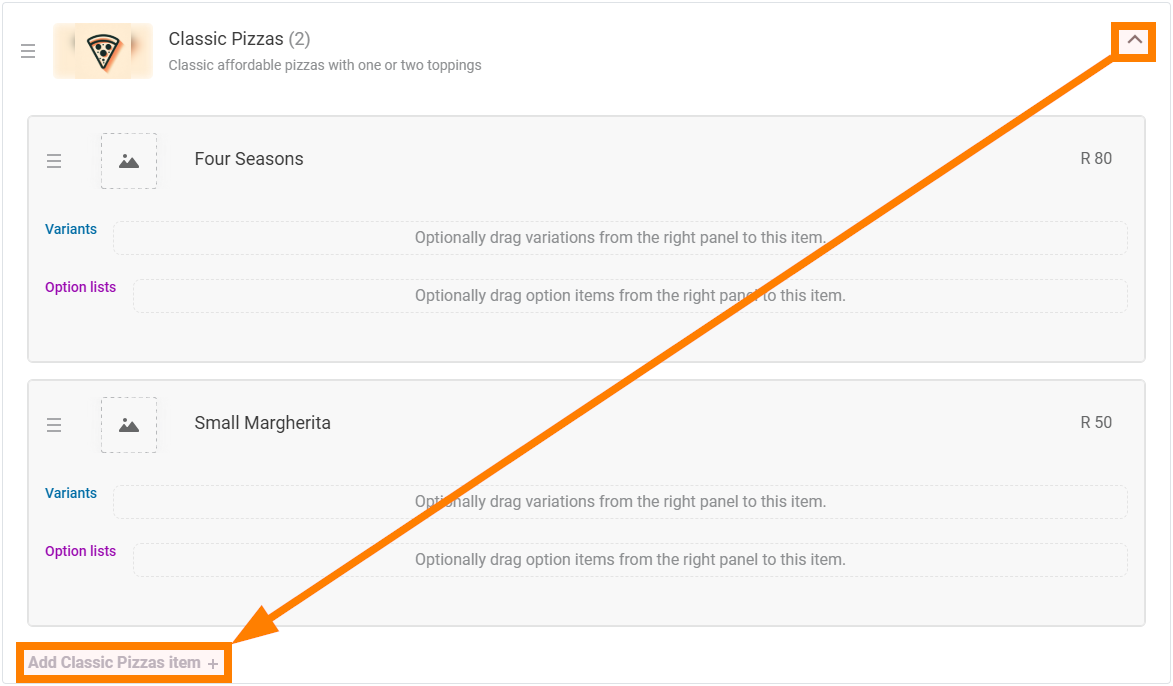
Step 2: Adding Menu Items
You can add items to categories by clicking Add (category name) Item + beneath the category header. On new categories it will appear automatically.

If the category already has items, click to expand to view all items in the category and then scroll to the bottom of the list.
A panel will appear where you can enter menu item properties.
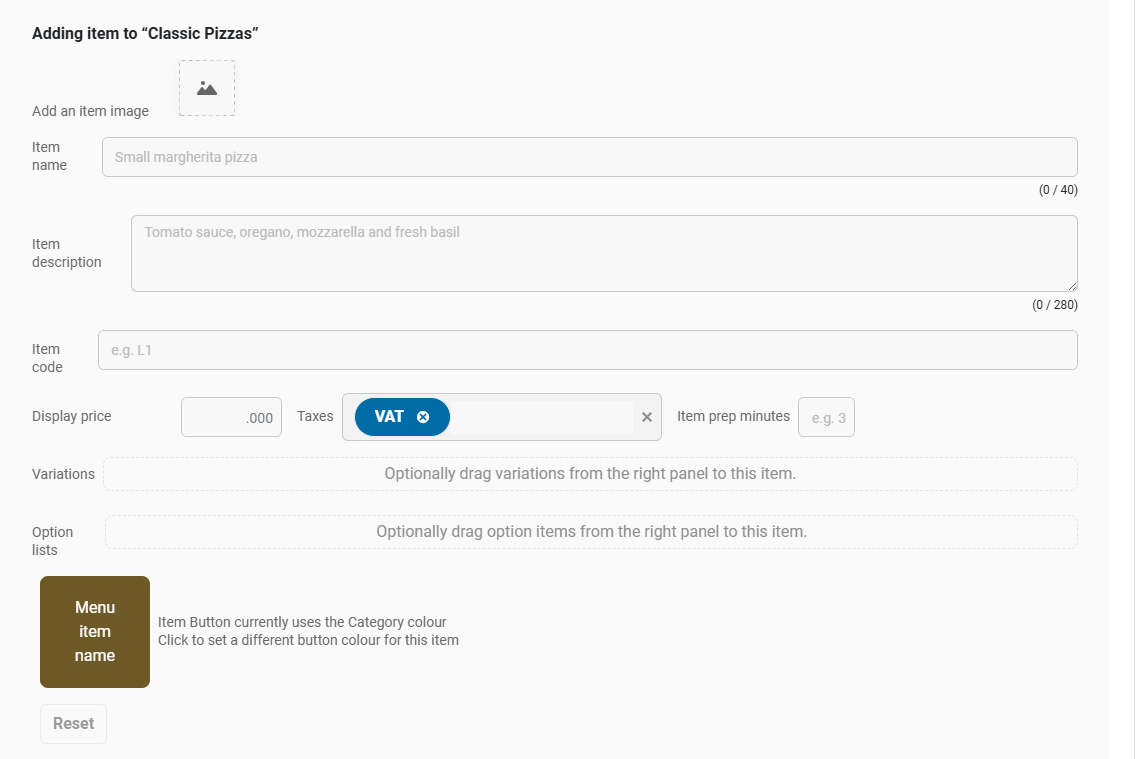
- Add an item image - Click to upload an item to be associated with this item (optional).
- Item Name – The name displayed in your POS.
- Description – Optional details about this item.
- Item code – The unique PLU code for this item.
- Display price – The selling price of this item.
- Taxes - Select pre-set tax options, such as VAT.
- Item prep minutes – Estimated time for making this item.
- Variations- Set a variation for this item by dragging an item from the Variants tab (A small pizza would need the "small" variant, for example). Note that only one variant can be set for a menu item. See below for more detail on variants.
- Option lists - Set an option lists for this item by dragging an item from the Option lists tab. You can apply multiple option lists to an item.
- Button Colour – Overrides the category’s button colour if customized.
Sales channel availability and pricing allows you to specify different pricing for different sales channels. For example, if you are using UberEats or another third-party delivery system, you can specify that this item will have a different pricing, and you can toggle the availability of this particular item on that channel.
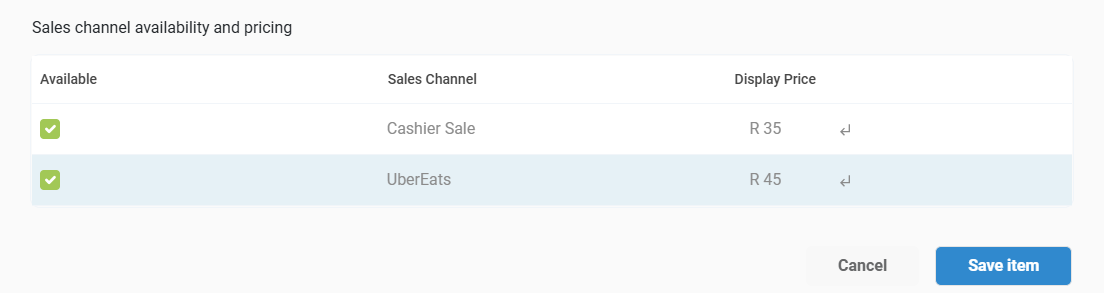
Click Save item to add the item to the menu.
Once saved, the item will appear in its assigned category. You can edit or remove items at any time.
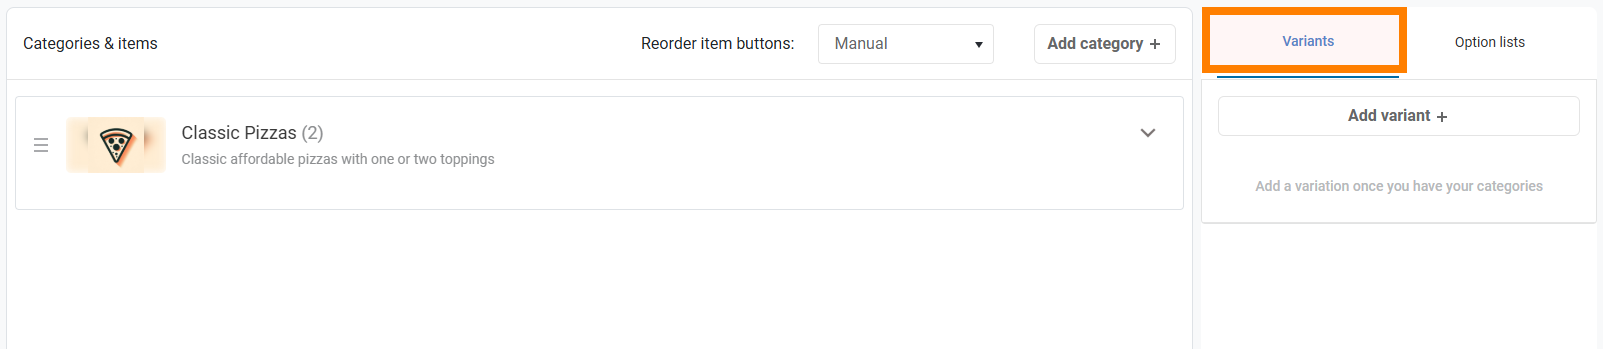
Step 3: Adding Variants
Variants are used for items that come in different sizes or types, such as pizzas available in Small, Medium, and Large.
Go to the Variants tab.
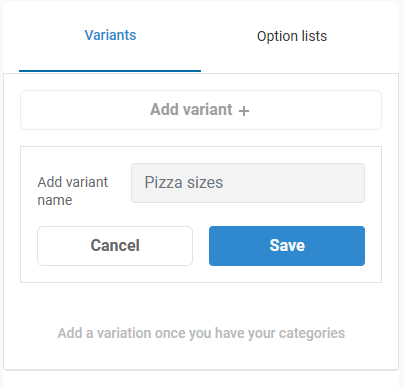
Click Add Variant and name your variant group (e.g., "Pizza Sizes"), then click Save.
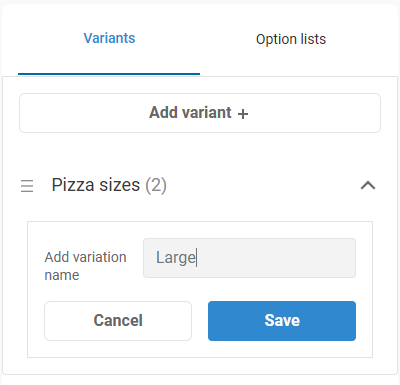
Add the different Variant options (such as "Small"/"Medium"/"Large" etc) and click Save after each.
To assign a variant to a menu item, drag the variant by its handle icon and drop it onto the variant field of the item.
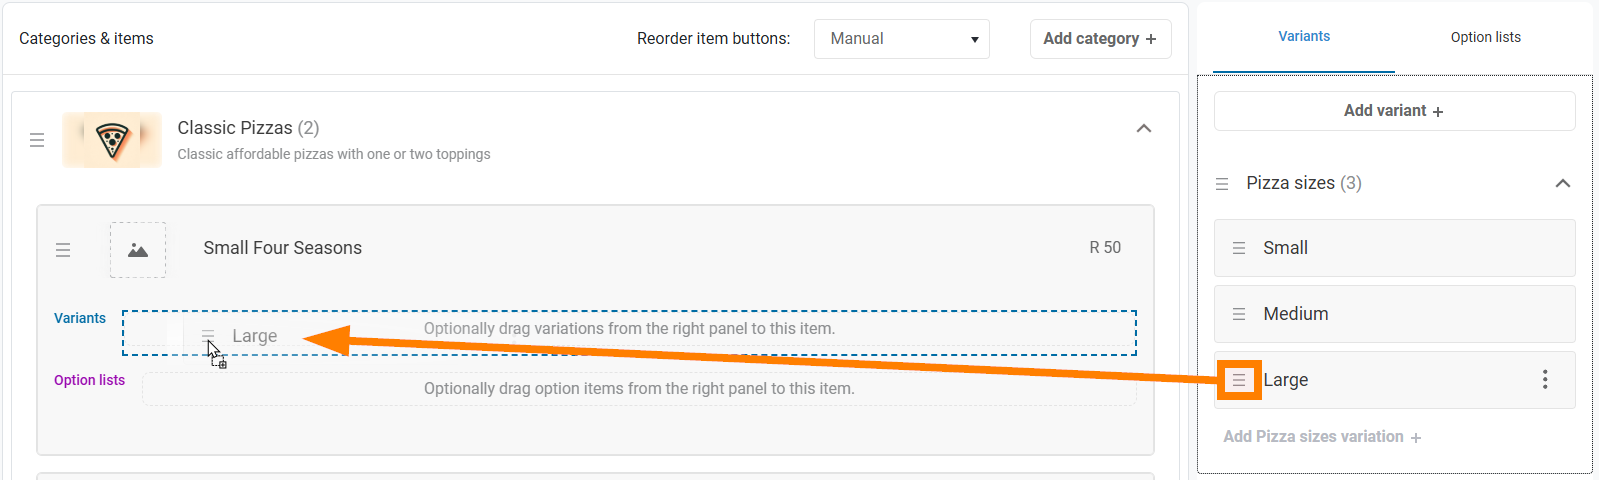
| Note: Only one variant can be assigned per menu item. If an item has multiple variants (e.g., different prices or recipes per size), you will need to create a separate menu item for each. |
Step 4: Creating Option Lists
Option lists allow the POS system to prompt for additional choices, such as offering extra cheese for a pizza or upselling a drink with a meal.

On the Option lists tab, click Add option list.
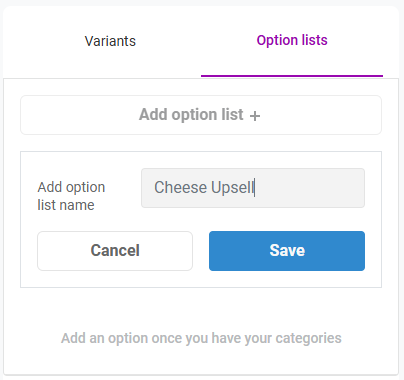
Name the list (e.g., "Drink Options" or "Cheese Upsell"), then click Save.
Now items will need to be added to this list. Click Add (option list) items

Note that the menu items you wish to add to option lists will need to have already been created. For this example, we want to add "Extra Mozzarella" and "Extra Cheddar", so we've already created those items in the main item list, in a category called "Extras".
A properties panel will open.
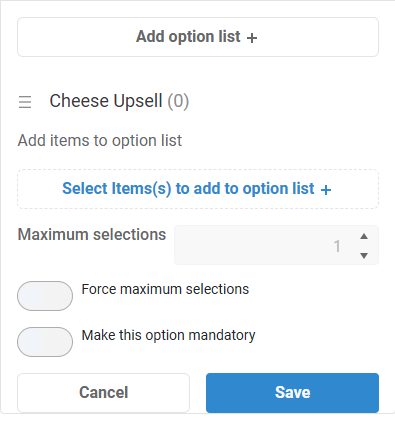
Click Select Item(s) to Add to Option List +. A panel will open allowing you to search through your menu for the items to add to this list.
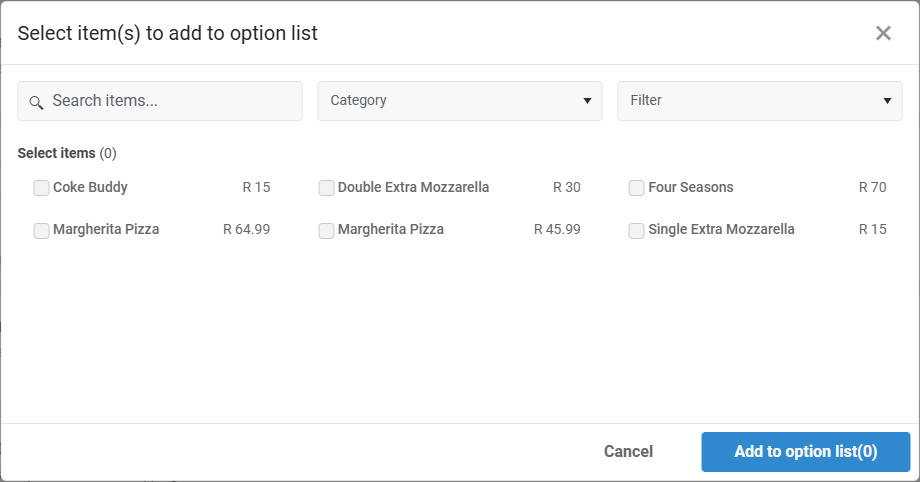
Choose the necessary menu items and click Add to option list.
- Maximum selections - specify the maximum number of times an option may be selected.
- Force maximum selections - enabling this means the user is forced to select the maximum number of options.
- Make this option mandatory - the user must make a selection from this option list before the item can be saved.
Click Save to save the List.
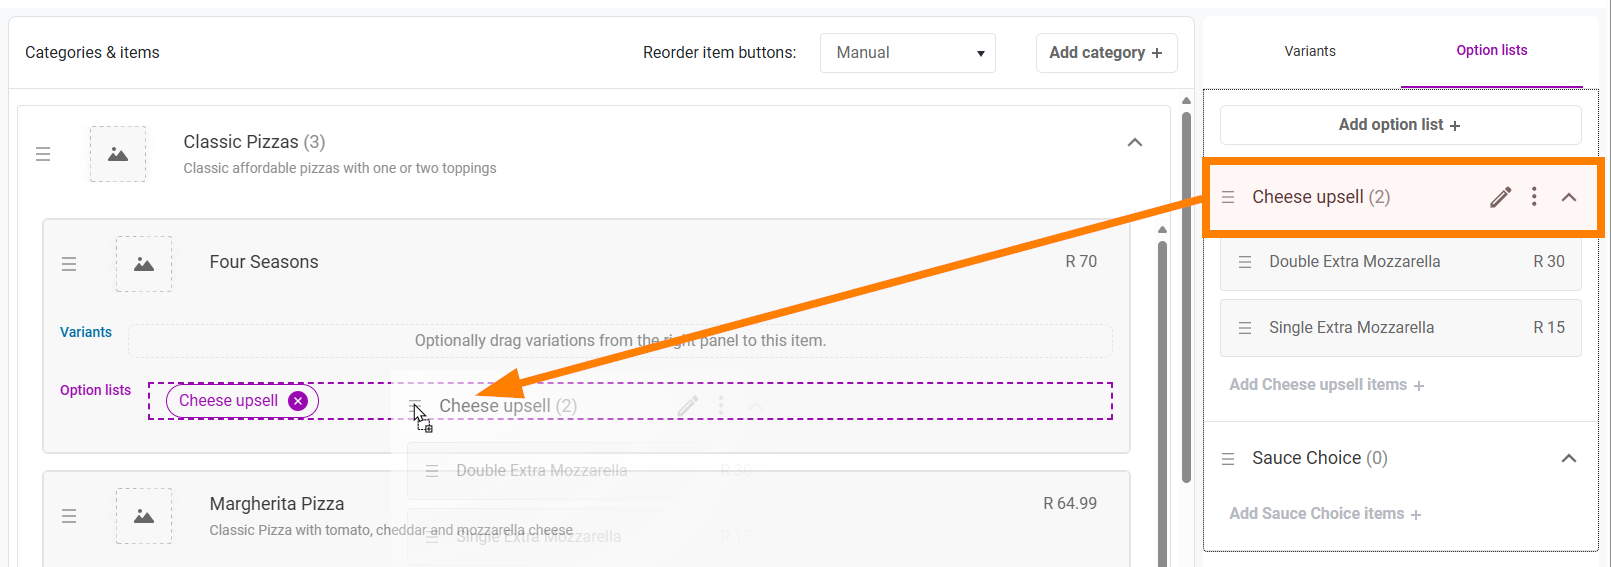
To assign an option list to an item, drag the option list by its handle icon and drop it onto the item’s option list field.
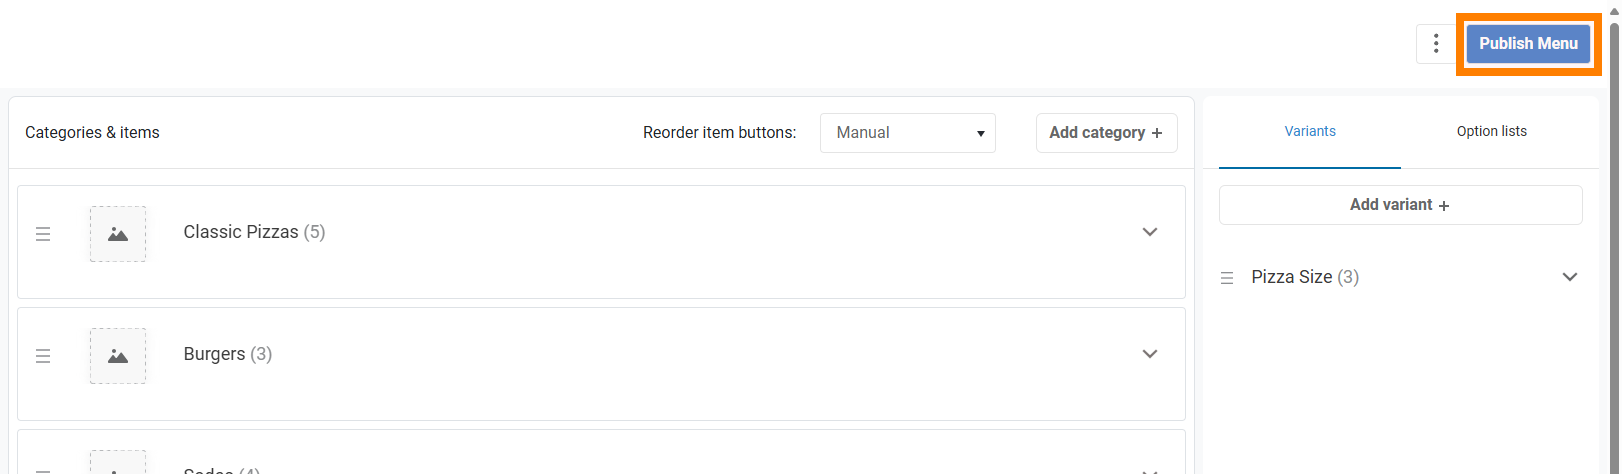
Step 5: Publishing the Menu
Once you have set up your menu, click Publish Menu. This will apply your changes and make the menu available on your CounterPOS devices.
You will be presented with publishing options.
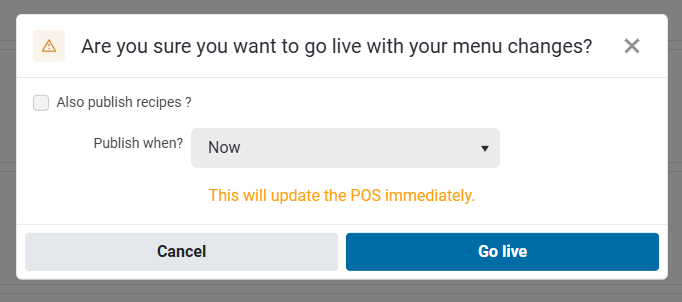
First, you will have the option to Also publish recipe/recipe changes - this will include any updates to recipes you may have done on the Named recipes or Menu item recipe pages.
Next, you have the Pulish when option, which lets you choose when you want the menu changes you've made go live to your POS devices.
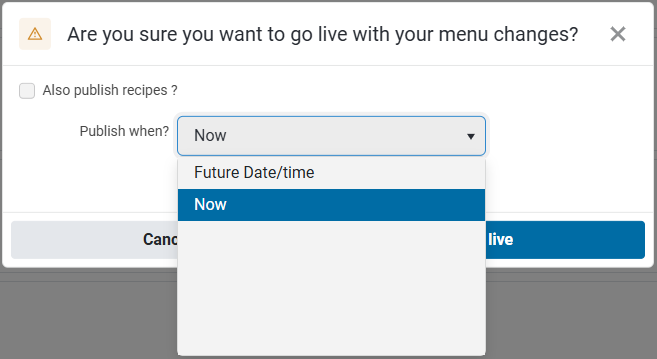
- Publishing Now will update the menu immediately.
- Selecting Future Date/time lets you specify a publish date for your changes to go live. This is useful if you want to, for example, create a change for a new weekend special earlier in the week. You can make the change, and schedule the new menu to go live on Saturday morning.
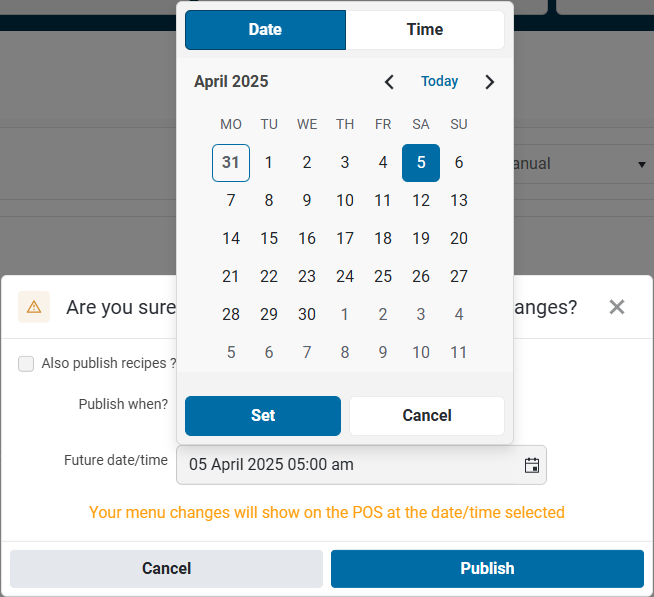
Click Publish to commit the changes.