
How to cash up your POS shifts in CounterPOS
At the end of the cashier shift,you'll need to complete the POS shift cashup.
This process saves all the information entered into the system during the shift and comparing that with the information entered by your employees, this will give an indication of whether the employee has added all transactions and added all the payments to the till.
Accessing the Cashup Screen
To access the cashup screen, tap the Cashup tab at the bottom of the screen:
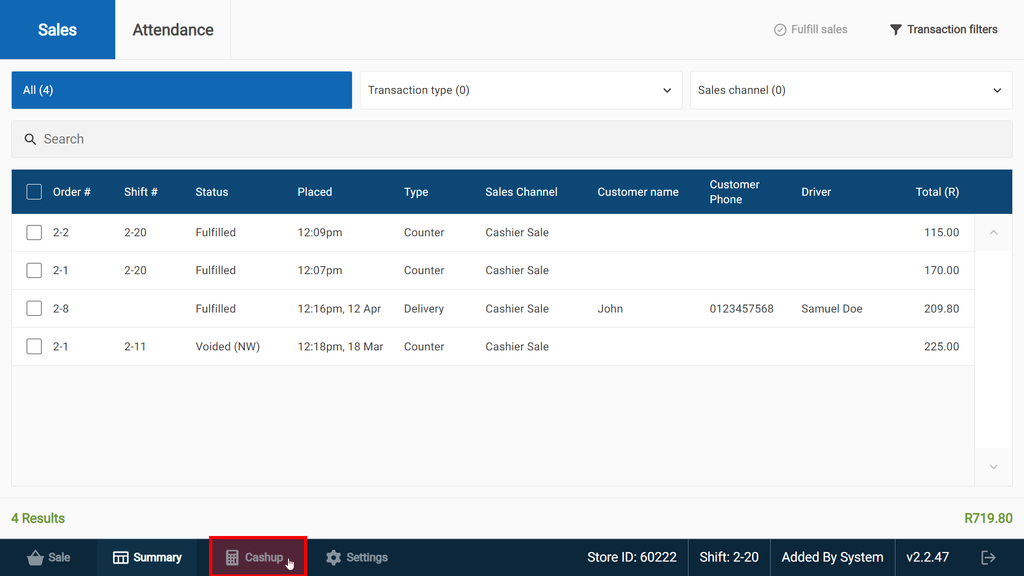
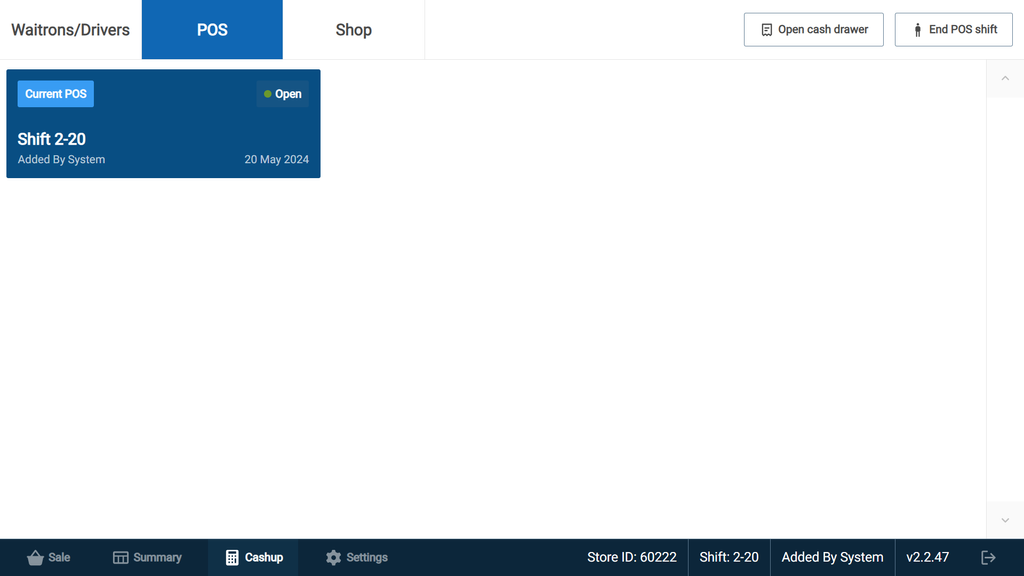
On the Cashup screen, you will be shown the POS cashup screen by default, where you are presented with a list of till shifts across all tills for the selected date.
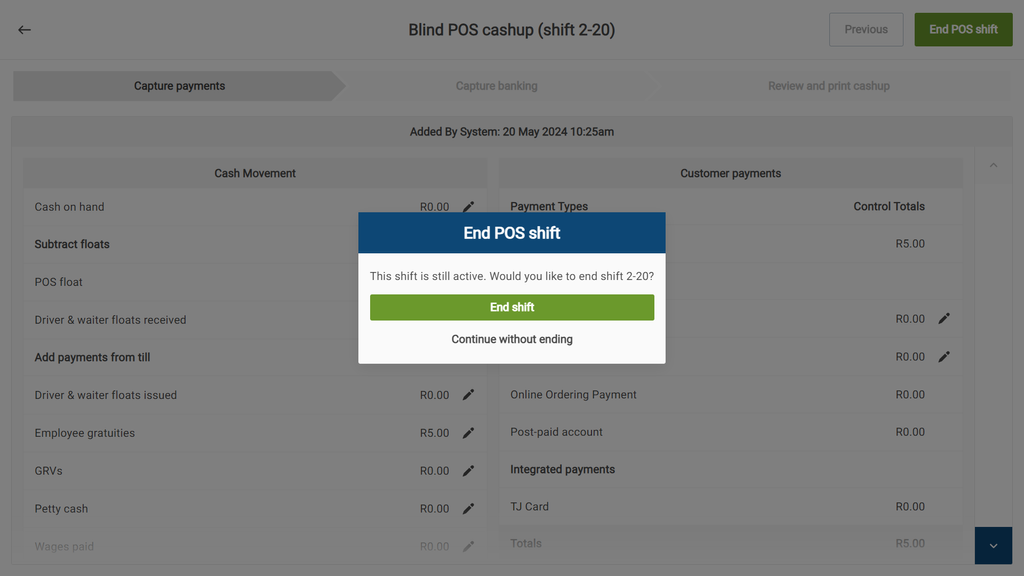
If your shift is still active, you will be prompted to end the shift.
- Choose Continue without ending if you wanted to view or capture entries without ending the shift.
- Choose end shift when you're ready to close the shift and finalise the cashup process
Capturing Payments
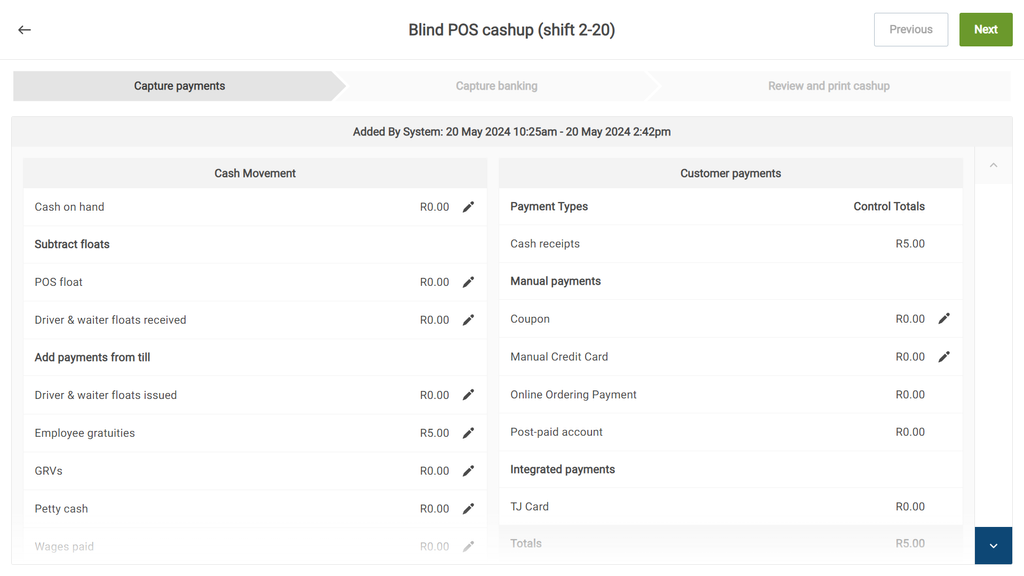
The Capture Payments screen is divided into Cash Movement and Customer Payments panels. Begin by capturing the total cash in the till ("Cash on Hand") by tapping the pencil icon and entering the quantity of each denomination of bills and coins.
Additional entries such as Floats and Petty Cash must also be captured here.
On the right, Payment information is either tallied up automatically or must also be captured. Automatically captured information does not have a pencil 'edit' icon.
When done, tap Next to move to Capture Banking.
Capture Banking and Posting
This screen provides a cash banking review; beginning with the Cash on Hand figure captured in step 1 of the cashup process, CounterPOS will subtract the float for the next shift to return the value of cash to be banked.
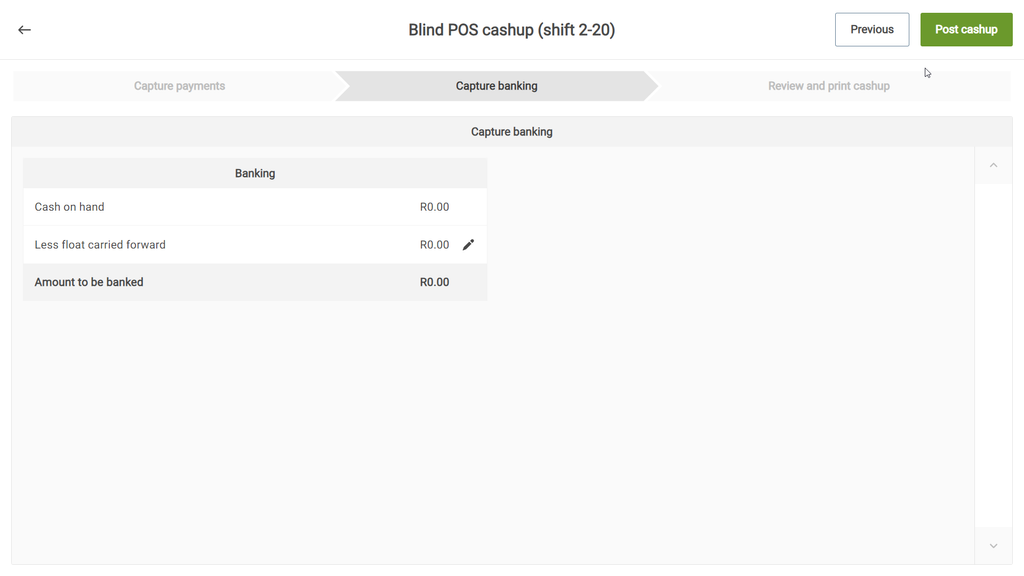
Tap Post Cashup to finalize and review the cashup.
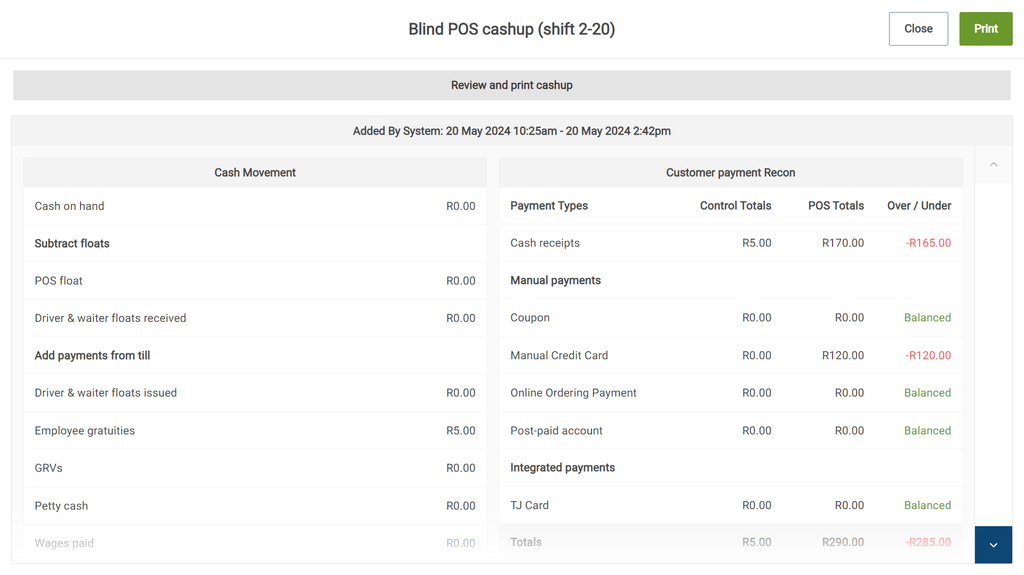
The review page will reveal the sales figures and inform you if you are Over, Under or Balanced on different areas of your cashup. From here the cashup can be Closed or Printed.