
How to export and import stock takes
Once a stock take is posted in the portal, it is completely locked — no changes or edits can be made directly. The export and import workflow is the recommended way to correct posted stock takes.
1. Export your posted stock take
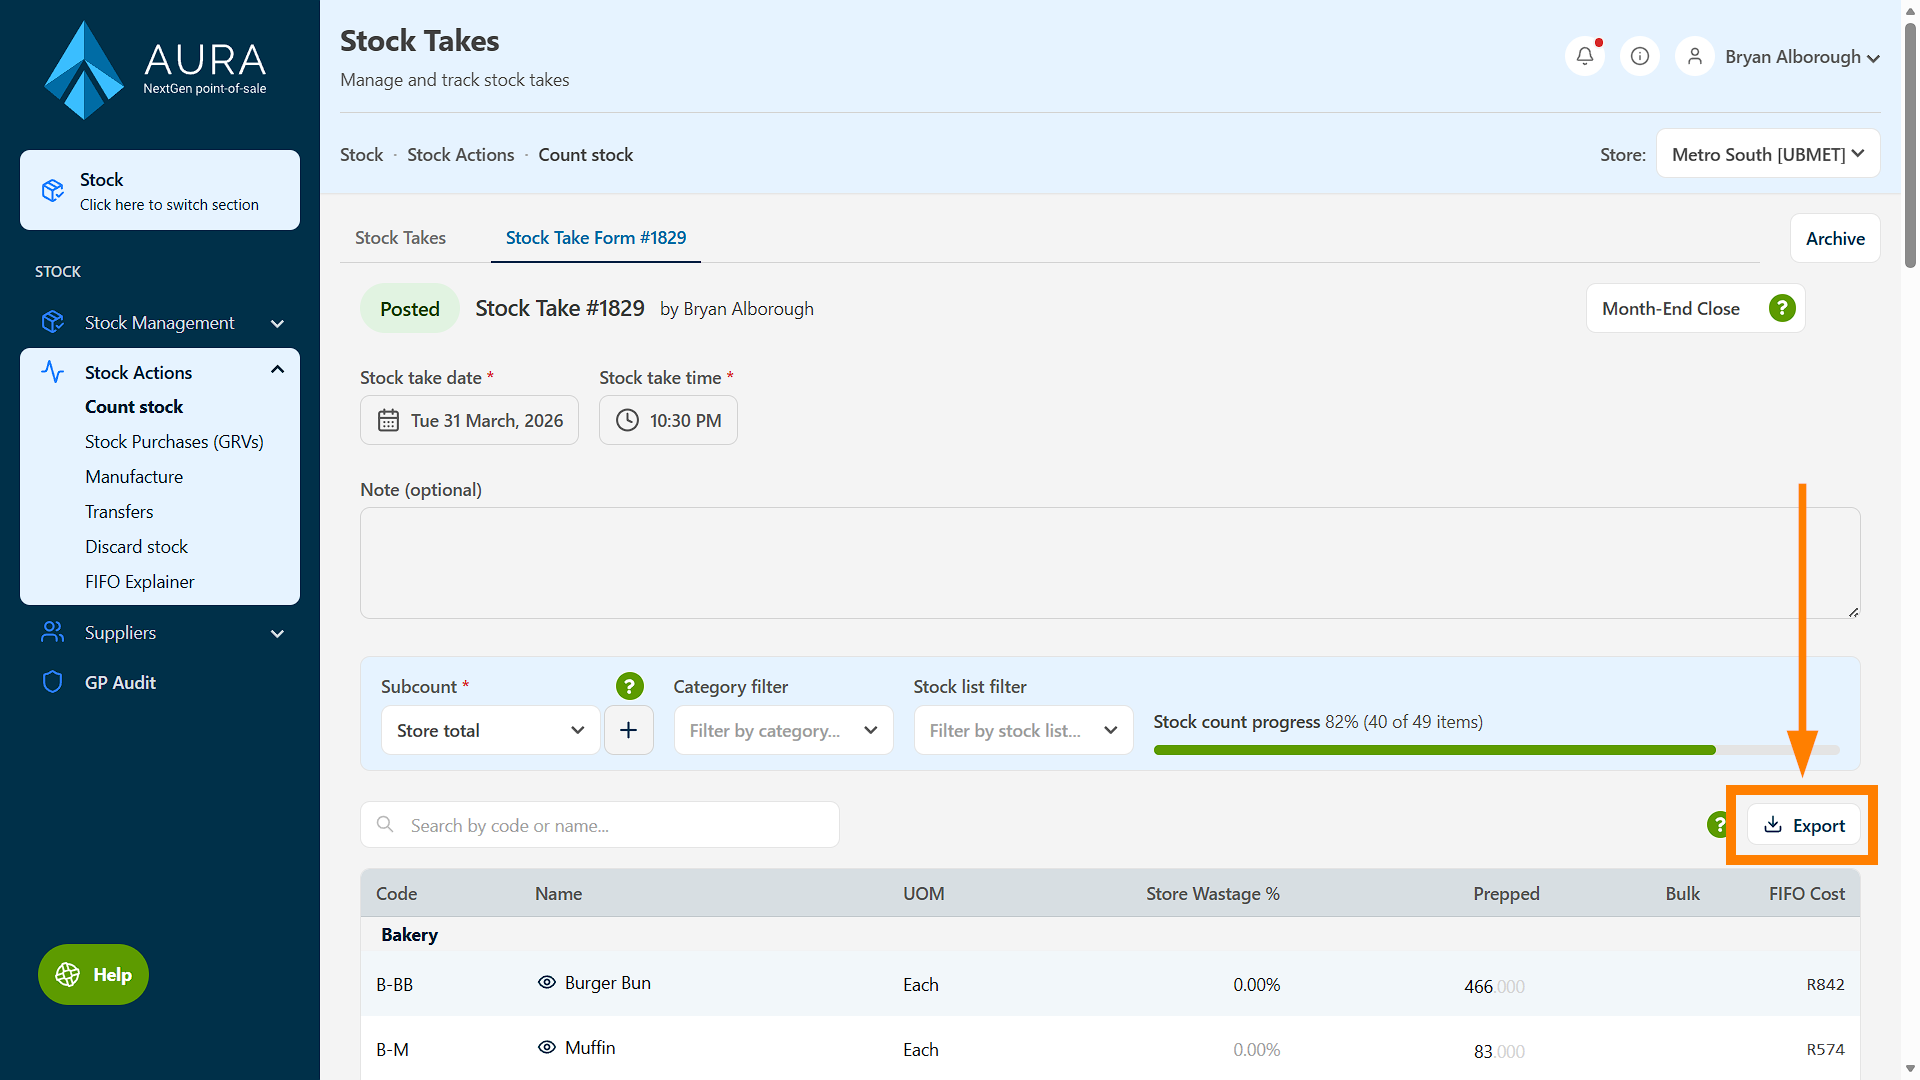
1.1 Open the posted stock take and click Export
Navigate to Stock Actions > Count stock, then open the posted stock take. You will see the Export button to the right of the stock take screen.
1.2 Choose your export options
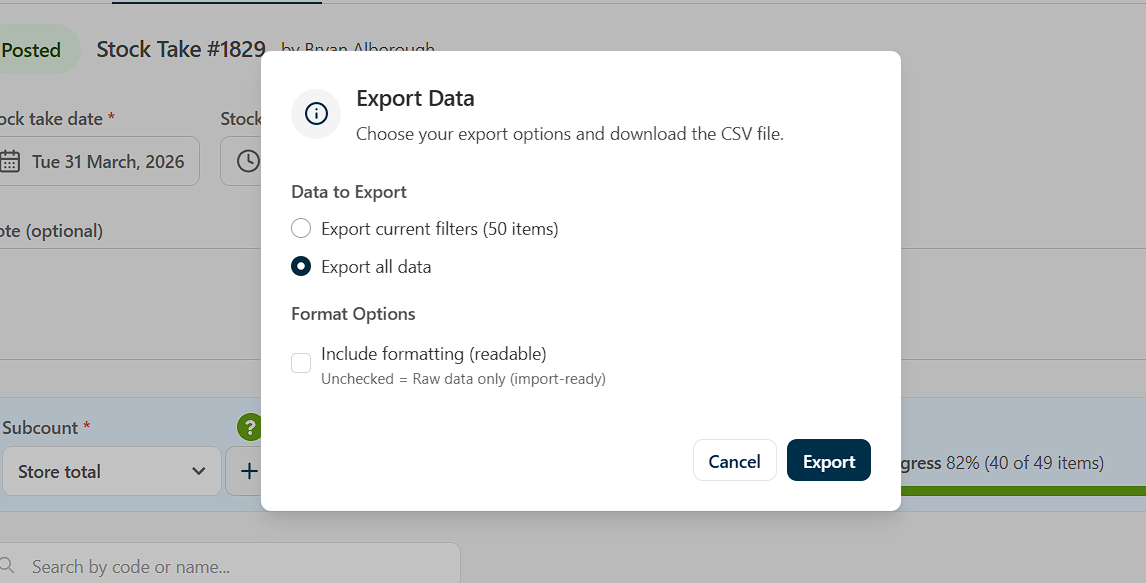
An Export Data dialog will appear.
Under Data to Export, select Export all data. This is important as exporting current filters may not include all information if you've filtered the stocktake by a certain stock list.
Under Format Options, leave "Include formatting (readable)" unchecked — this keeps the file import-ready.
1.3 Save the CSV file
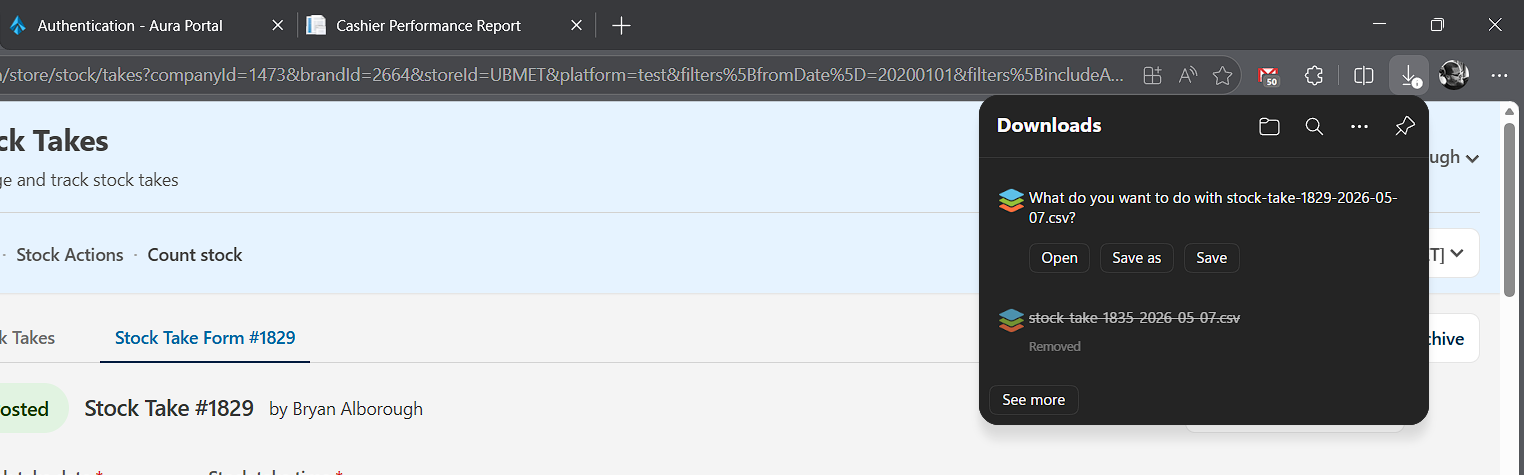
After clicking Export, your browser will download the file automatically. Save it to a location you can easily find later. The file will be named something like stock-take-XXX-YYYY-MM-DD.csv.
2. Archive and make corrections
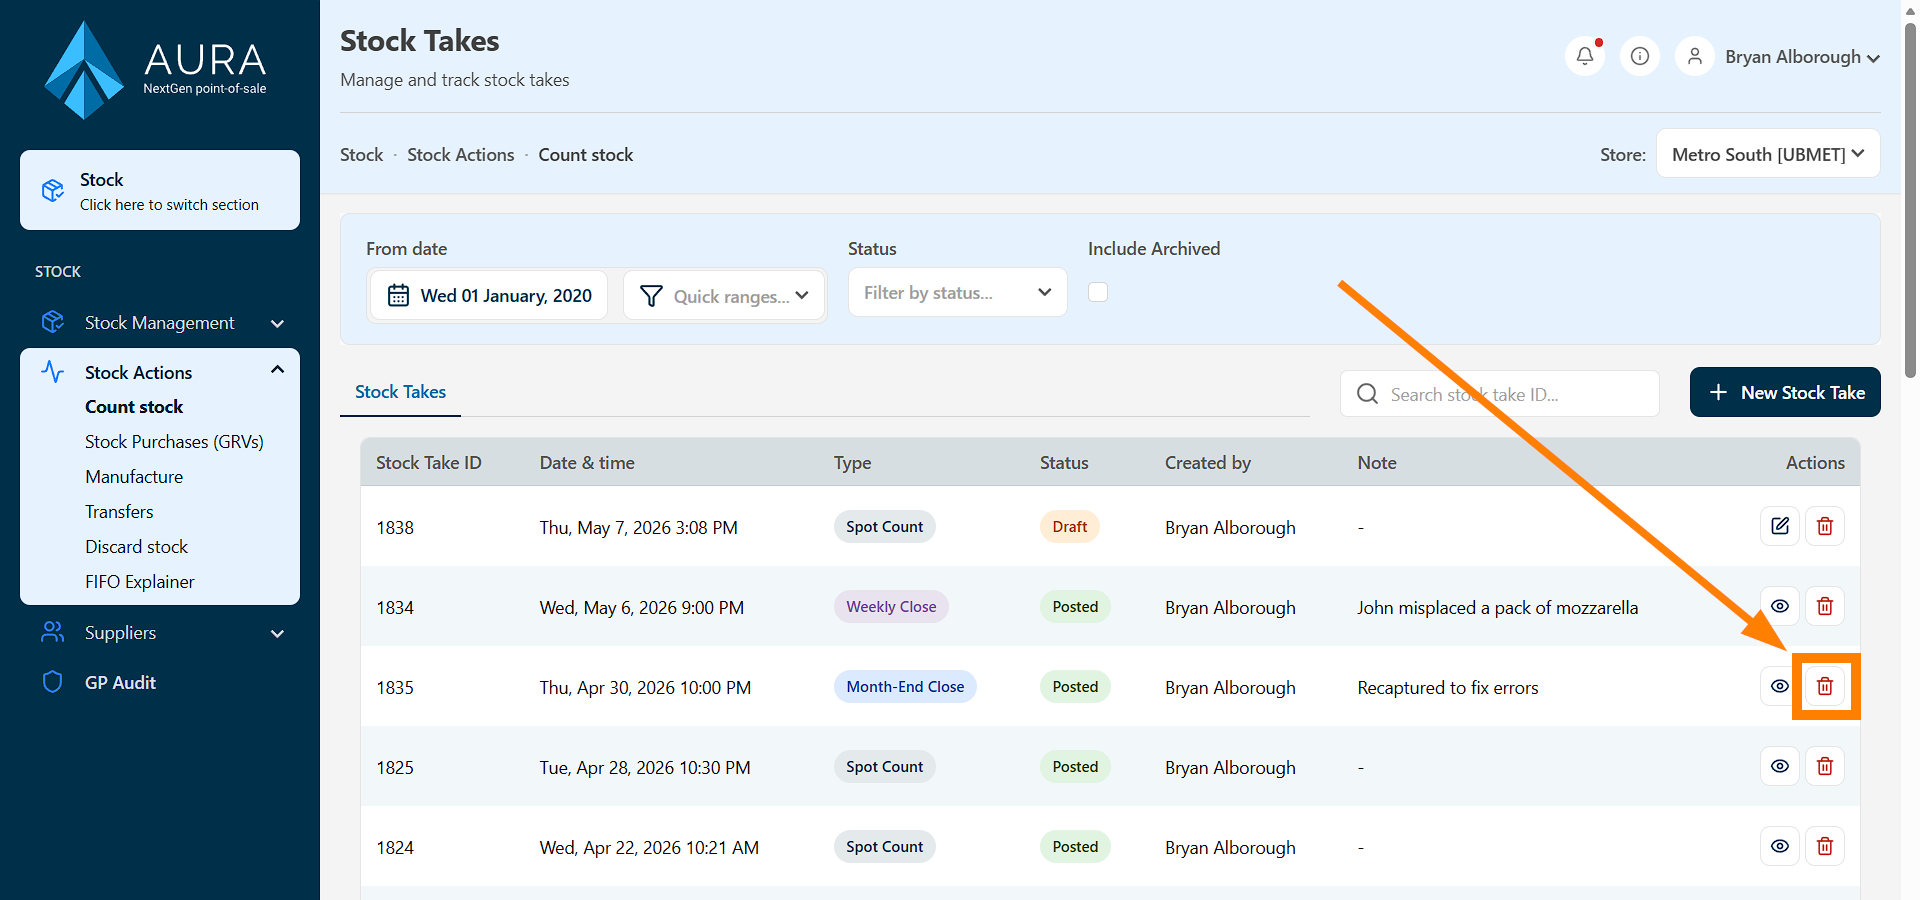
2.1 Archive the posted/incorrect stock take
With your CSV saved, click the Archive button on the stock take screen. If this was a month-end stock take, this will remove the lock on prior stock activity.
2.2 (If needed) Make your corrections to prior stock activity
Go back and correct any stock activity entries that contained errors before proceeding to reimport.
3. Import into a new stock take
3.1 Create a new stock take and click Import
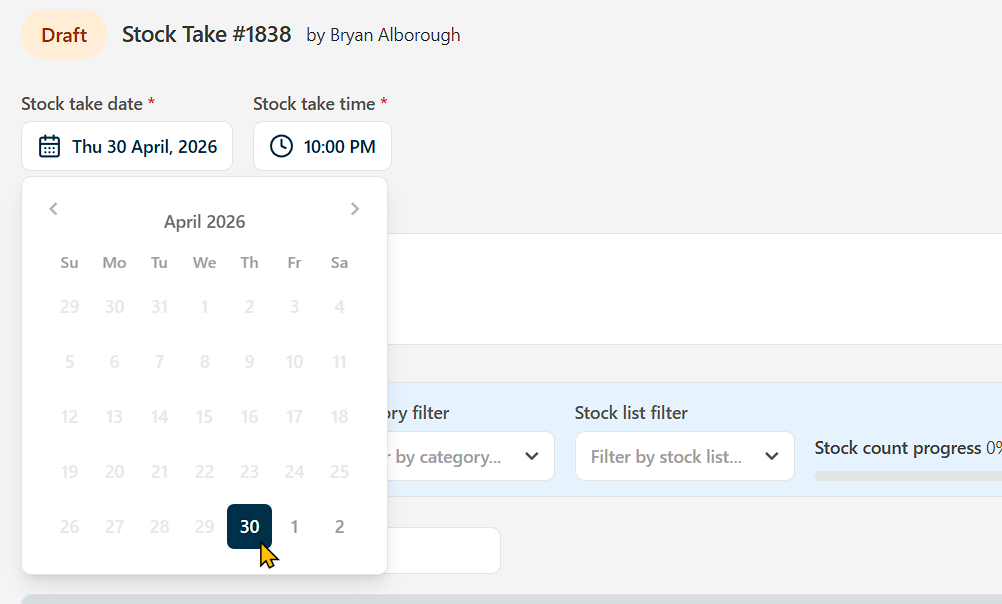
Go to Stock Takes and create a new stock take. Remember to set it to the original date and time of the now archived stock take you are replacing!
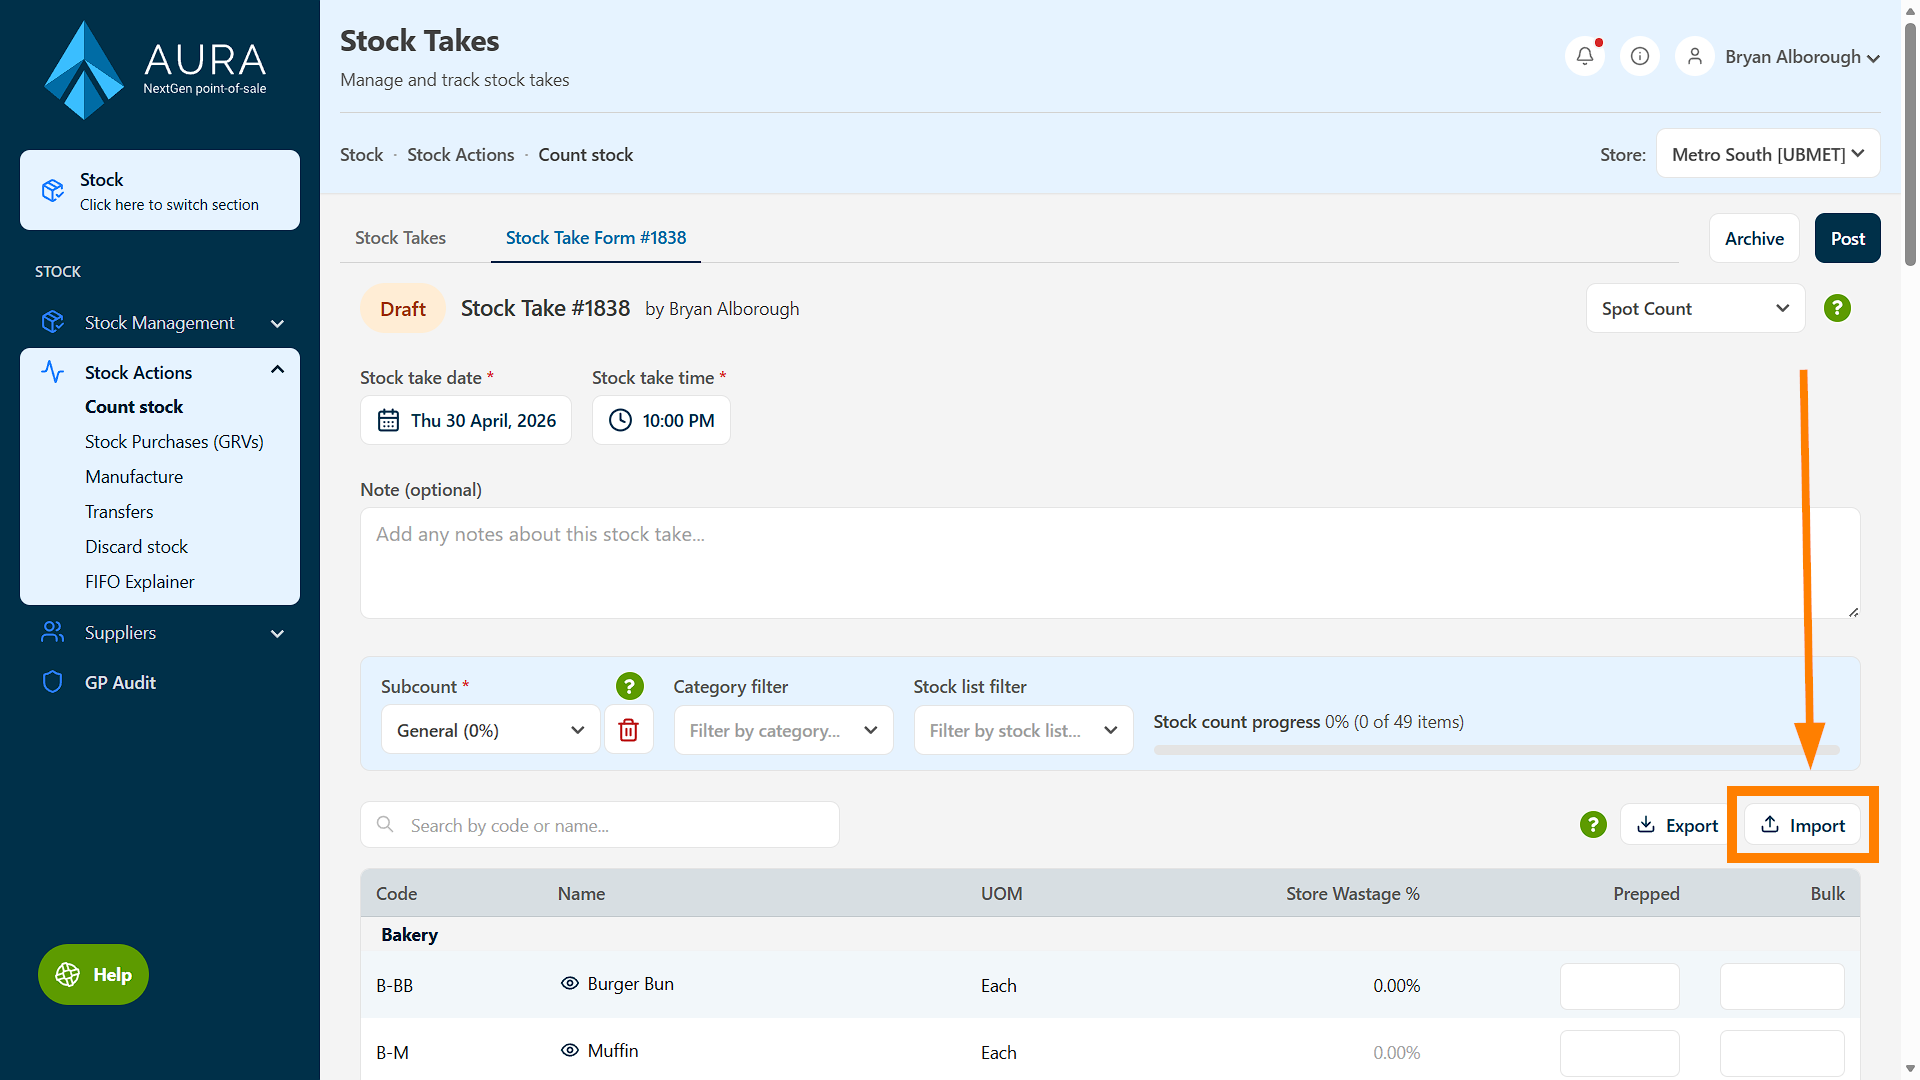
On the new stock take screen, you will see both an Export and an Import button. Click Import.
3.2 Select and upload your CSV file
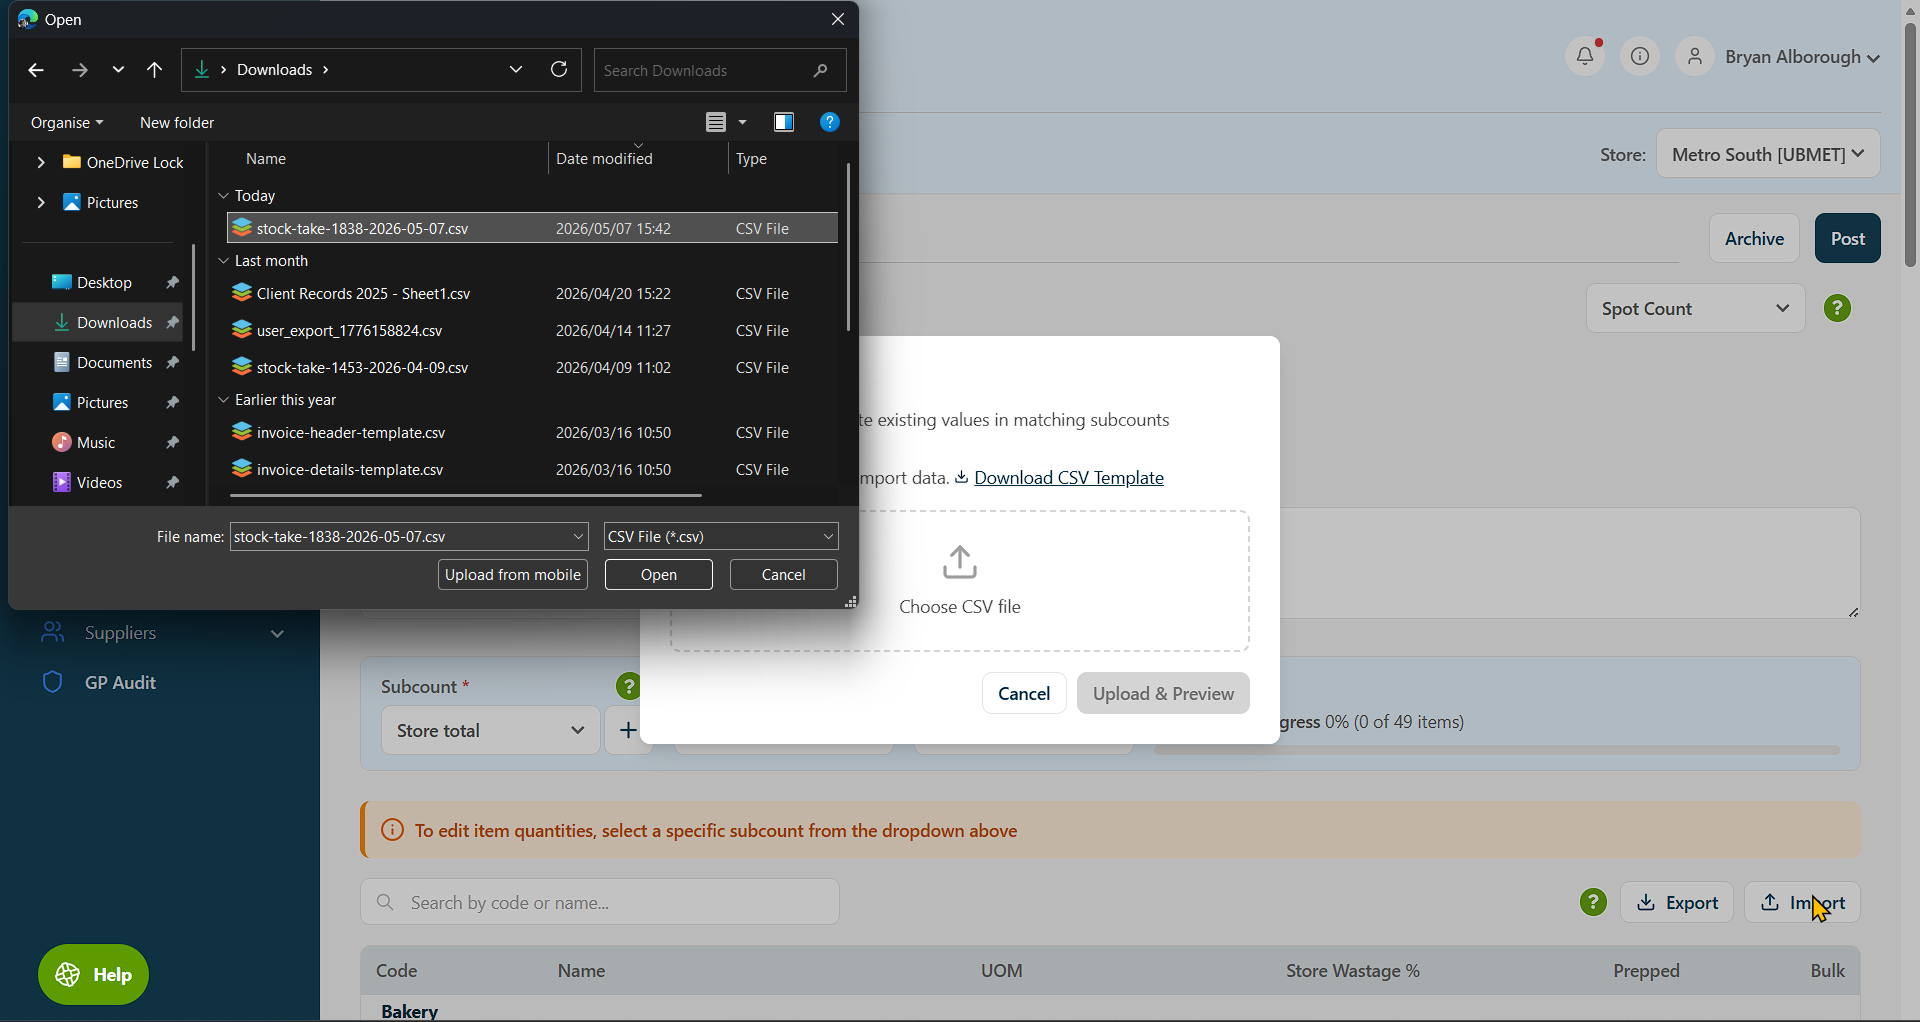
An import panel will open with a "Choose CSV file" area. Click here and navigate to where you saved the CSV, select it, and click Open. Then click Upload & Preview to load the data.
3.3 Review and correct in draft status
Once uploaded, the stock take remains in draft status. Review all figures and make any final changes needed - this is your opportunity to correct the errors from the original stock take.
3.4 Post the stock take
Once you are satisfied that everything is correct and accurate, post the stock take.
This workflow is especially useful when only one or two figures need correcting — there is no need to recapture the entire stock take from scratch. Export all data, archive, correct, then reimport into a fresh draft.